7 tips for pouring success from the get-go
11/23/2023 |- SOLO GOYA Pouring
- Ideen für Künstler
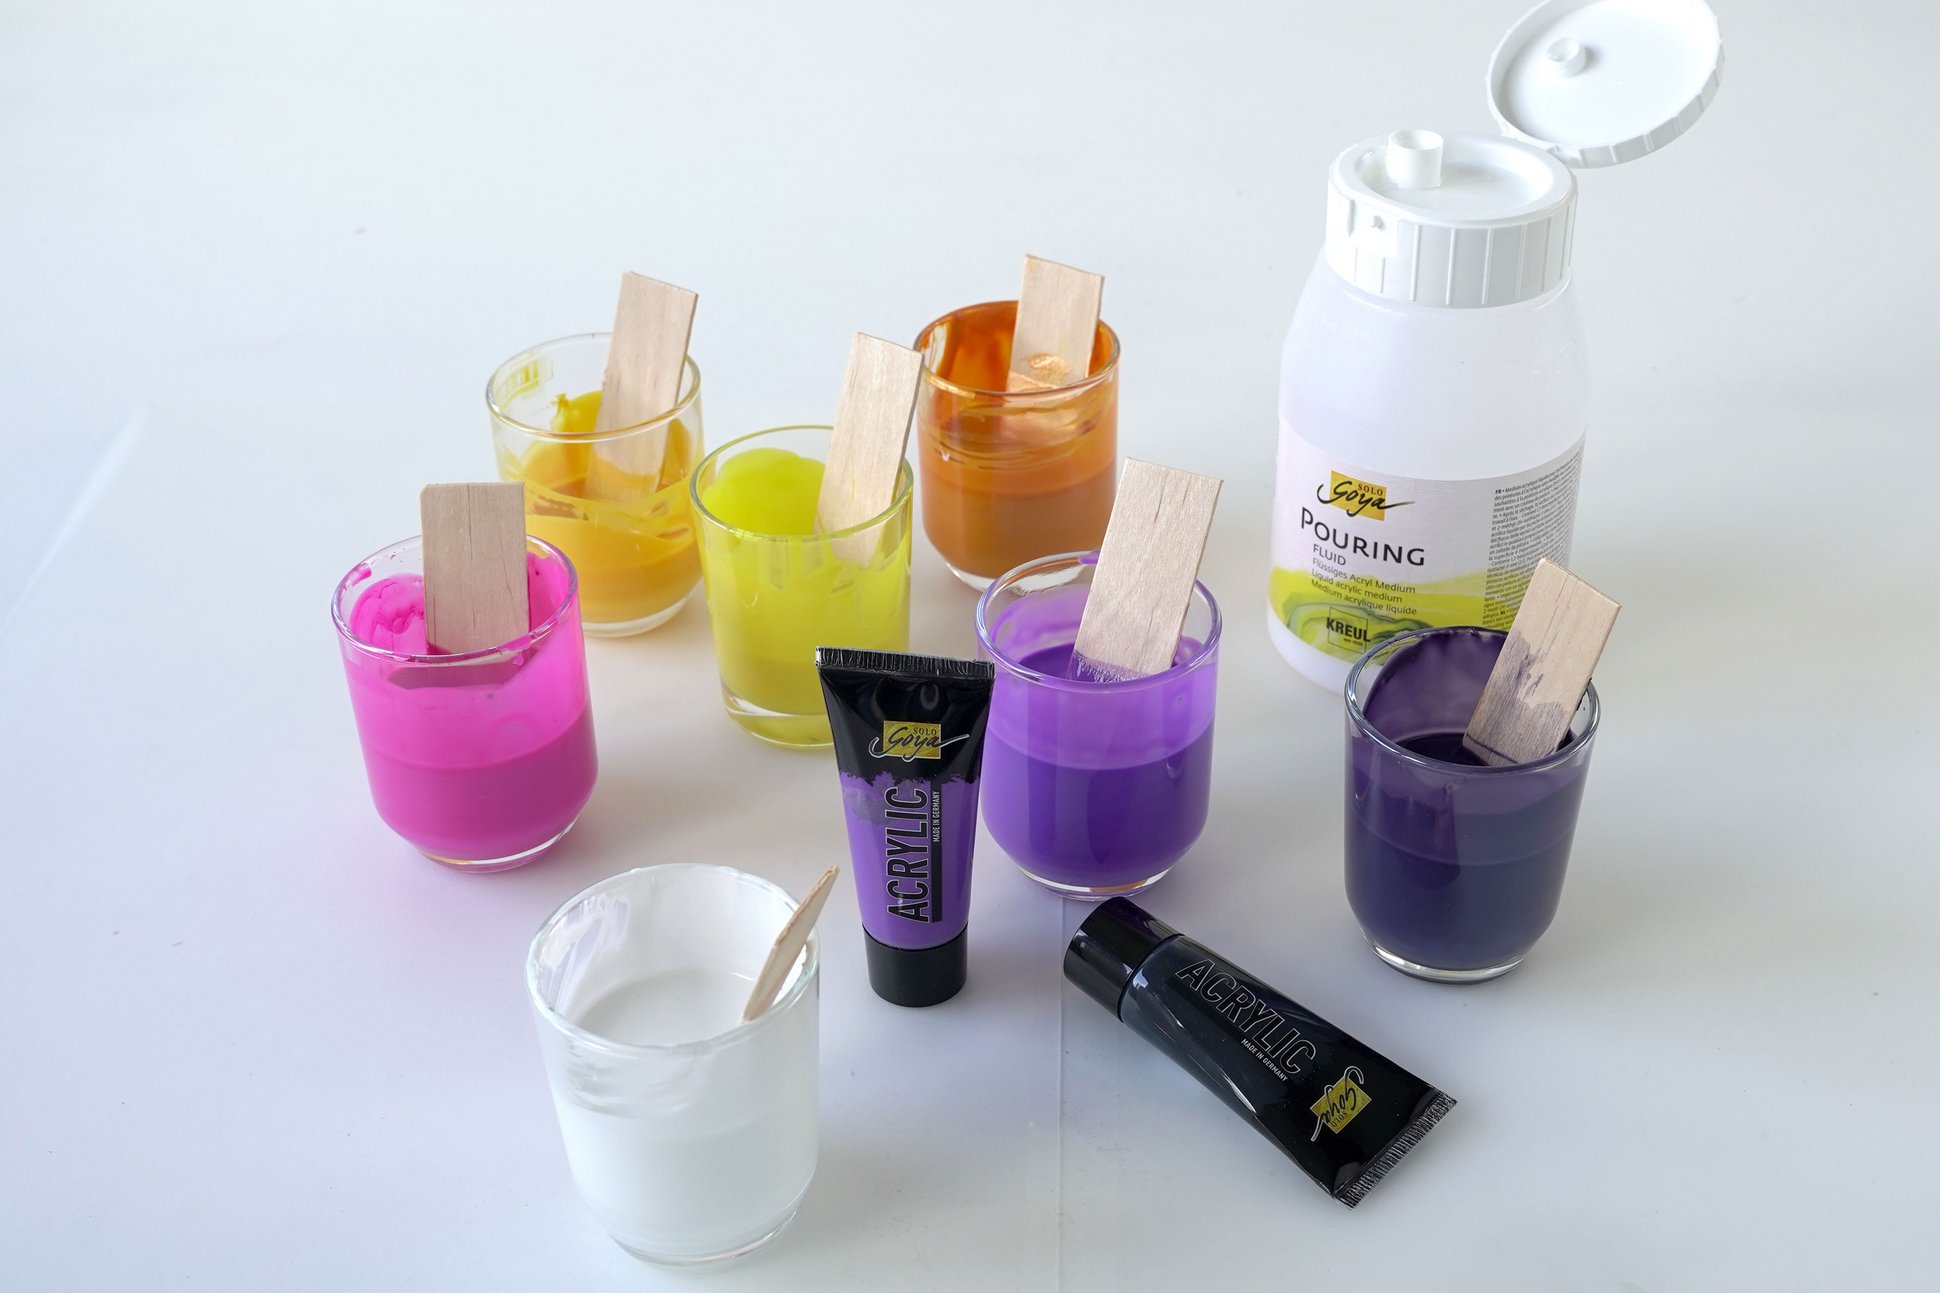
Tip 1: The perfect preparation for pouring - here's how
With the pouring technique, paint just goes with the flow. Mostly on a canvas. But with this freestyle technique, splashes of paint can easily land elsewhere. That’s why we recommend that your cover your workspace with a PVC tablecloth. And if you don’t like getting paint on your hands, latex gloves are a good idea, too.
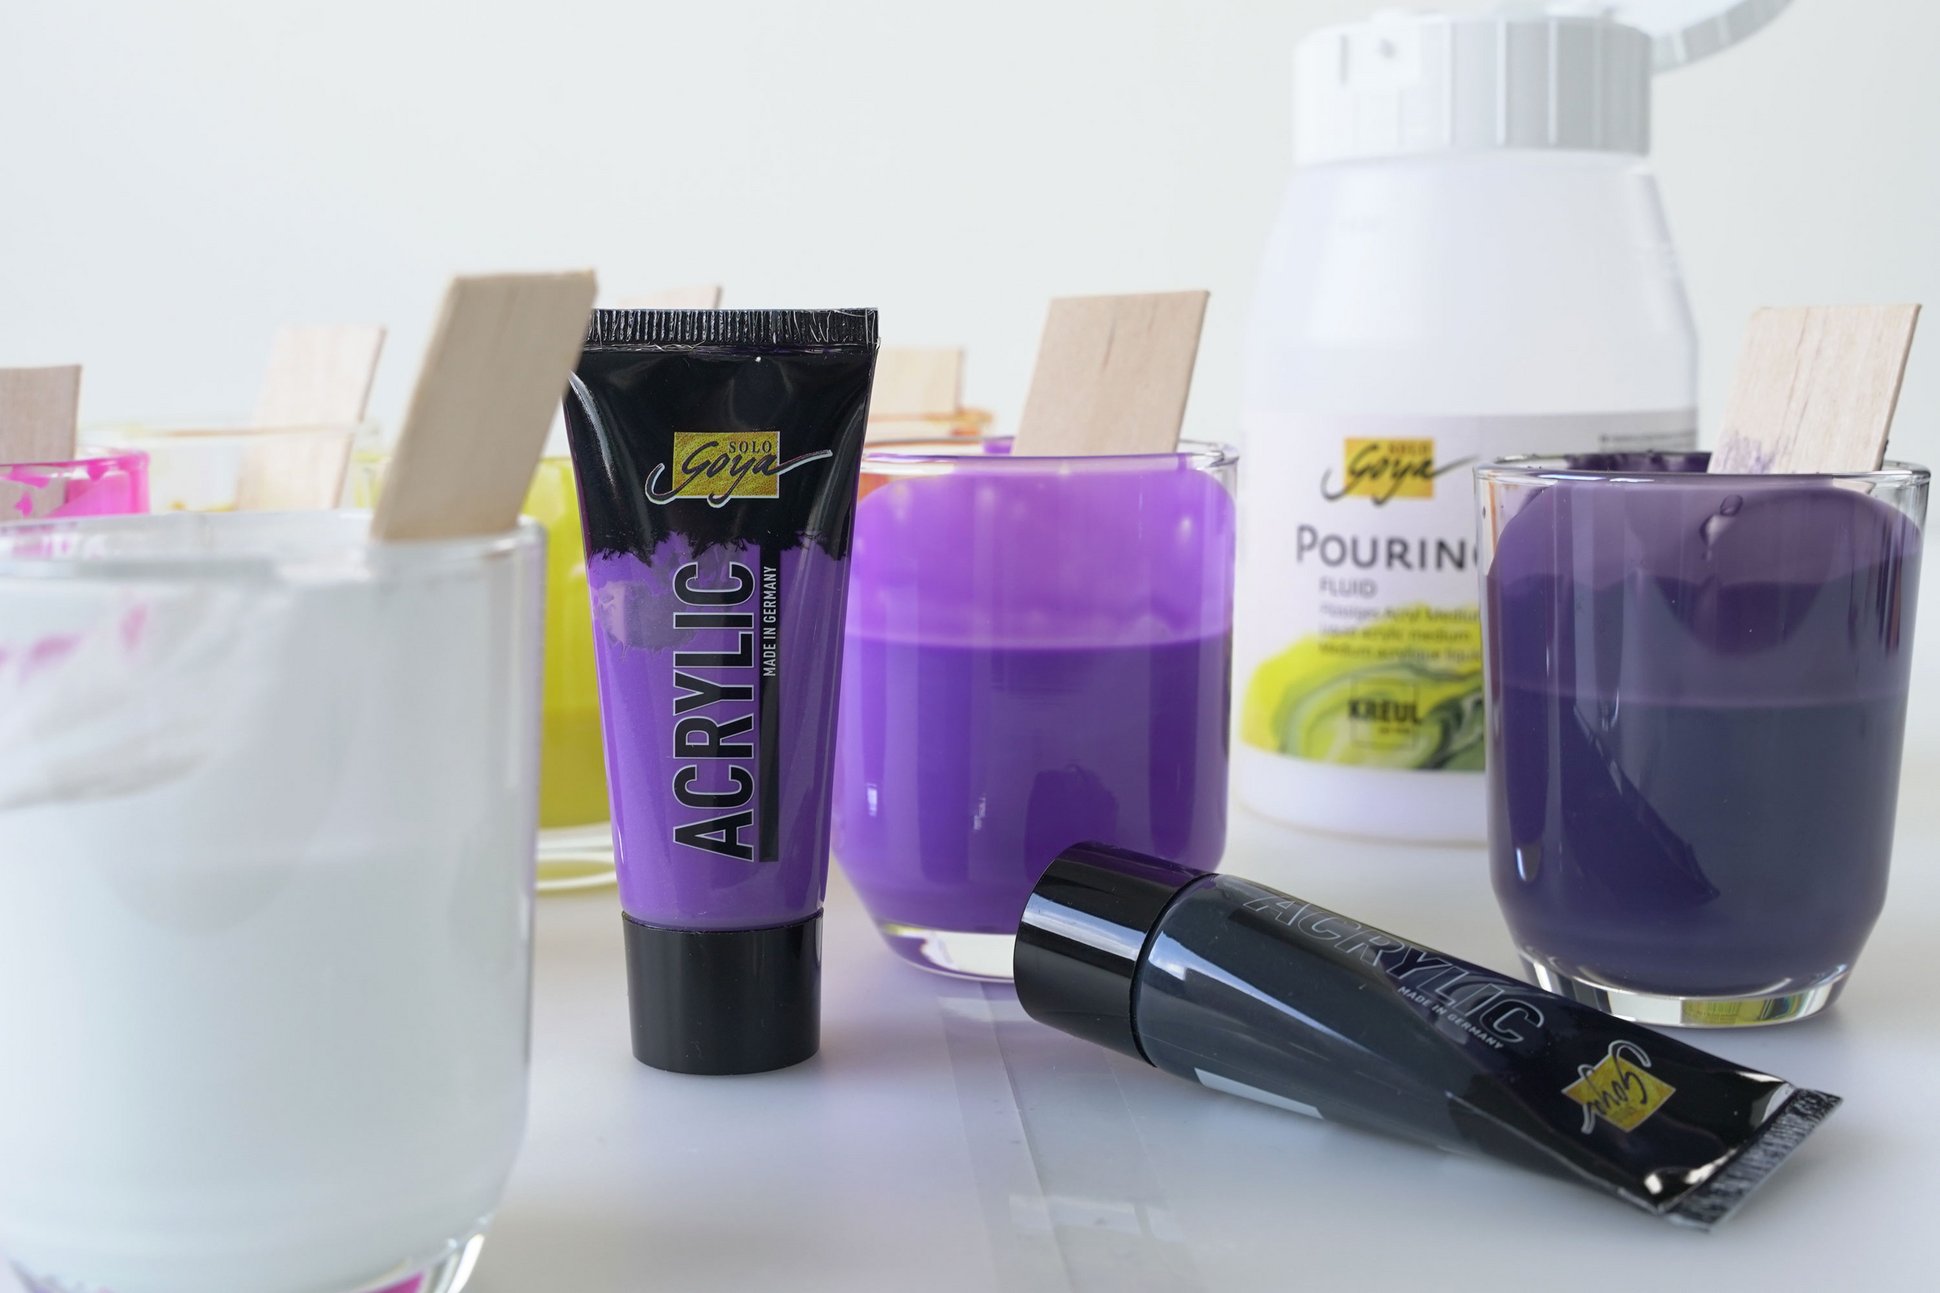
The most important thing is the right consistency of the pouring paints: Stir each paint colour separately in a glass or beaker. We recommend slowly and carefully mixing one part SOLO GOYA Acrylic with several parts SOLO GOYA Pouring Fluid. It is best to use a wide spatula for this. SOLO GOYA Pouring Fluid is a medium for optimally thinning the acrylic paint. The mix has the right consistency when it looks like liquid honey. All paint colours should have the same consistency to ensure smooth and even paint application.
In this
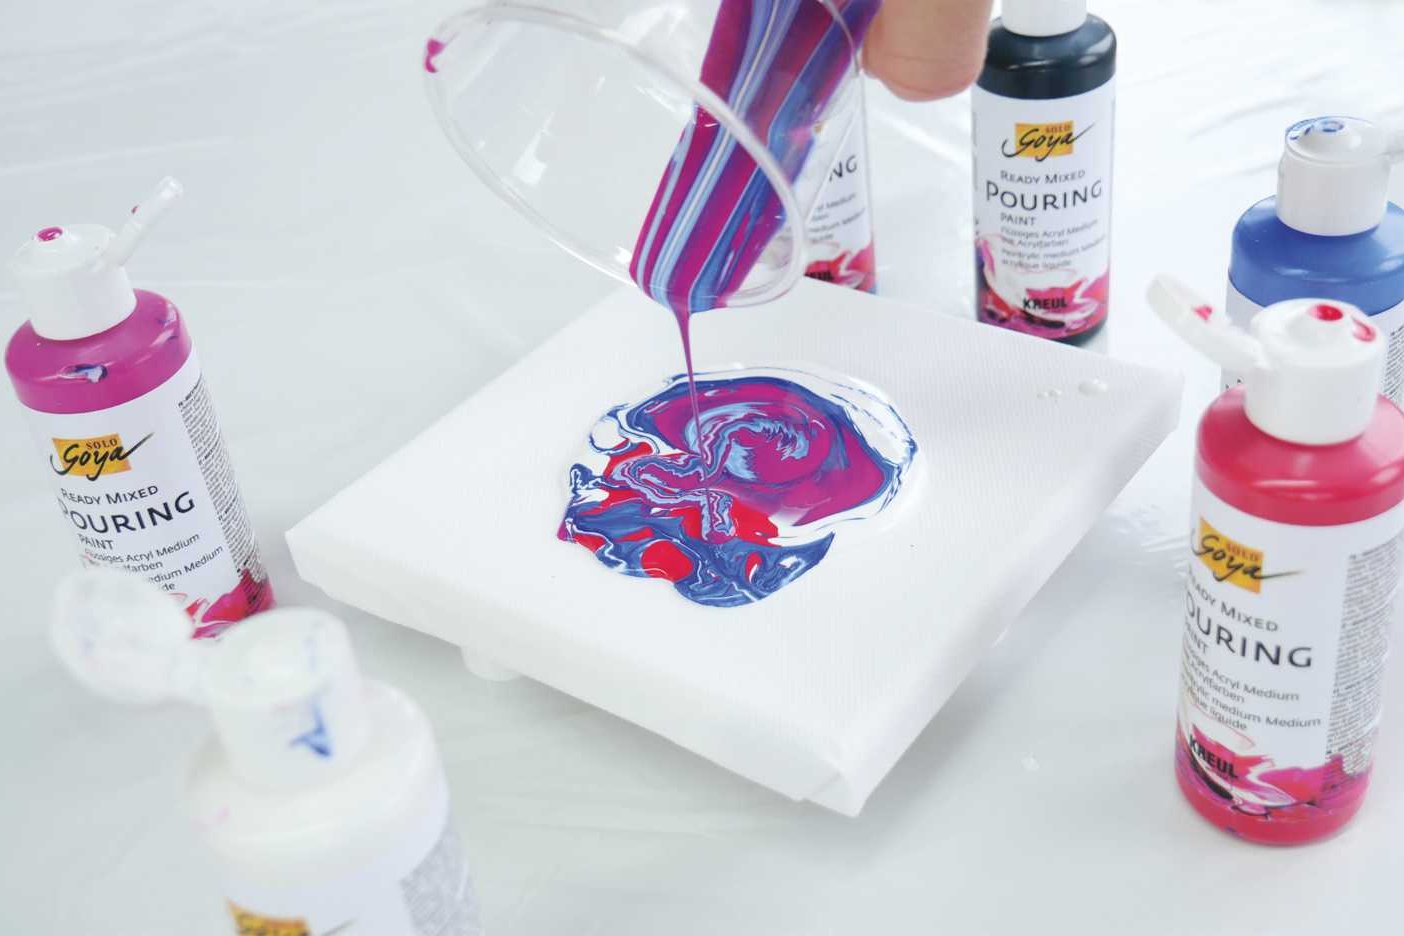
Tip 2: All ready-mixed and ready to go in one set
Still unsure about the consistency? Then it can be helpful to start your first pouring experiment with the SOLO GOYA Ready Mixed Pouring Set of six 80-ml paints. With this set, newcomers can focus fully on the flow of the colours. All the paints in this set are already mixed with the pouring medium. So the consistency is right from the start: Perfect for trying out the pouring technique. You can find more information
.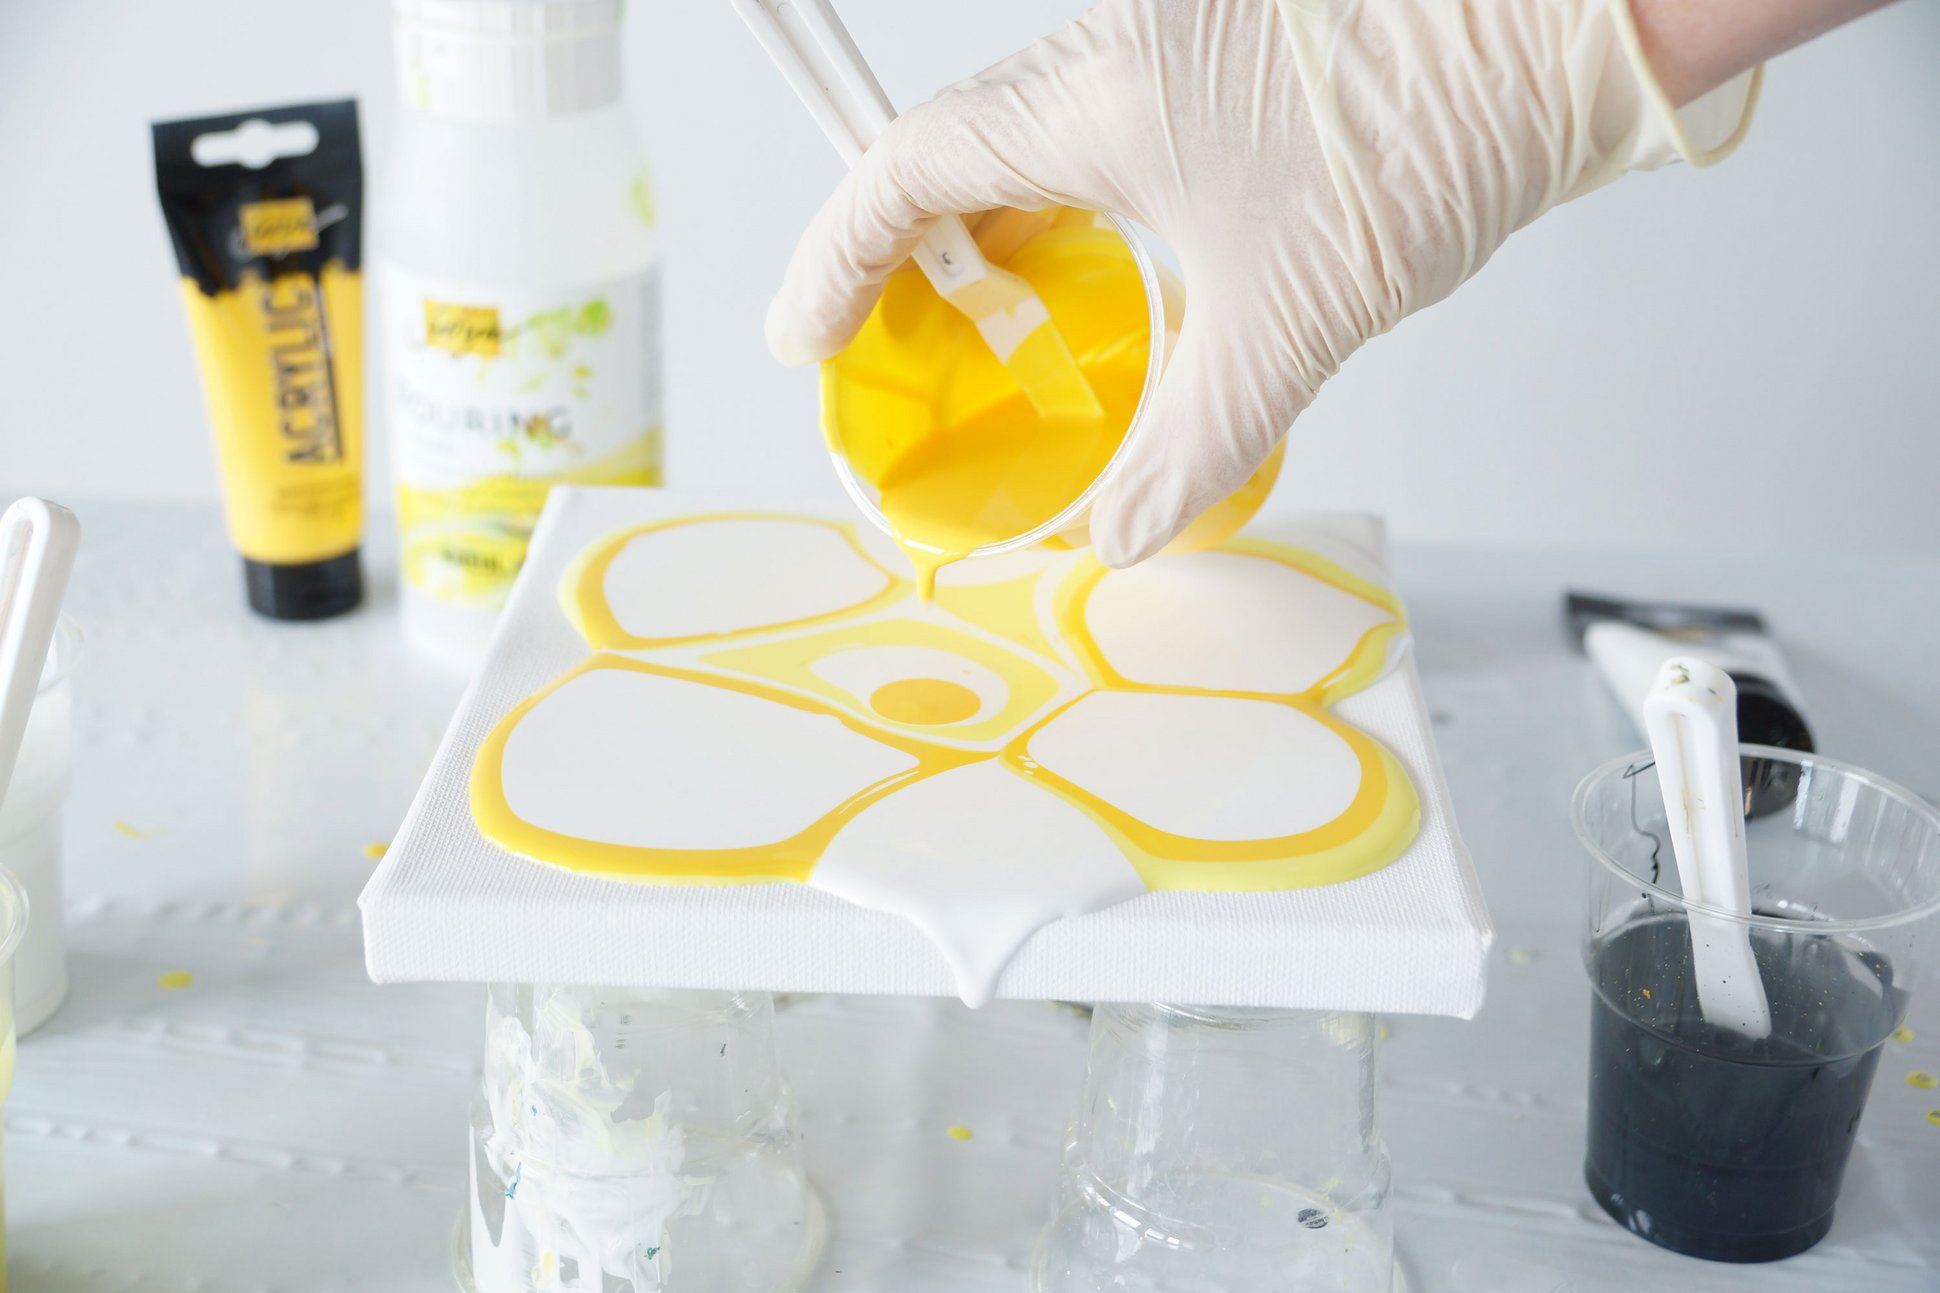
Tip 3: Position your canvas raised up from your work surface
Mixed all your colours with the medium? Then position your canvas in an elevated position so that the poured paint can flow off. This stops the canvas sticking to your table. You could place the canvas on upturned glasses.
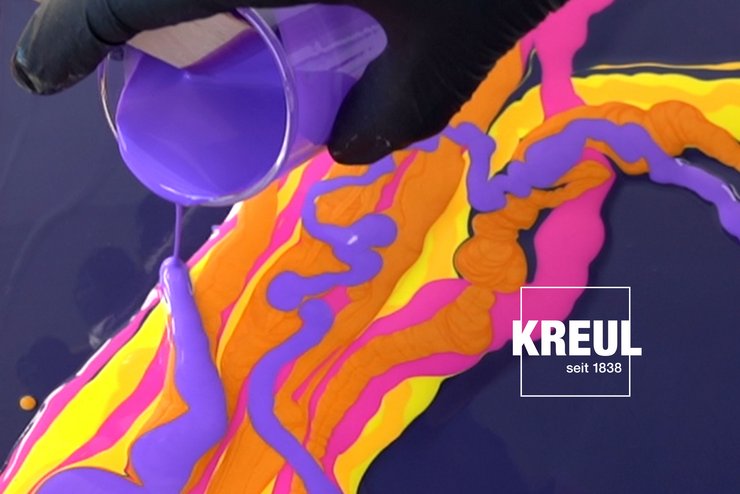
You can pour the paint colours separately onto the canvas. Either allow the paint to flow in a straight line or pour it with a swivel motion. Alternatively add all mixed colours one after the other into an empty beaker and then pour the content of the beaker onto your painting surface.
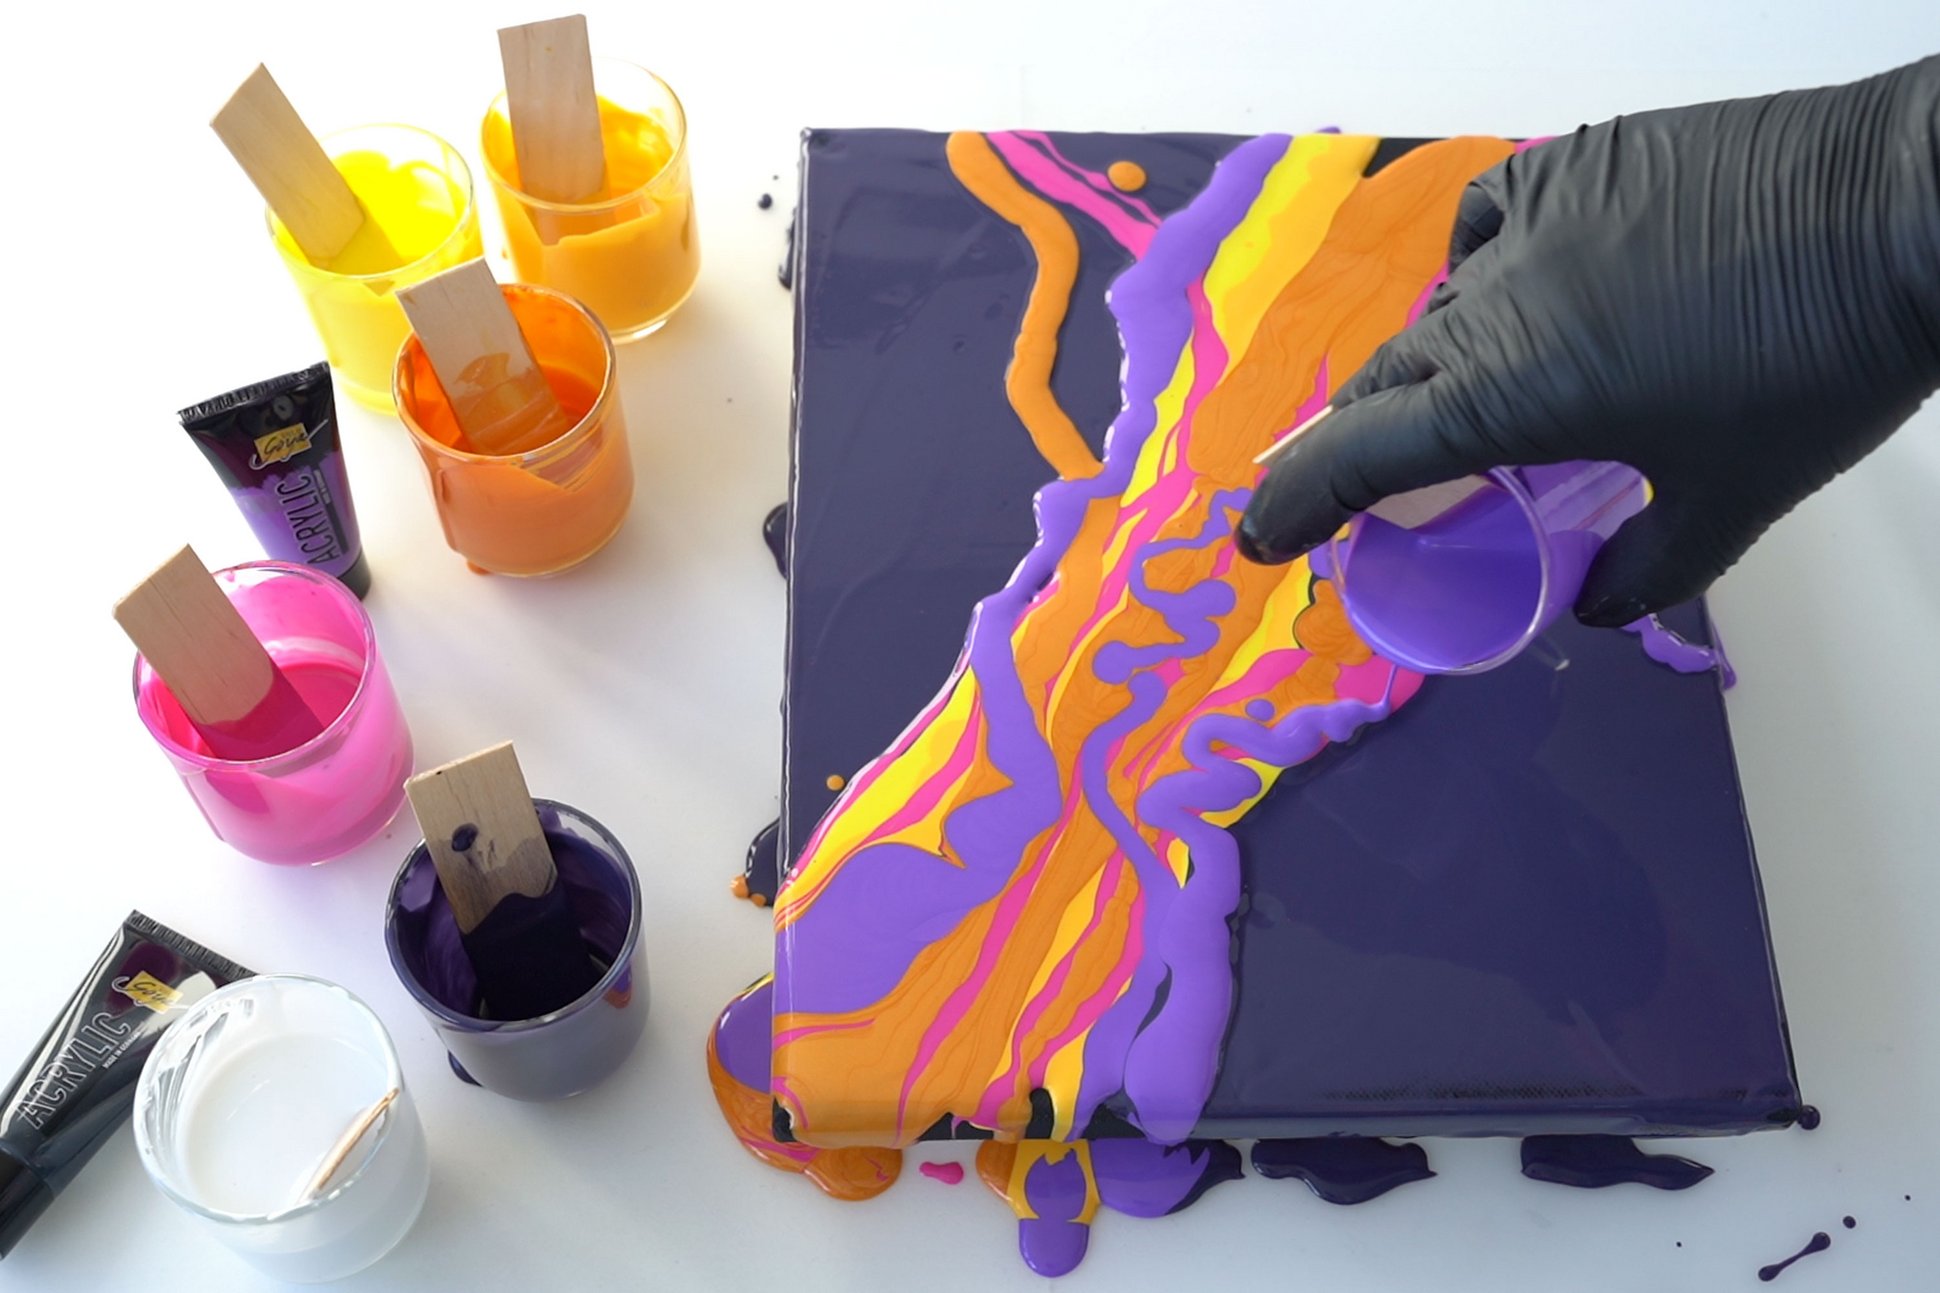
Tip 4: This pouring technique is suitable for beginners
You can use different techniques to influence the patterns you make. You simply vary the way you pour the paints. For beginners, the puddle pour is an easy option. Here, you pour one of the mixed colours as a base colour onto the surface, then add all the other colours one after another. For an optimum result, we recommend you don’t pour too much of one colour in one place. Once you have poured the colours, you can tilt the canvas to move the different colours around.
Other techniques are swirl or tree ring, flip cup or dirty pour. You can find a quick guide in this post.
Tip 5: Pick the right acrylic paint for pouring
SOLO GOYA Acrylic is a very good option: this artists’ acrylic paint is not too fluid and not too pastose. Adding SOLO GOYA Pouring Fluid gives it the optimum consistency for pouring. The matt acrylic paints mix with glossy pouring medium to give a silk-matt finish.
Of course, pouring works with other acrylic paints. We have tried out the abstract technique with SOLO GOYA Triton Acrylic and we love it. But the starting paint here is much more fluid and requires different mixing proportions with SOLO GOYA Pouring Fluid. We give you full details here.
Tip 6: Avoid draughts to ensure even drying
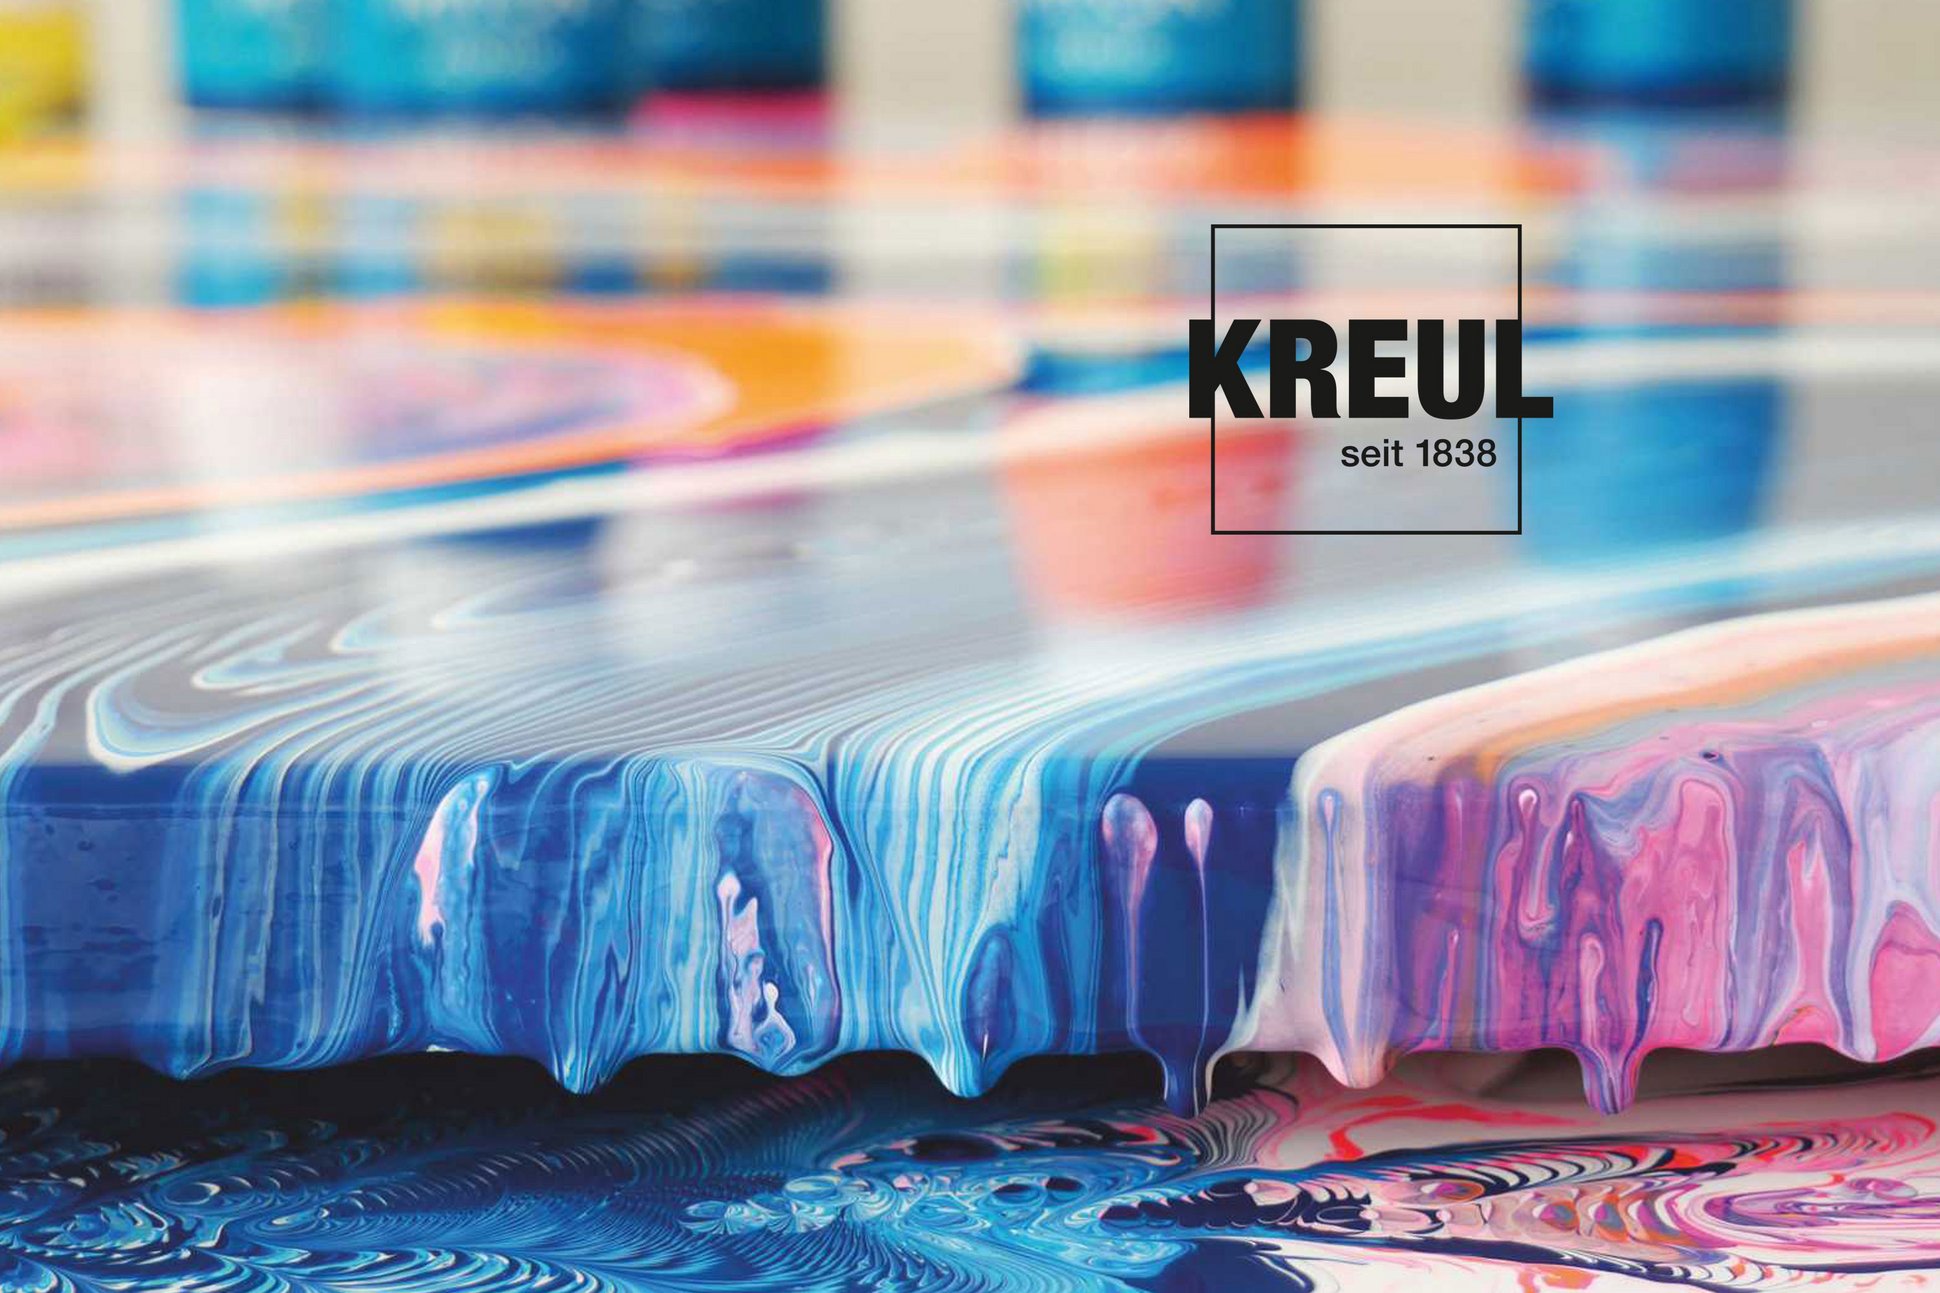
Pouring artworks need quite a long time to dry. Depending on the thickness of the paint layers and the size of the picture, drying can take up to 72 hours. To make sure everything dries evenly, make sure that your wet painting isn’t standing in a draught. So, it’s best to keep your windows shut.
We do recommend airing the room before you start pouring – this ensures a good level of humidity. If the air is too dry, cracks can form. So don’t be tempted to turn up your heating too much to speed up the drying of your poured artwork.
Tip 7: Wow effects with a black background, effect paints or silicone oil
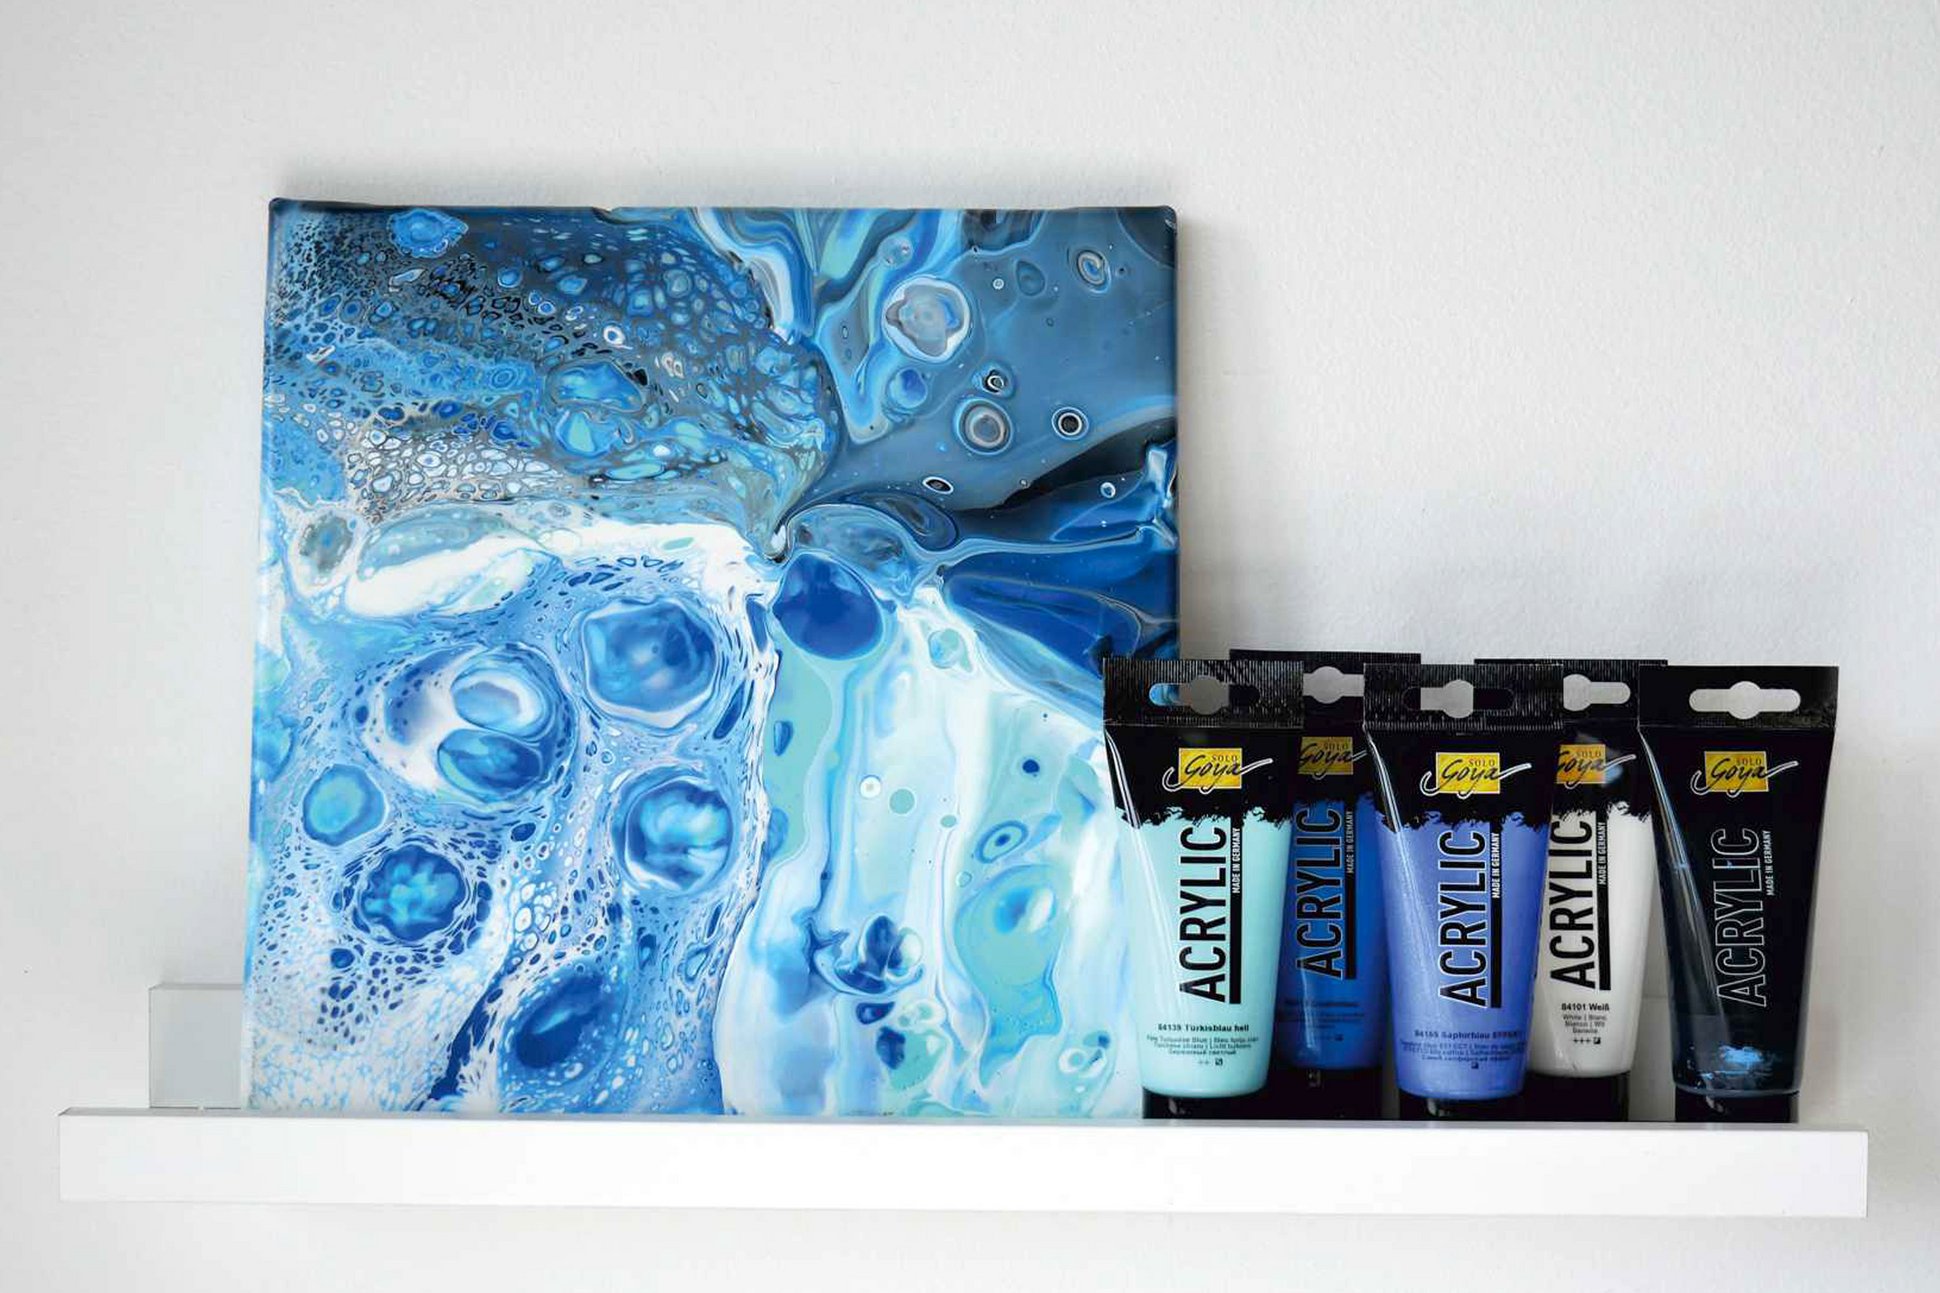
Pouring with acrylic paints is exciting as the outcome is always a surprise. But you can use different effects to make your artwork really eye-catching. A black background makes the poured colours really pop. To get this effect, first coat the surface with thinned black paint. Then pour bright colours on top.
Black is also a great base to create highlights with glitter paints like Sapphire Blue. We show you how fantastic poured art can look with the shimmering effect paints in the SOLO GOYA Acrylic set of eight 20-ml Effect Colors here.
Pouring fans swear by silicone oil to get awesome effects. Add just two to three drops of SOLO GOYA Silicone Oil into the paint mixtures to create cells in your artwork, You can make these bigger with a flambé or handheld gas torch. We show you how to get very beautiful cells to form in poured artwork in this film.
Bonus hack: What to do when cracks form in your poured picture while it's drying?
The consistency of paint mixes was perfect, the paints weren't too thick and you avoided any draughts – and yet your finished artwork cracks. Bad luck! But no reason to despair.
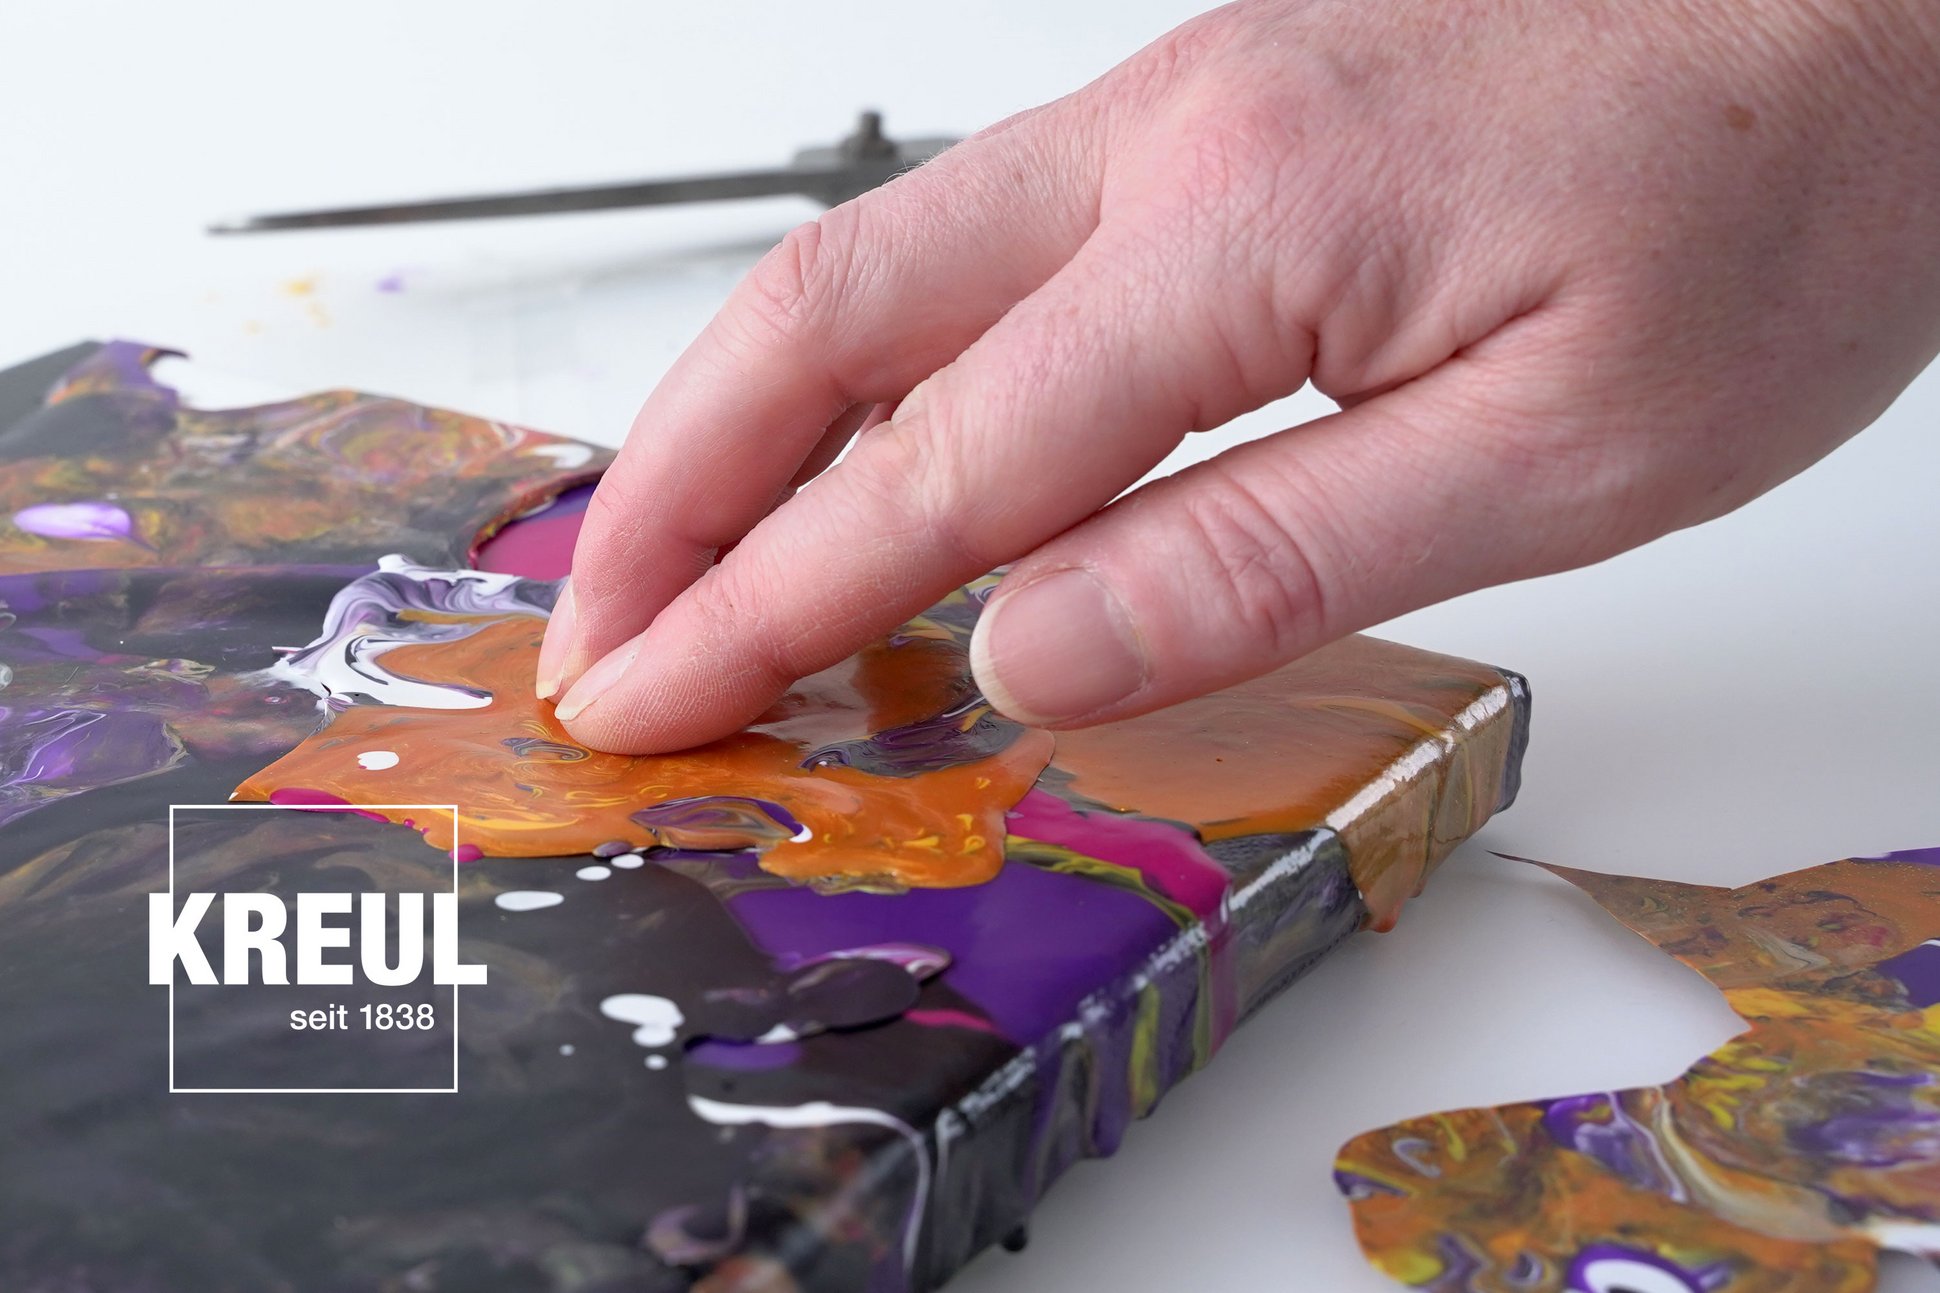
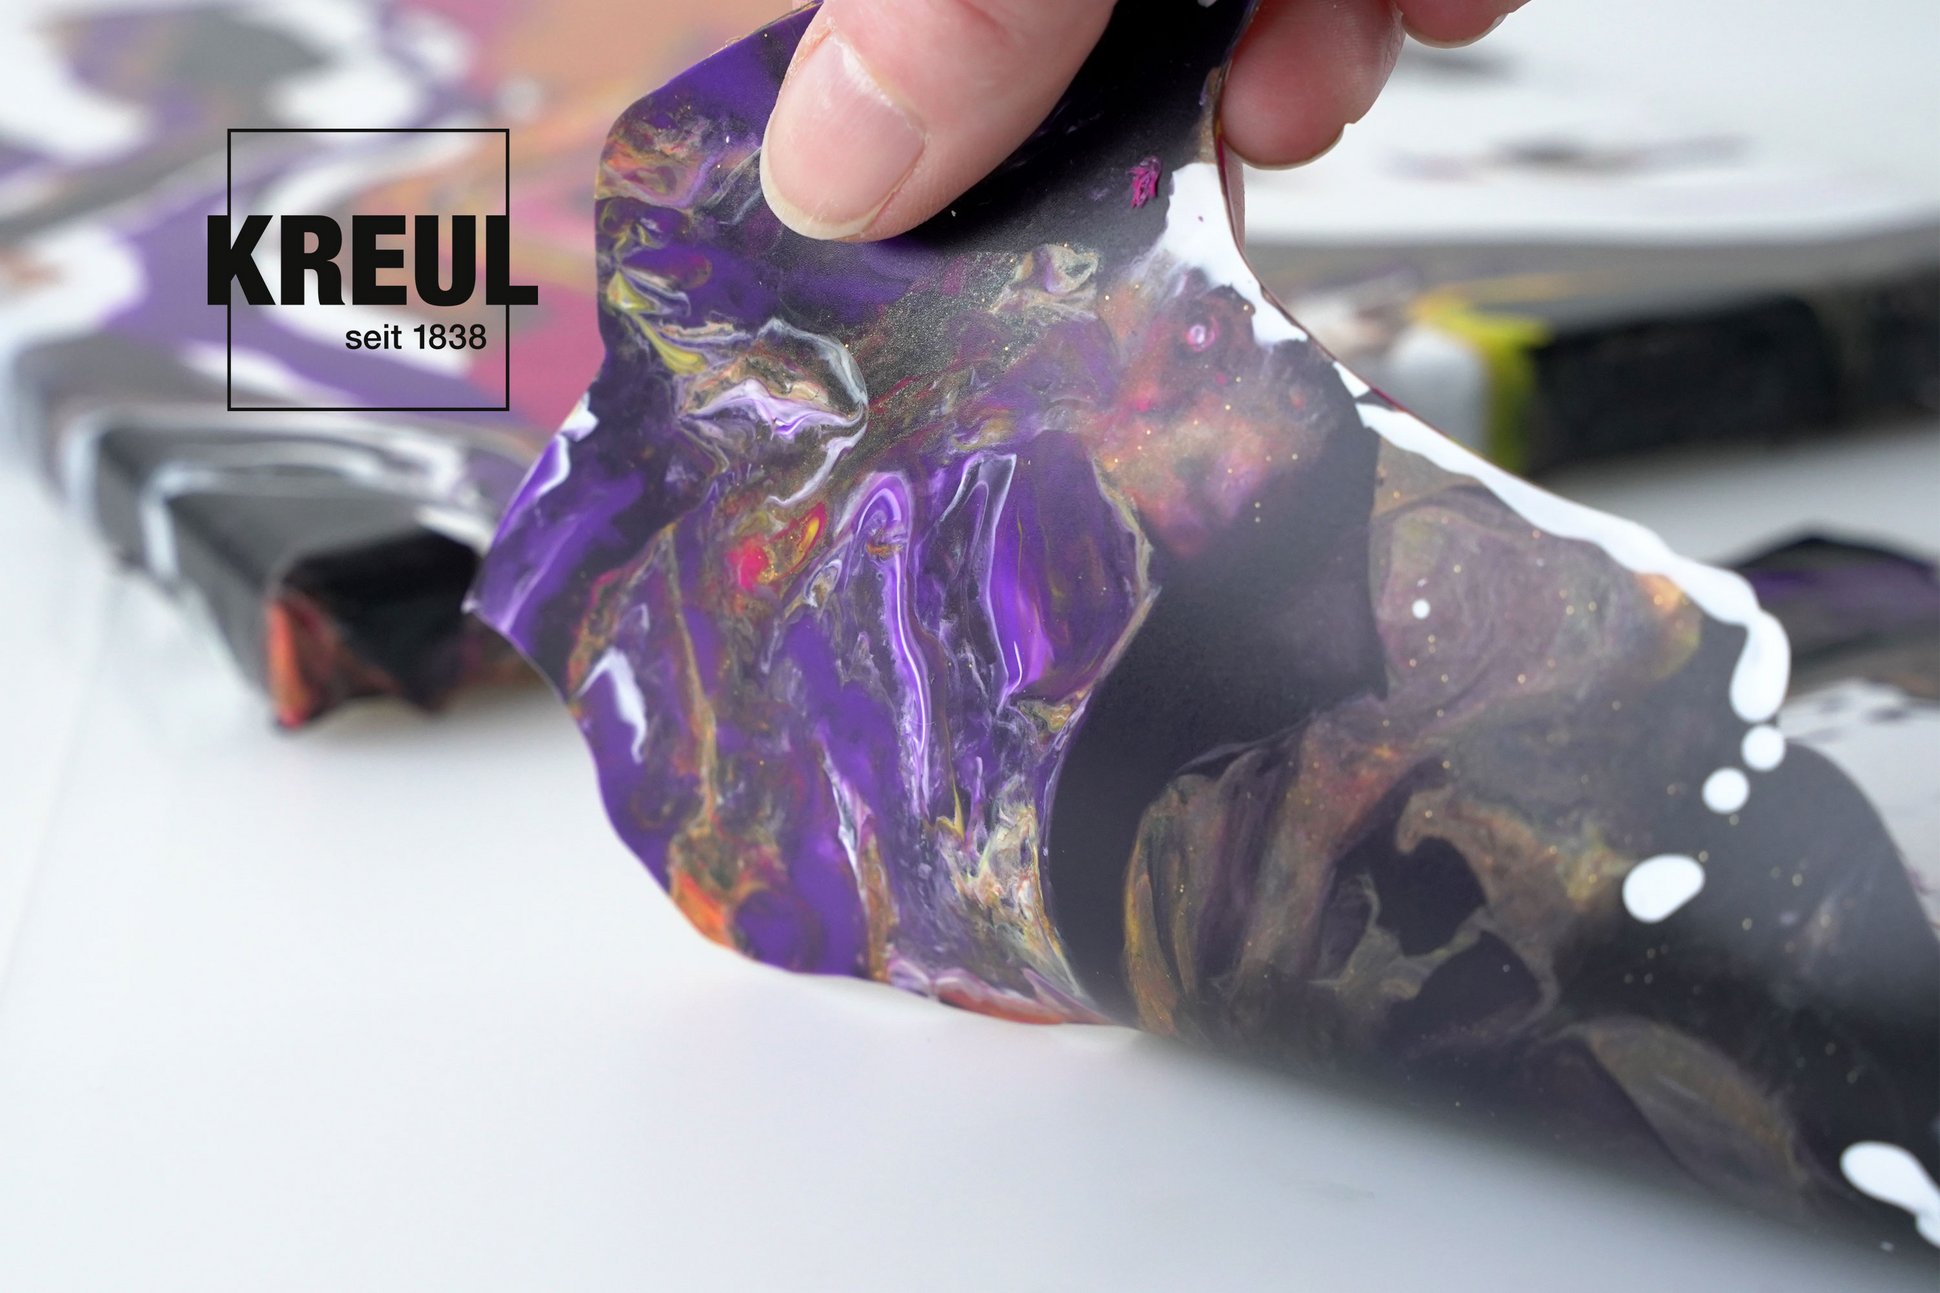
No doubt, lots of paint has dripped onto your crafting table and dried there while you were pouring your paints. Simply peel off these flexible and pretty-patterned splatters of colour and cut them to size with a pair of scissors. Warm these splatters with your hand or a hairdryer, then place a splatter onto a crack like a sticker and press it down. All done! If the cracks cover a larger area, then first remove the dried paint in this area and cover the area with a larger splatter of colour.
