Tropical Feeling with SOLO GOYA Acrylic
05/08/2024 |- SOLO GOYA Acrylic
- Ideen für Künstler
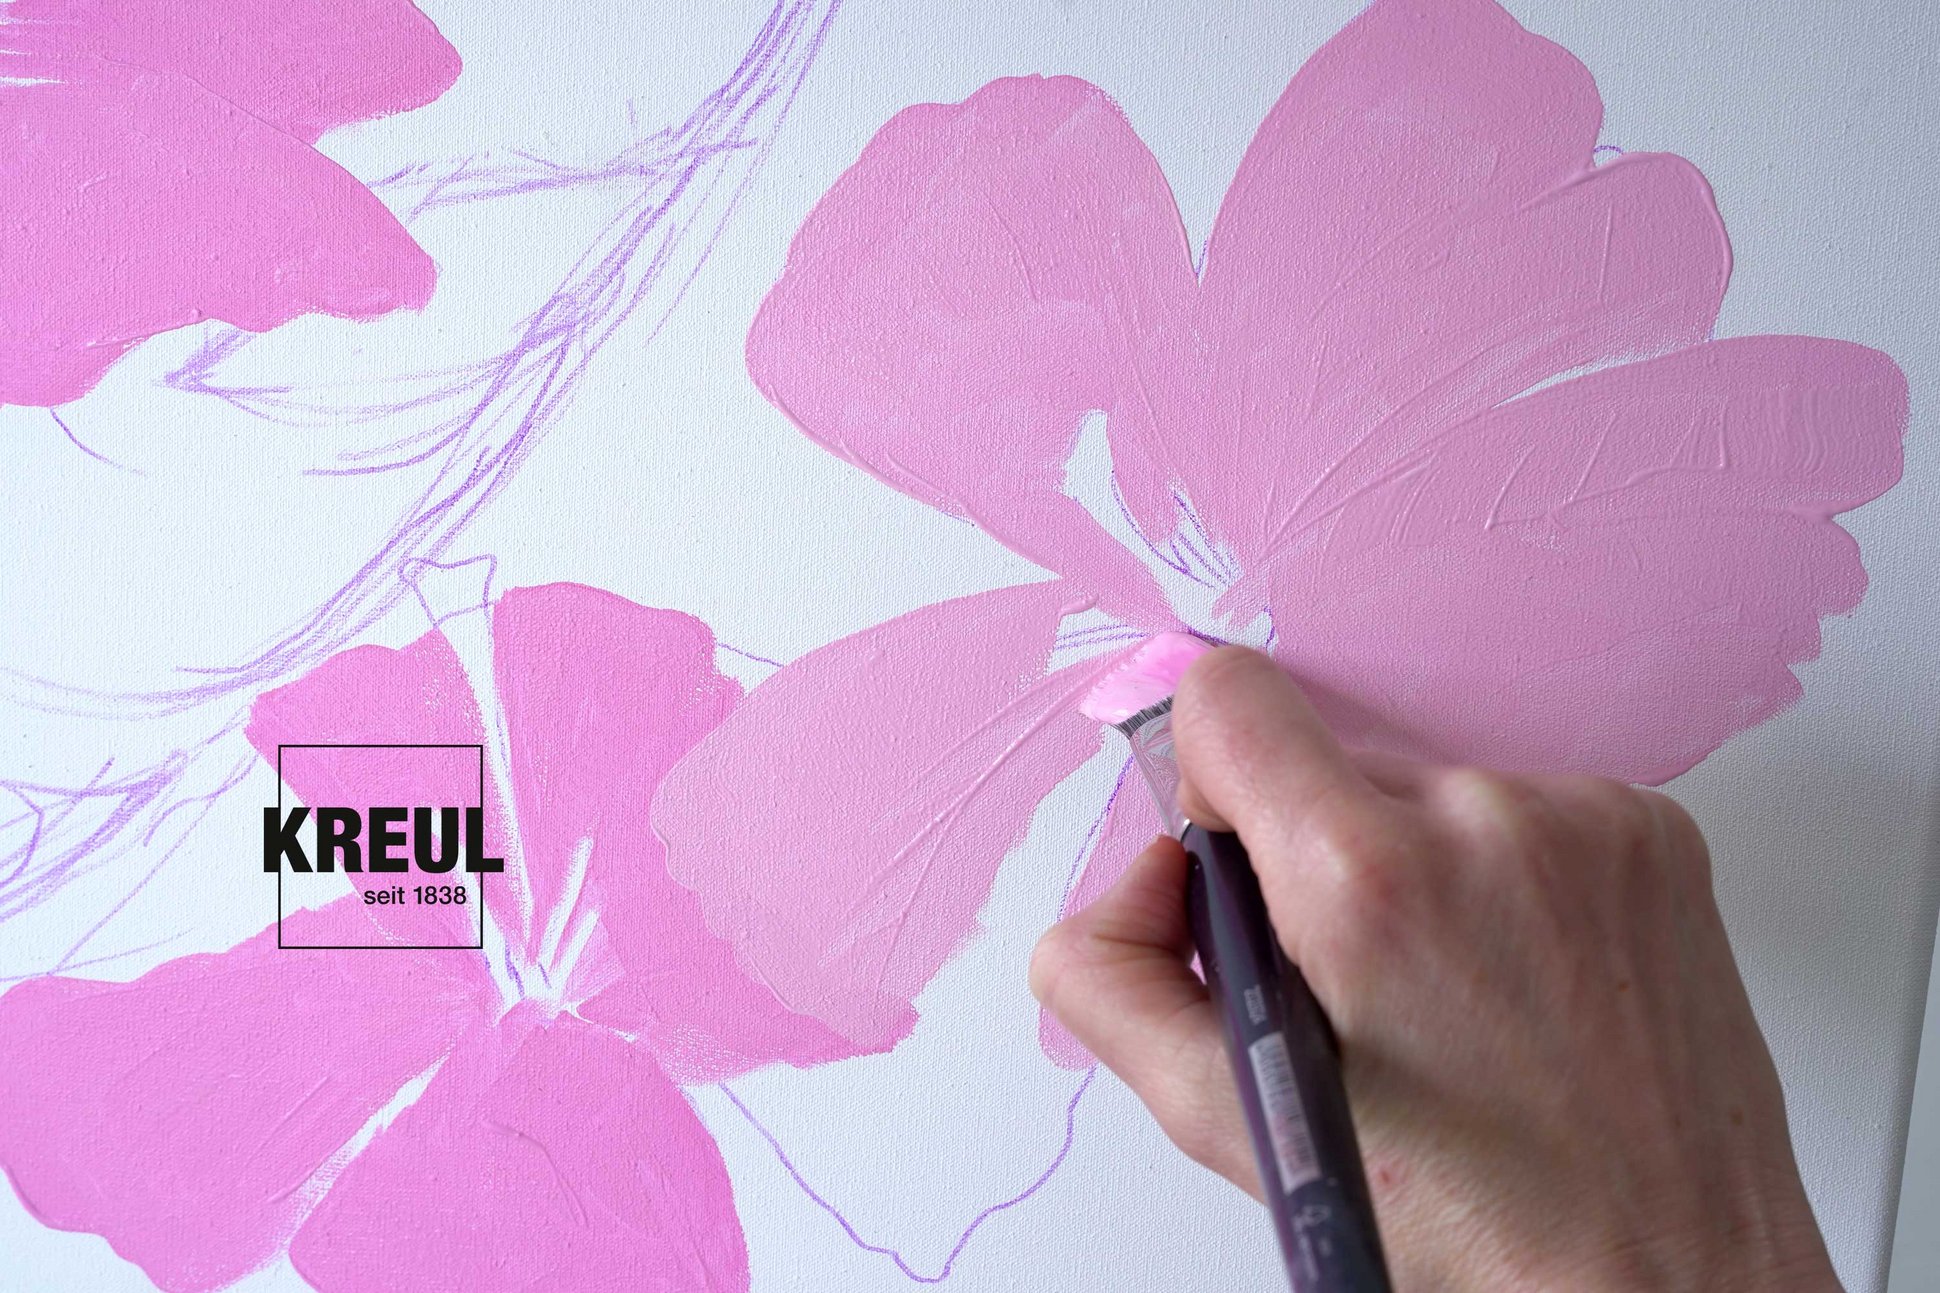
Step 1: Invisible sketching of outlines and first layers of paint
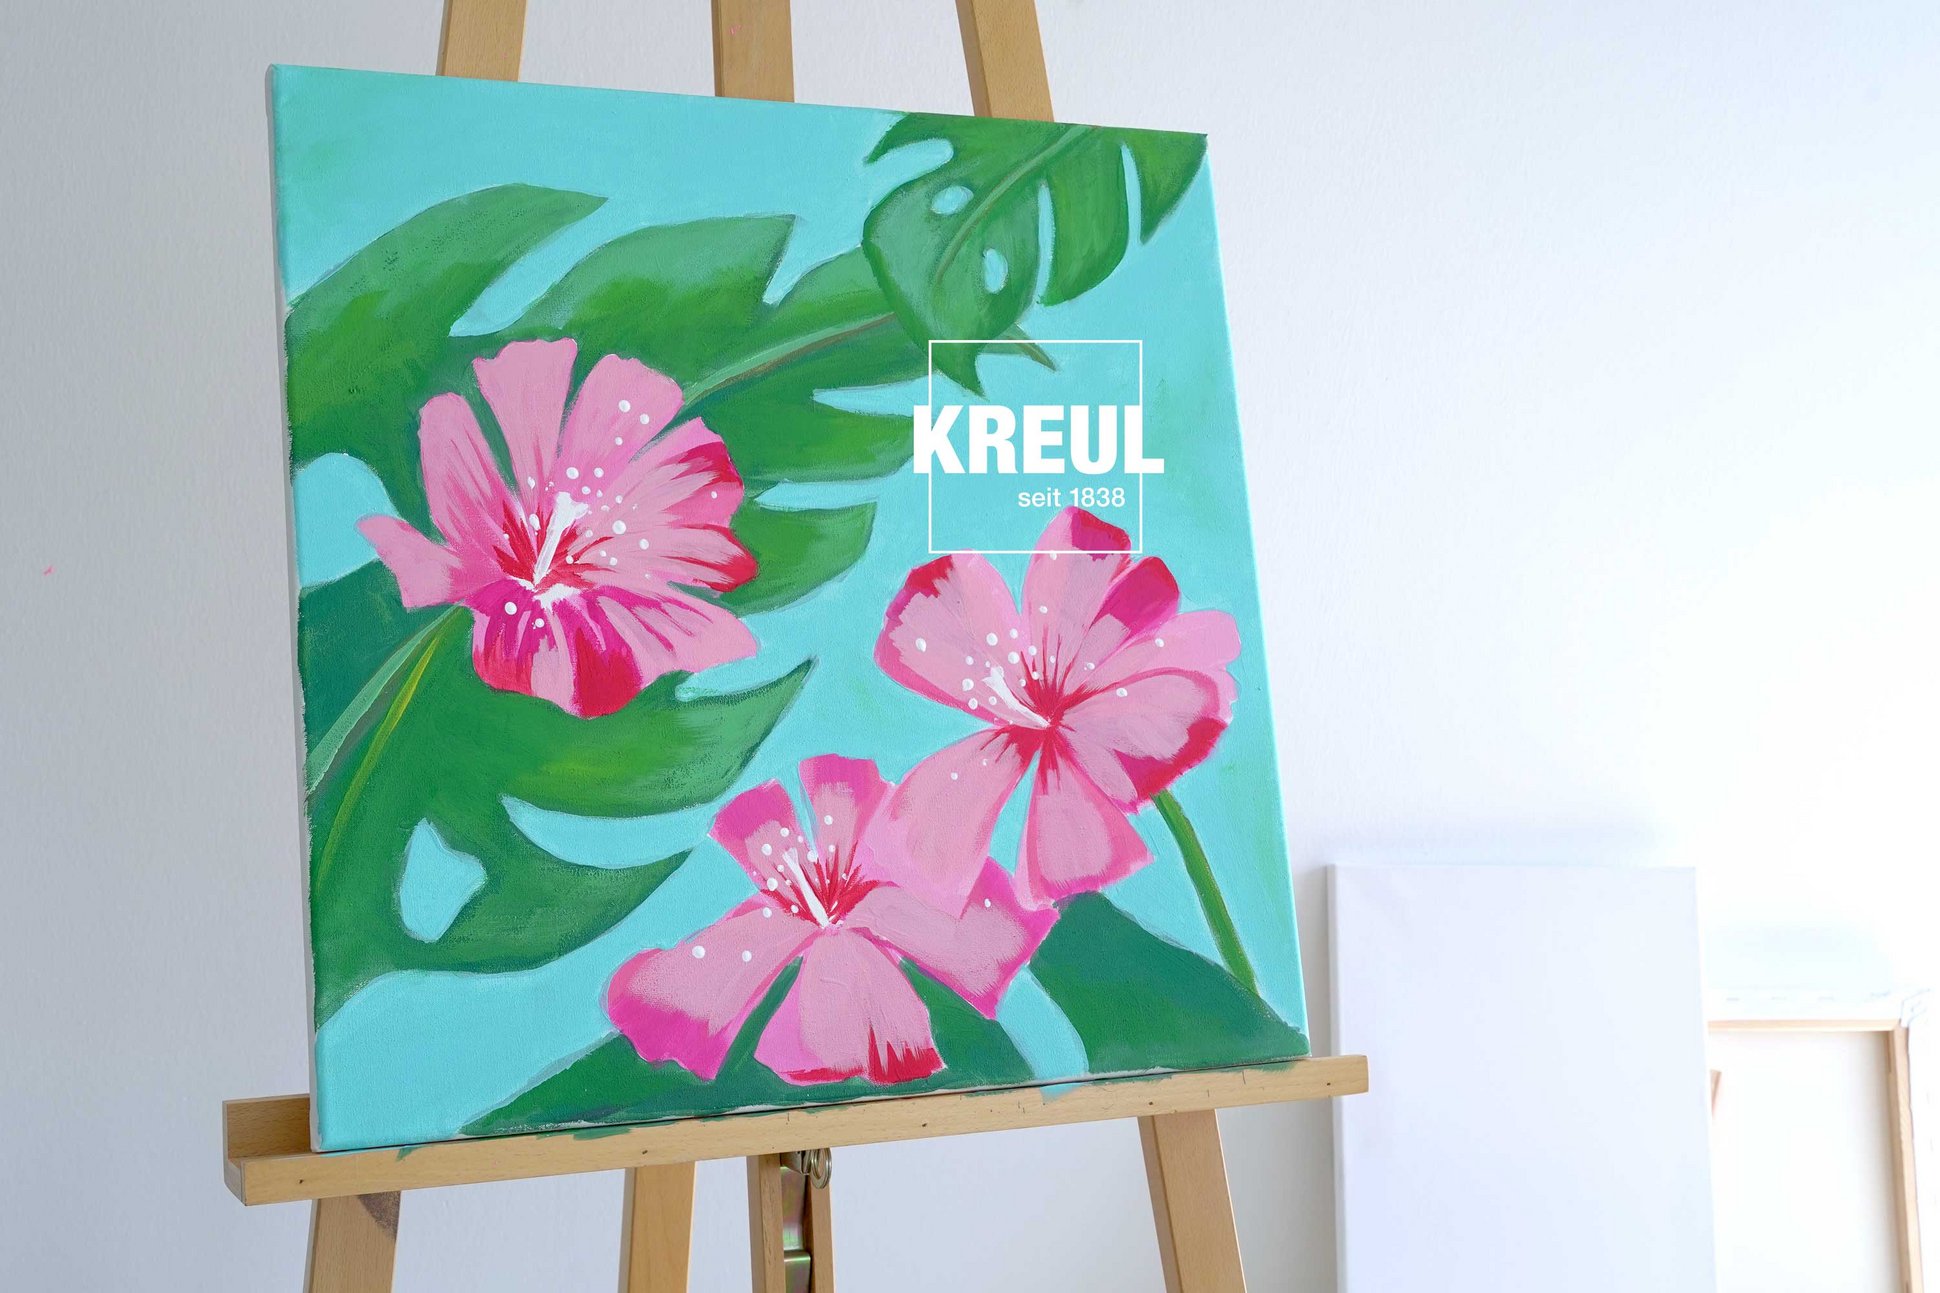
First, we roughly sketch the composition of the artwork. Not with a pencil as the pencil marks may show through the light-coloured areas later. Our insider tip for perfect sketching out of a motif is the KREUL Disappearing Ink Pen. The lines you have drawn dissolve as soon as you wet them with water. As if by magic! That works on contact with acrylic paint, too, after all this is also water-based. The easy-to-see purple lines are a great help in finding the right proportions. We use it to roughly sketch the hibiscus flowers and the leaves, and then we apply a first layer of paint. For this, we add some White to Magenta and paint the flowers, leaving out the pistils. Don’t use the same colour mix for all the blooms. Adding a darker shade adds a bit of variety.
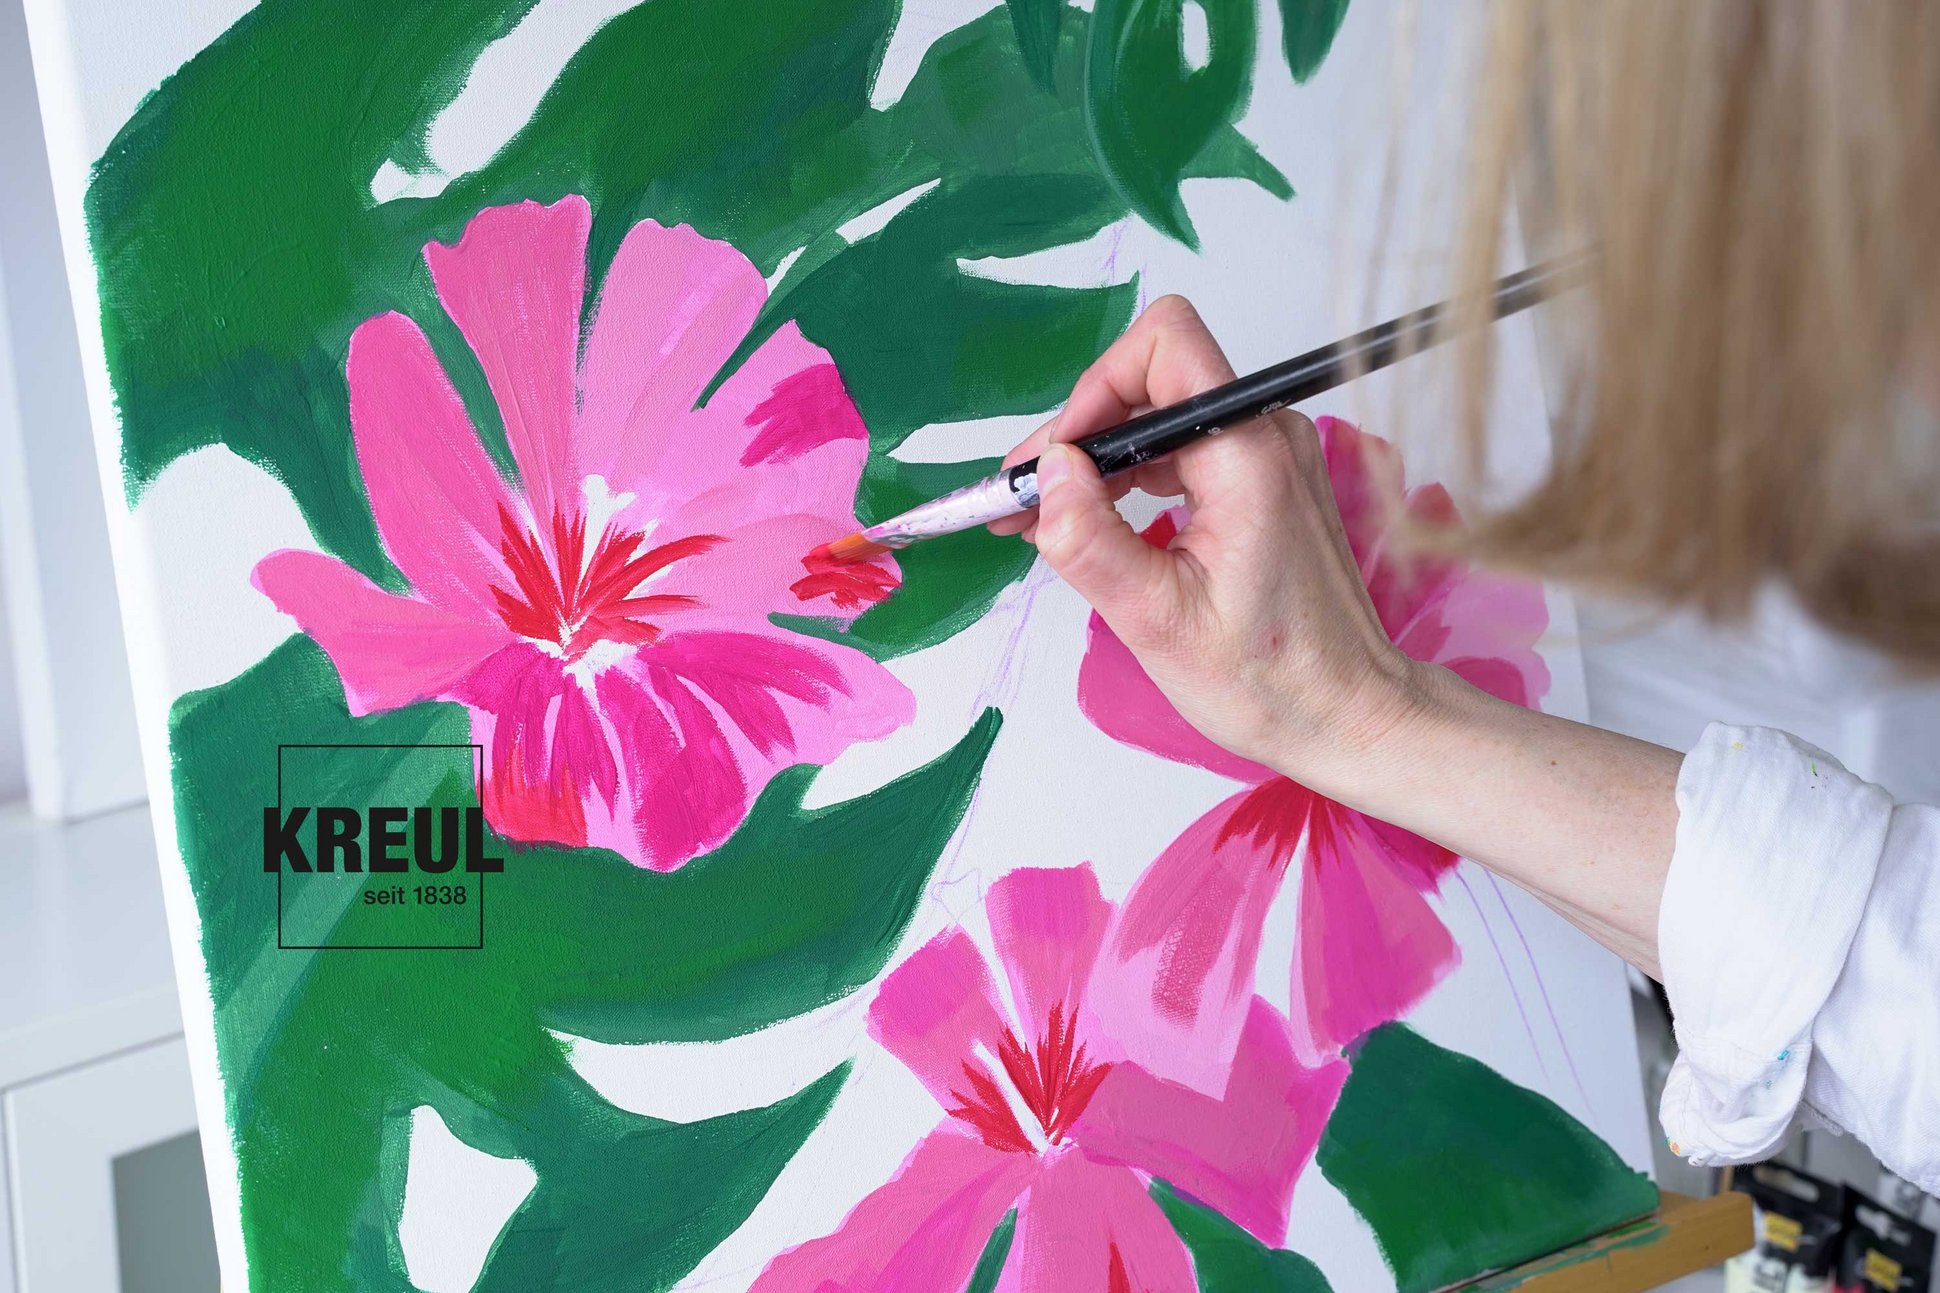
Step 2: Light and dark contrast for intense hibiscus blooms
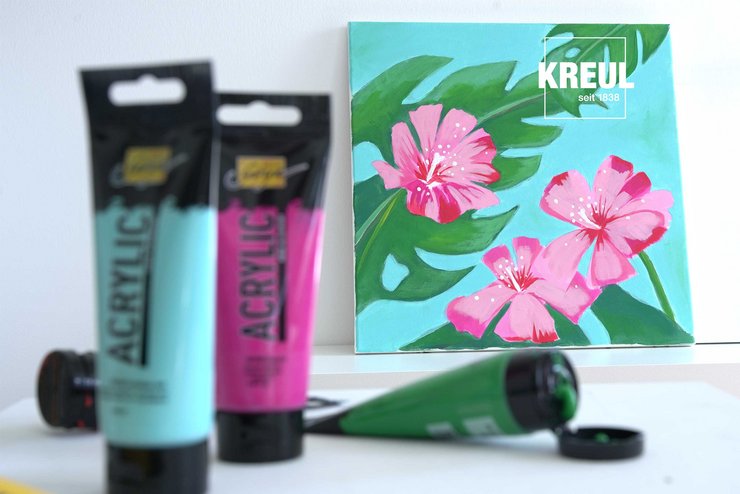
Now, it's time to add more contrast. We do that by putting dark colours next to lighter ones. We give the hibiscus flowers some shading in Magenta, and add some Vermilion Red to the centre of the flowers. We colour the leaves in a vibrant Foliage Green, darkening some areas with some Ultramarine. For the veins of the leaves, we mix some white in to the Foliage Green. SOLO GOYA Acrylic is perfect for painting in multiple layers. The artists’ acrylic paint is highly pigmented, can be applied in a creamy consistency, dries fast and is beautifully matt once it has dried. An optimal base for more layers and details!
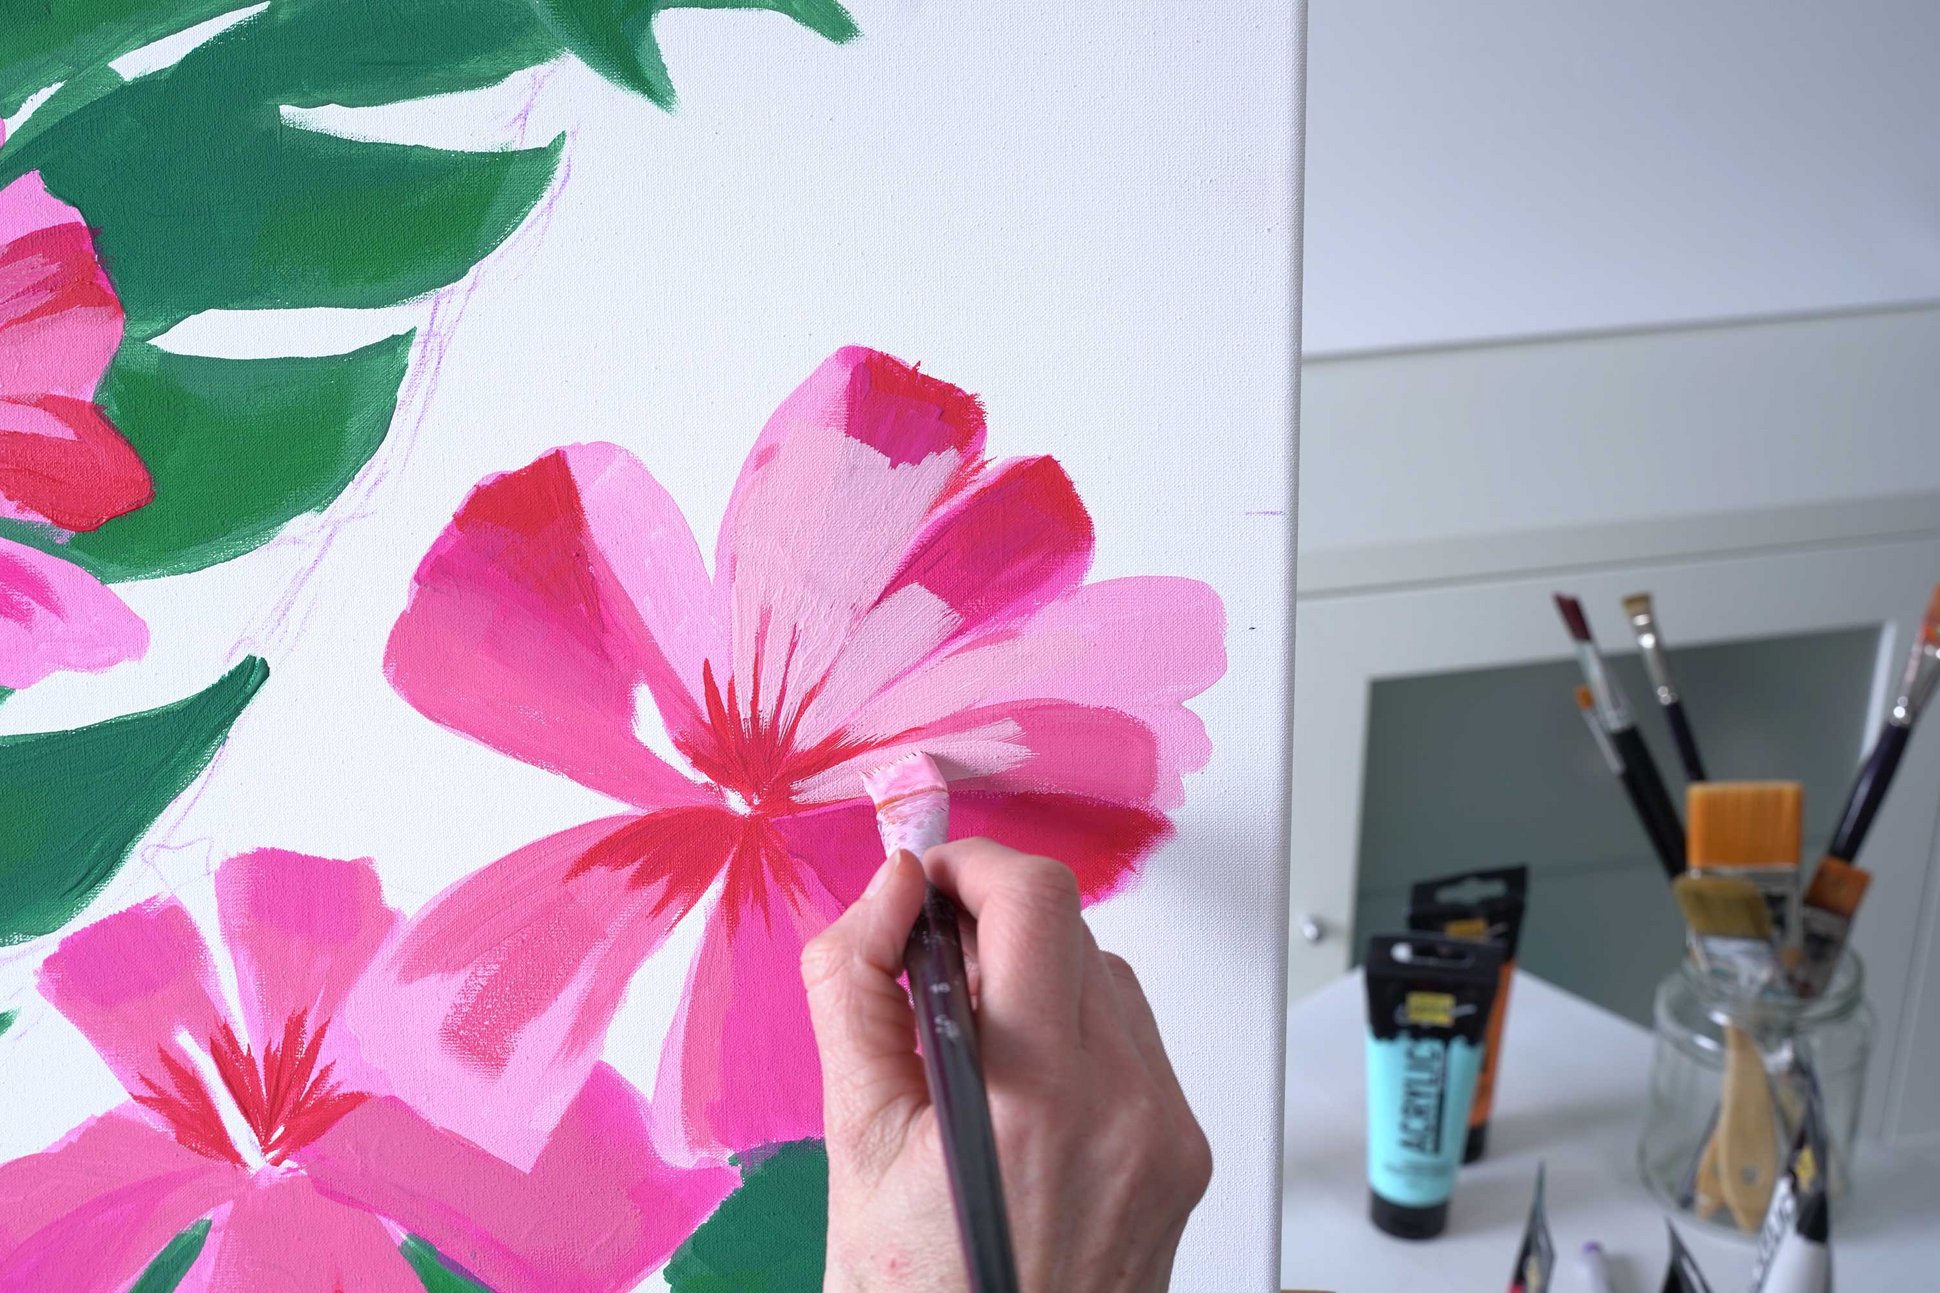
Step 3: Mix Flamingo Pink for a more Caribbean look
You get a more three-dimensional look with even more levels of brightness. So we lighten some areas of the hibiscus flowers. Always there where the sun rays would hit the flowers in real life. This time we mix a pink with even more tropical feeling. We get this by lightening Magenta with Ivory instead of with White. This makes a light pink reminiscent of the colour of flamingos.
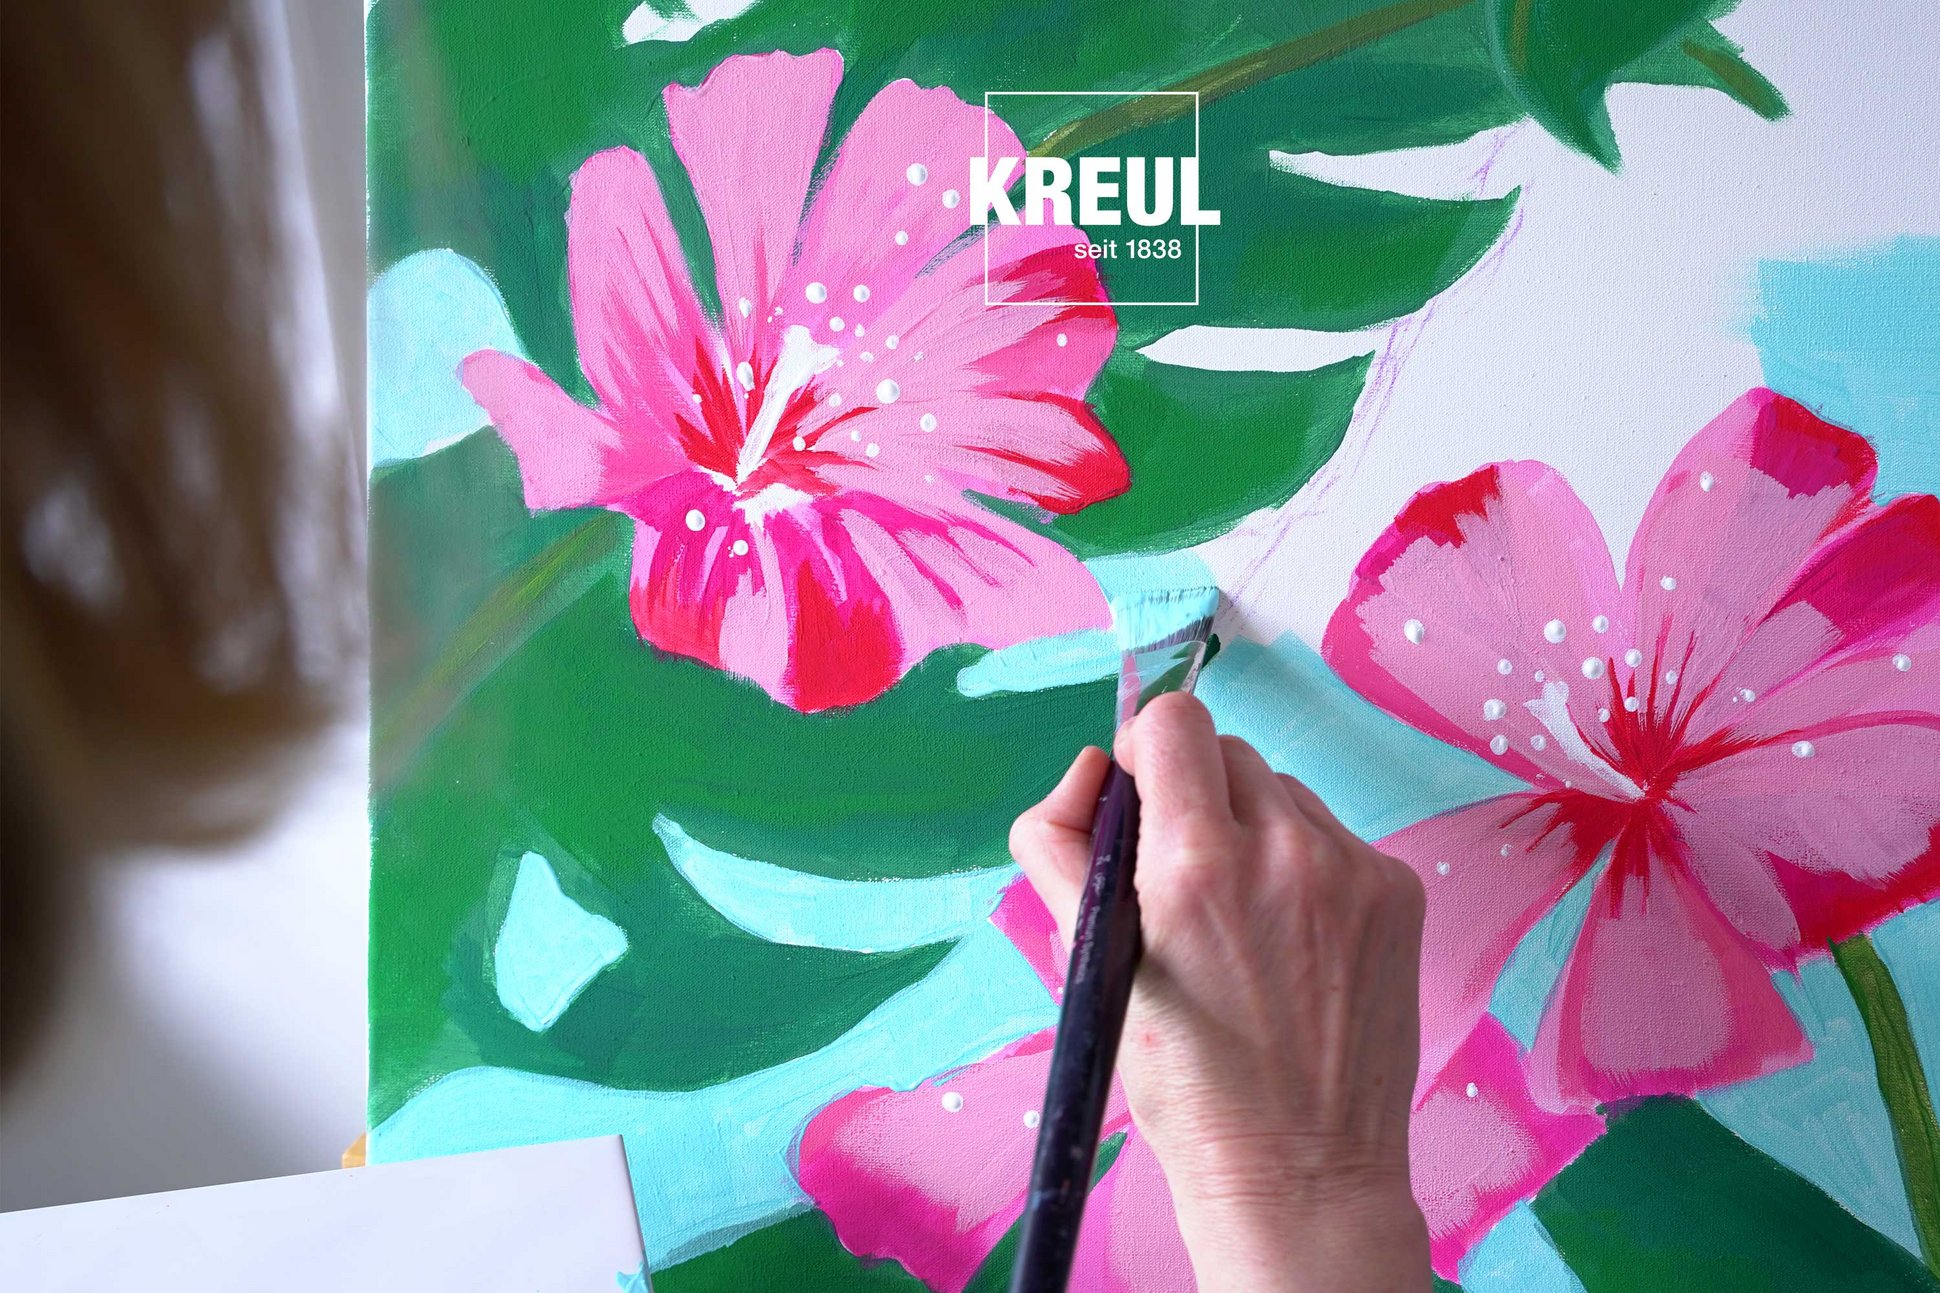
Step 4: Background in radiant Turquoise
The main elements of our tropical acrylic art are finished. We get a holiday flair with another colourful contrast. For this, we choose Turquoise Blue Light as the background colour. All done! Hasn’t it turned out fantastic? The colourful art looks like a mural painting from the Caribbean. It will definitely look wonderful on the living room wall, brightening up rainy afternoons in spring.
