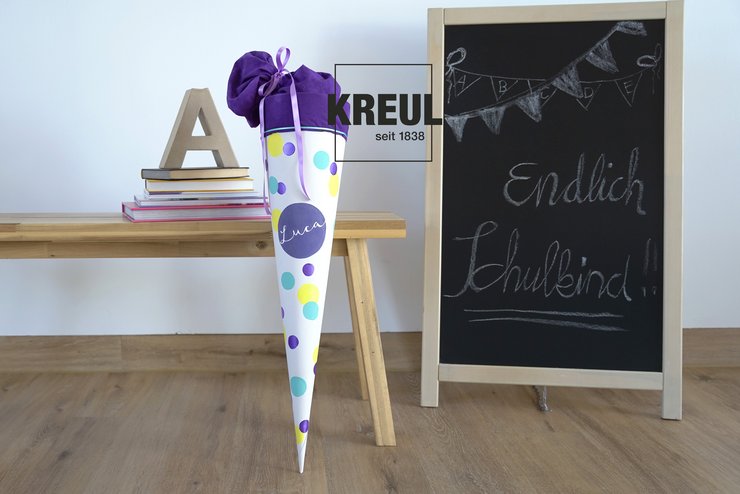
Making your own "Schultüte" in minimalist style
06/25/2024 |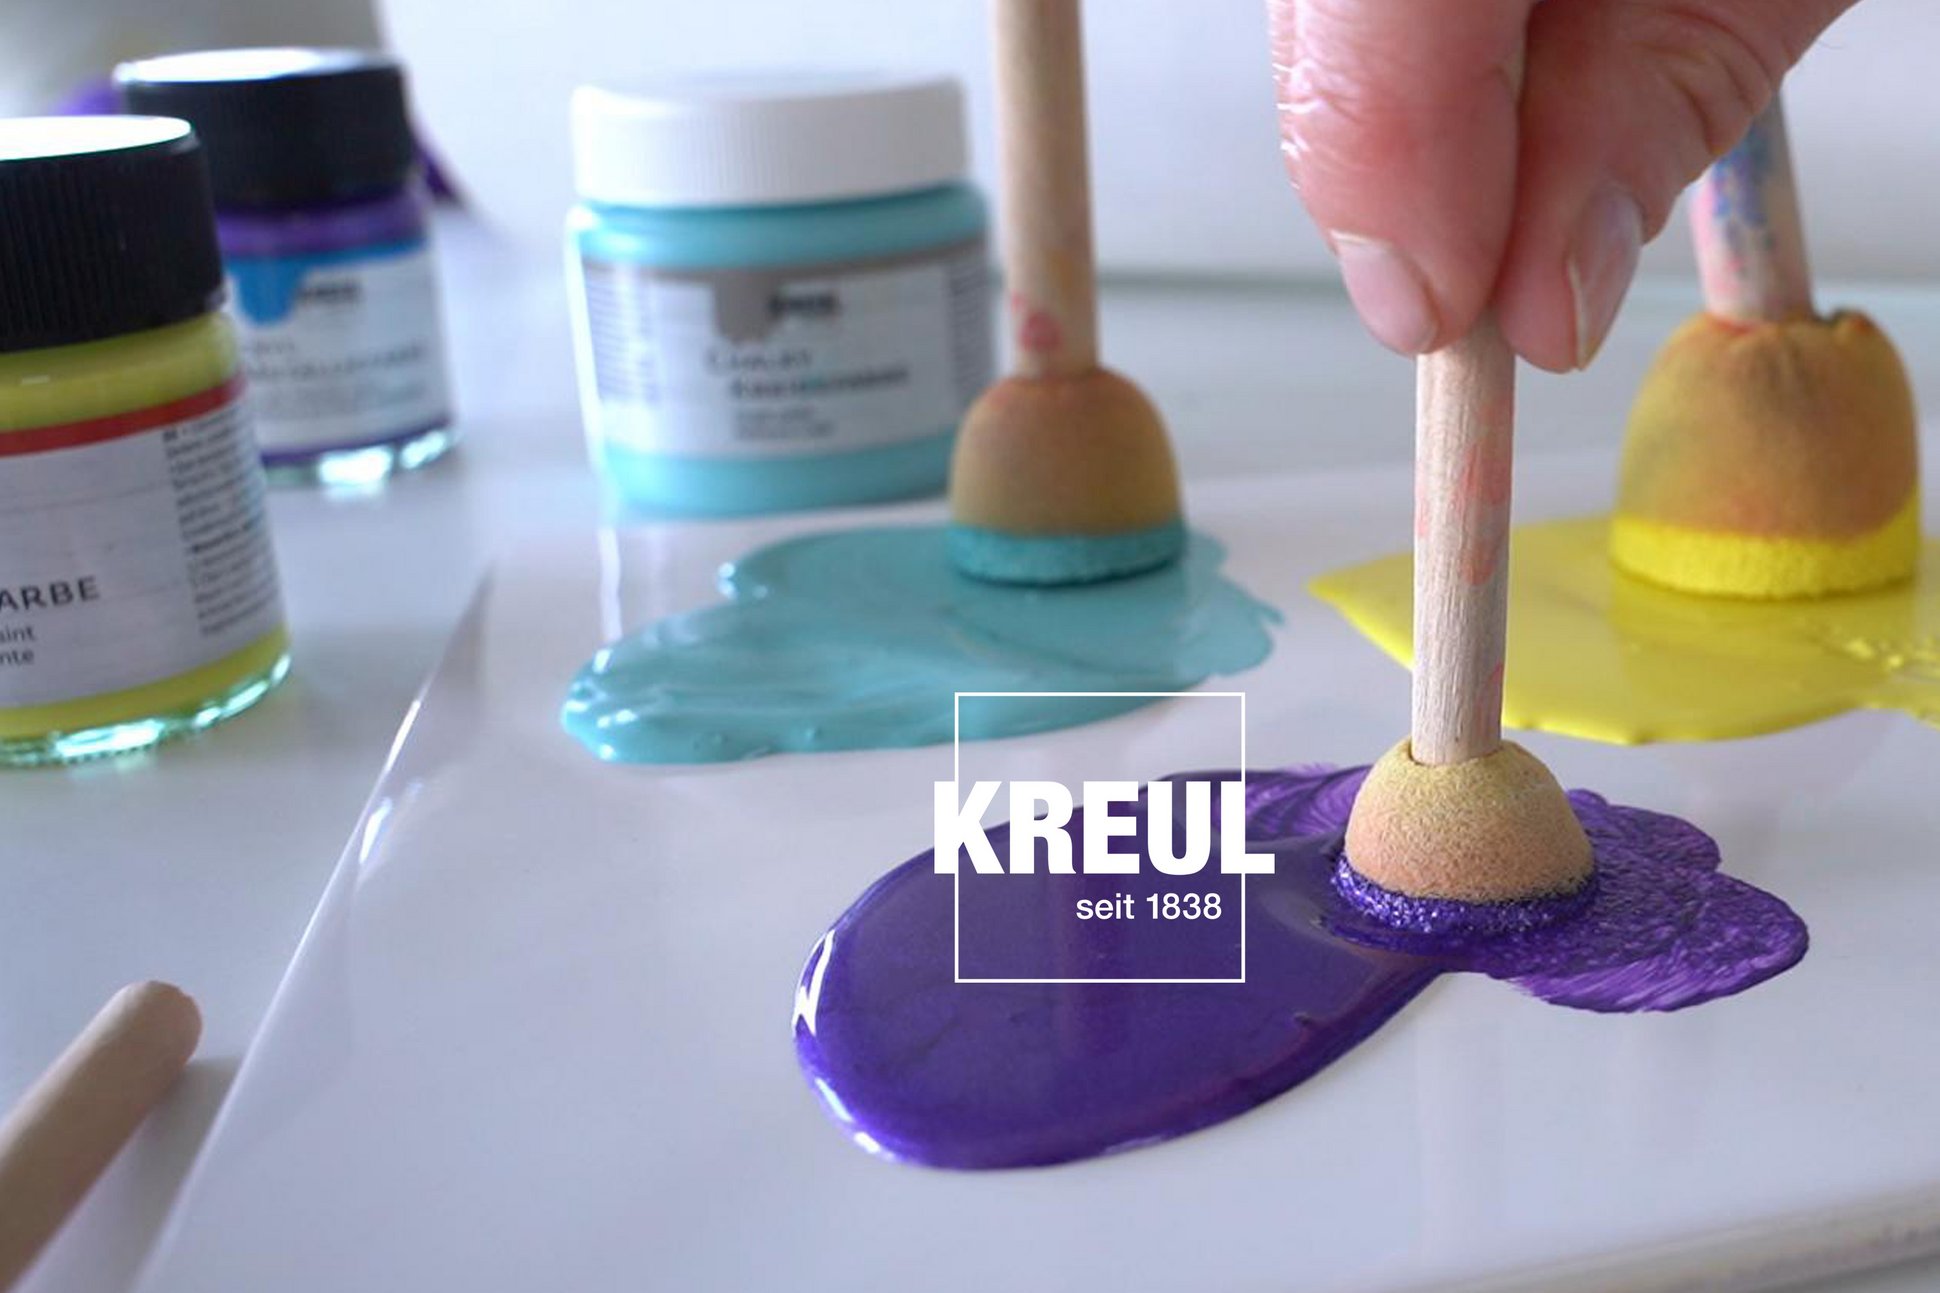
List of materials for our school cone
Our simple design is so easy to make. You'll need these materials: a blank school cone in white, cotton fabric in violet to close the top of the cone, KREUL Acrylic Metallic Paint in Violet, KREUL Chalky Paint in Ice Mint, KREUL Acrylic Gloss Paint in Sun Yellow, KREUL Puffy Paint & Outliner Pen in Blue, Ruby Red and White, KREUL Set of 4 Foam and Stencil Brushes, KREUL Handicraft Glue, a paintbrush, KREUL Copying Paper, KREUL Paper Kids Art, a pencil, a stapler, scissors and some ribbon. Everything laid out ready? Then time to lift the lid on those paint pots!
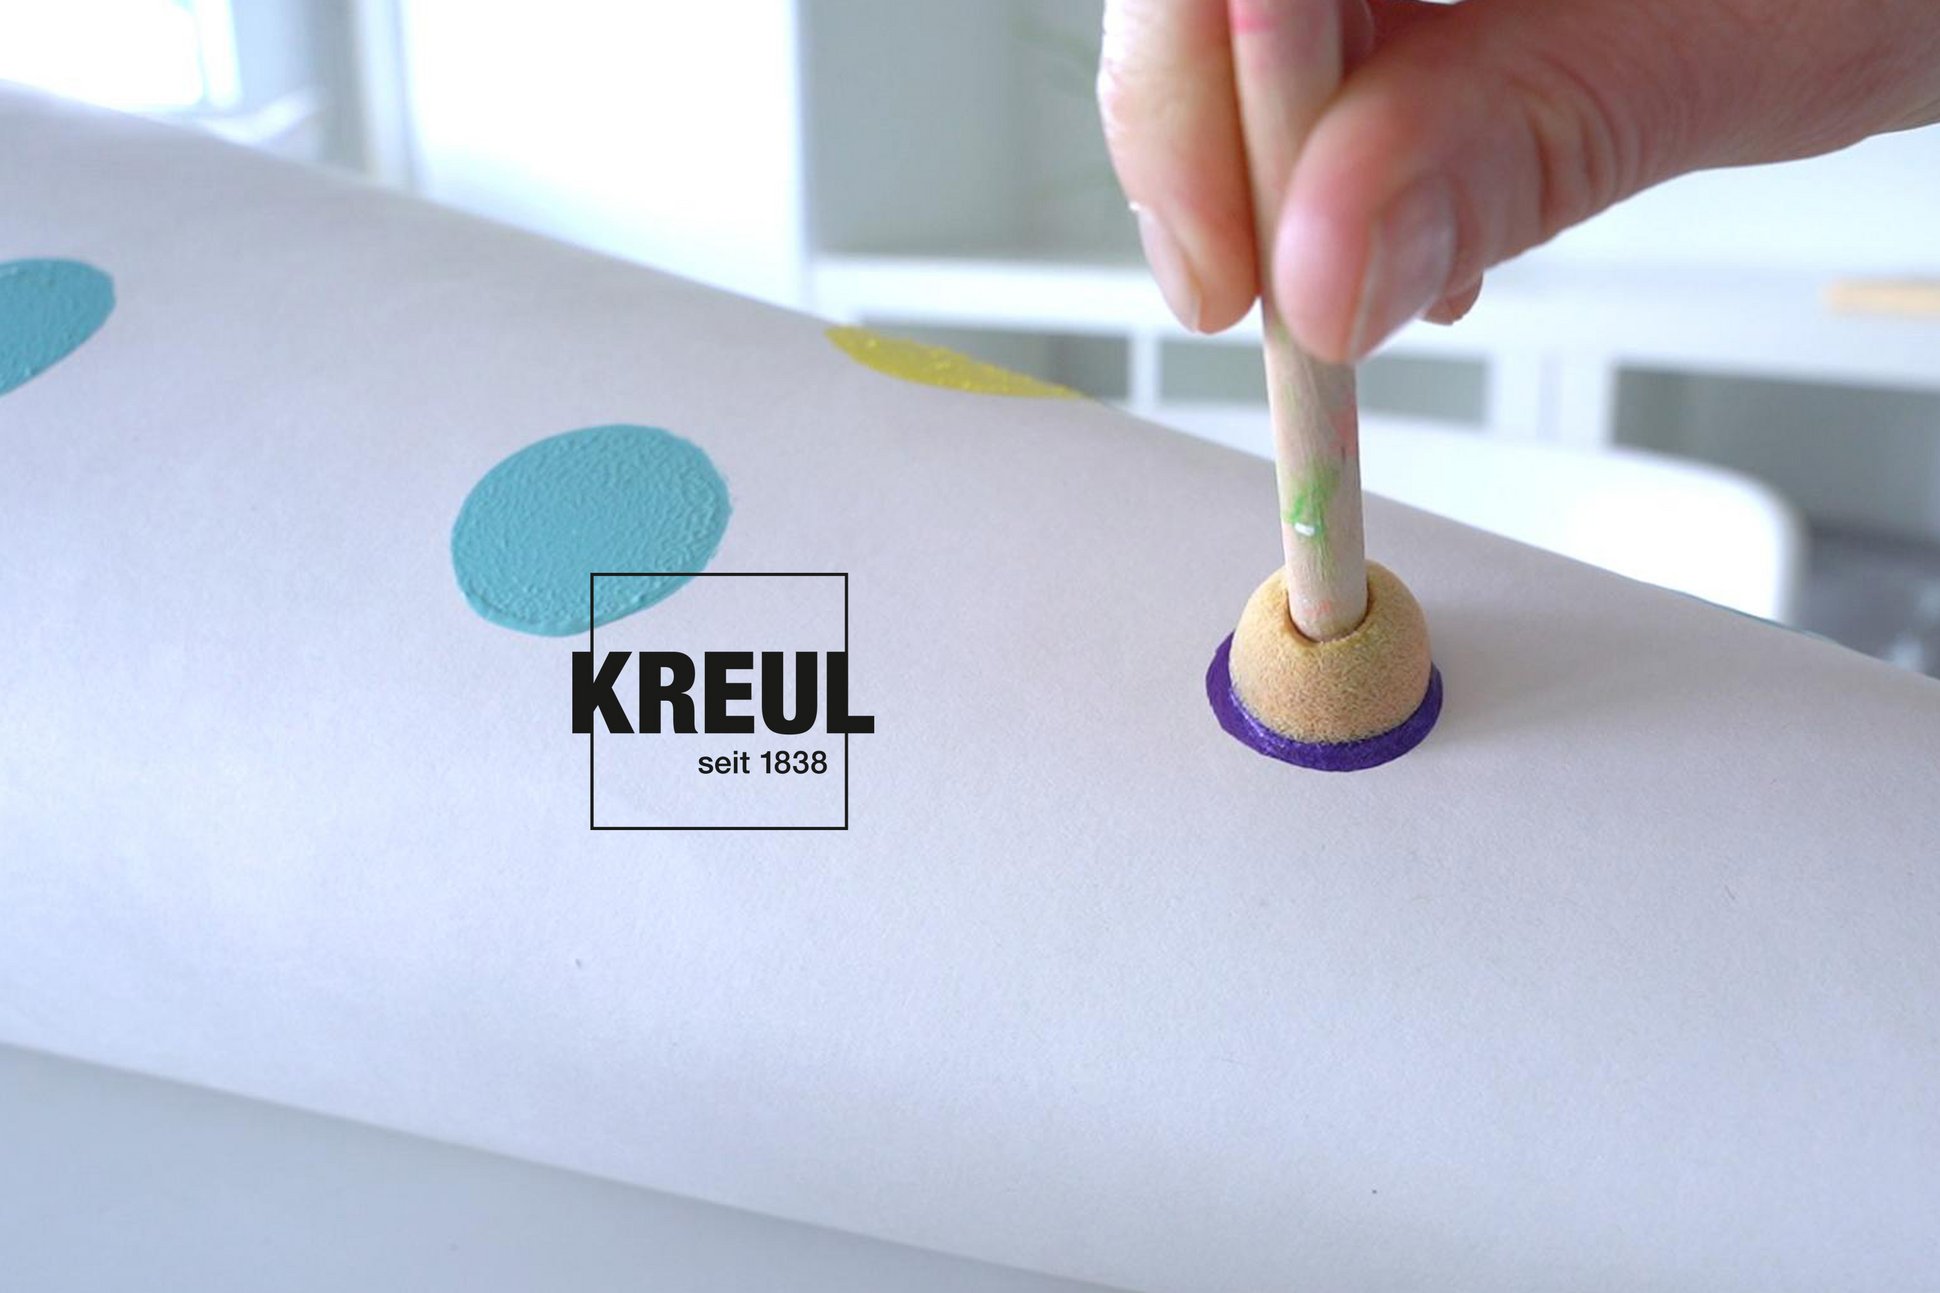
Step 1: Dab on dots of colour
First use a foam brush to dab on colourful dots in different sizes onto the white school cone. You can get nice round circles if you twist the foam brush slightly as you press the paint onto the white surface. In the colours Violet, Sun Yellow and Ice Mint, the dots of colour look like confetti. After all, the first day at school is something to celebrate!
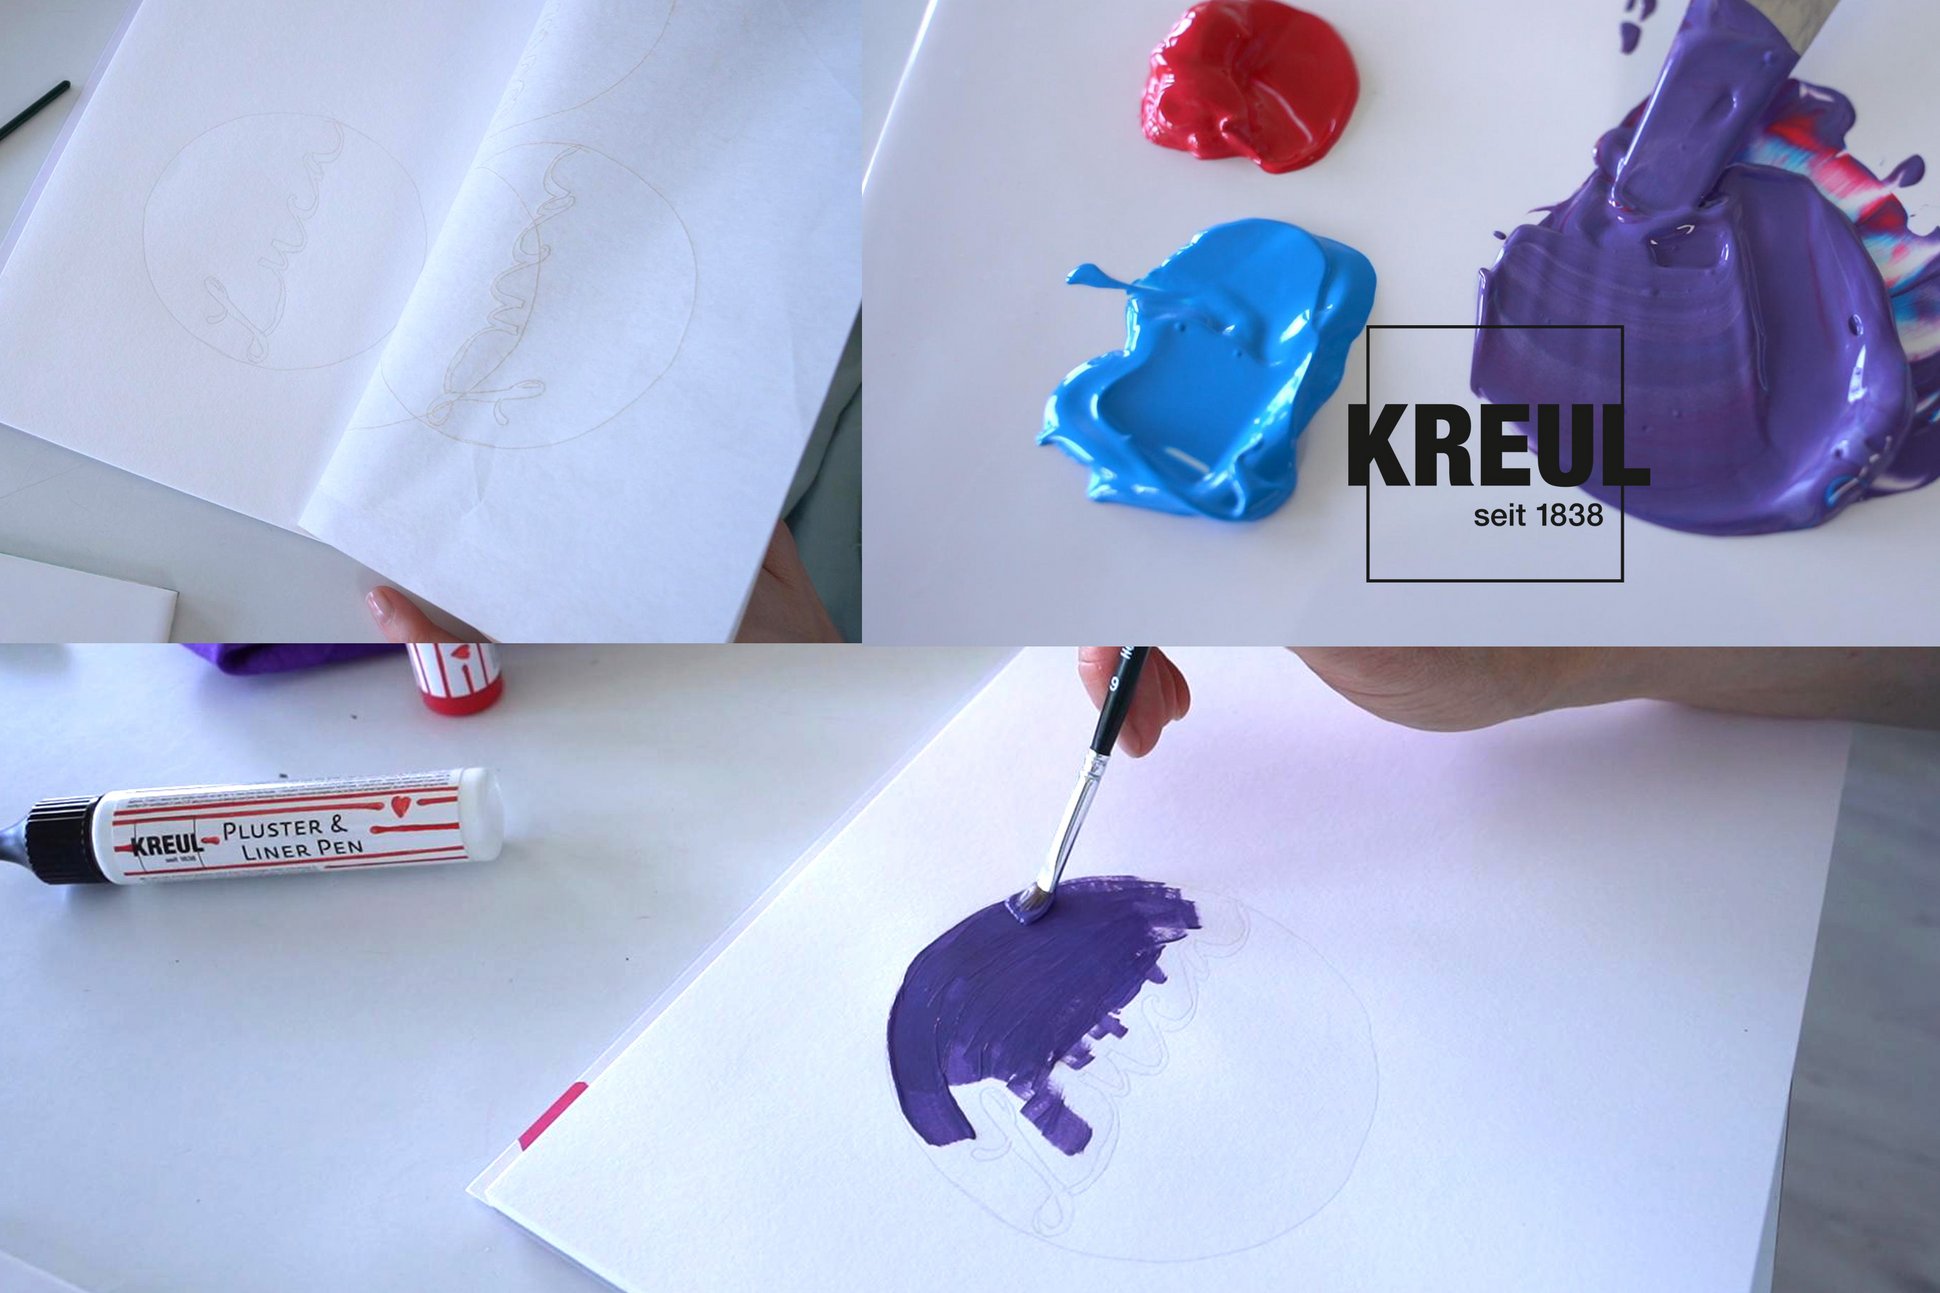
Step 2: Design the name plate
Now we get personal, with a name plate to make the school cone one of a kind. We design a colour-matched name plate in dark violet. For this colour we mix Blue, Ruby Red and a bit of White from the KREUL Puffy Paint & Outliner Pens. But first, write the name in stylish lettering on some stiff paper. We have chosen KREUL Paper Kids Art. If you don’t want to letter the name freehand, use a computer to design the name and print it out as a template. Then take KREUL Copying Paper to easily transfer the lettered name.
We use the violet paint to colour in just the background, for which we have chosen a circular shape. The name of the schoolchild remains white. So, we get a great three-dimensional effect with the paint from the KREUL Puffy Paint & Outliner Pens.
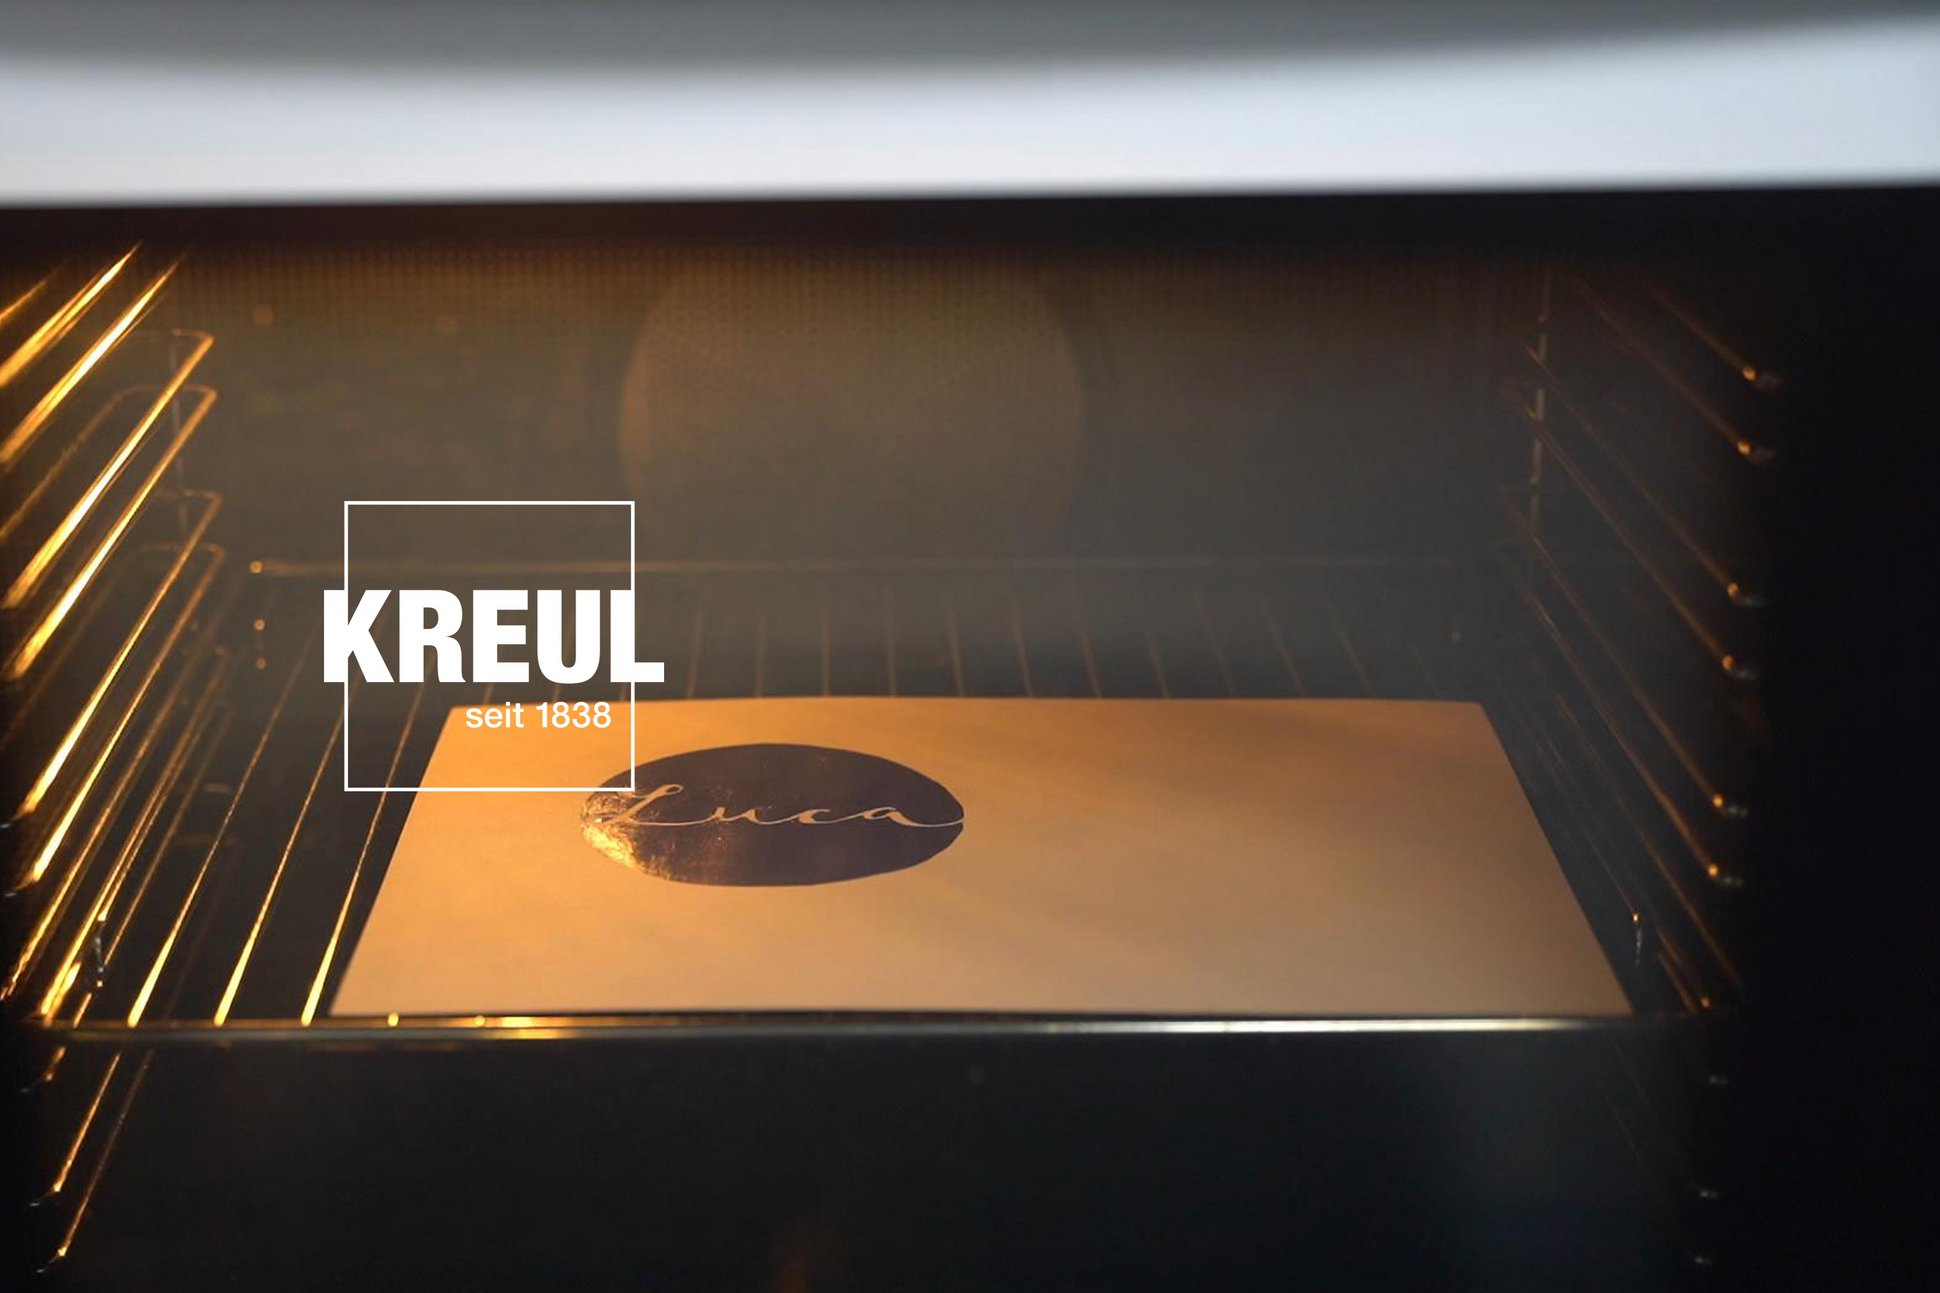
Step 3: Puff up the name plate in an oven
Leave the coloured name plate to dry for three hours. Then preheat the oven to 150 °C with a top and bottom heat setting. Once the temperature has been reached, place the name plate in the oven. As soon as the shine of the paint has turned to a velvety matt finish, the name plate is ready and you can take it out of the oven. It looks so stylish and it feels really interesting, too, a bit like rubber foam.
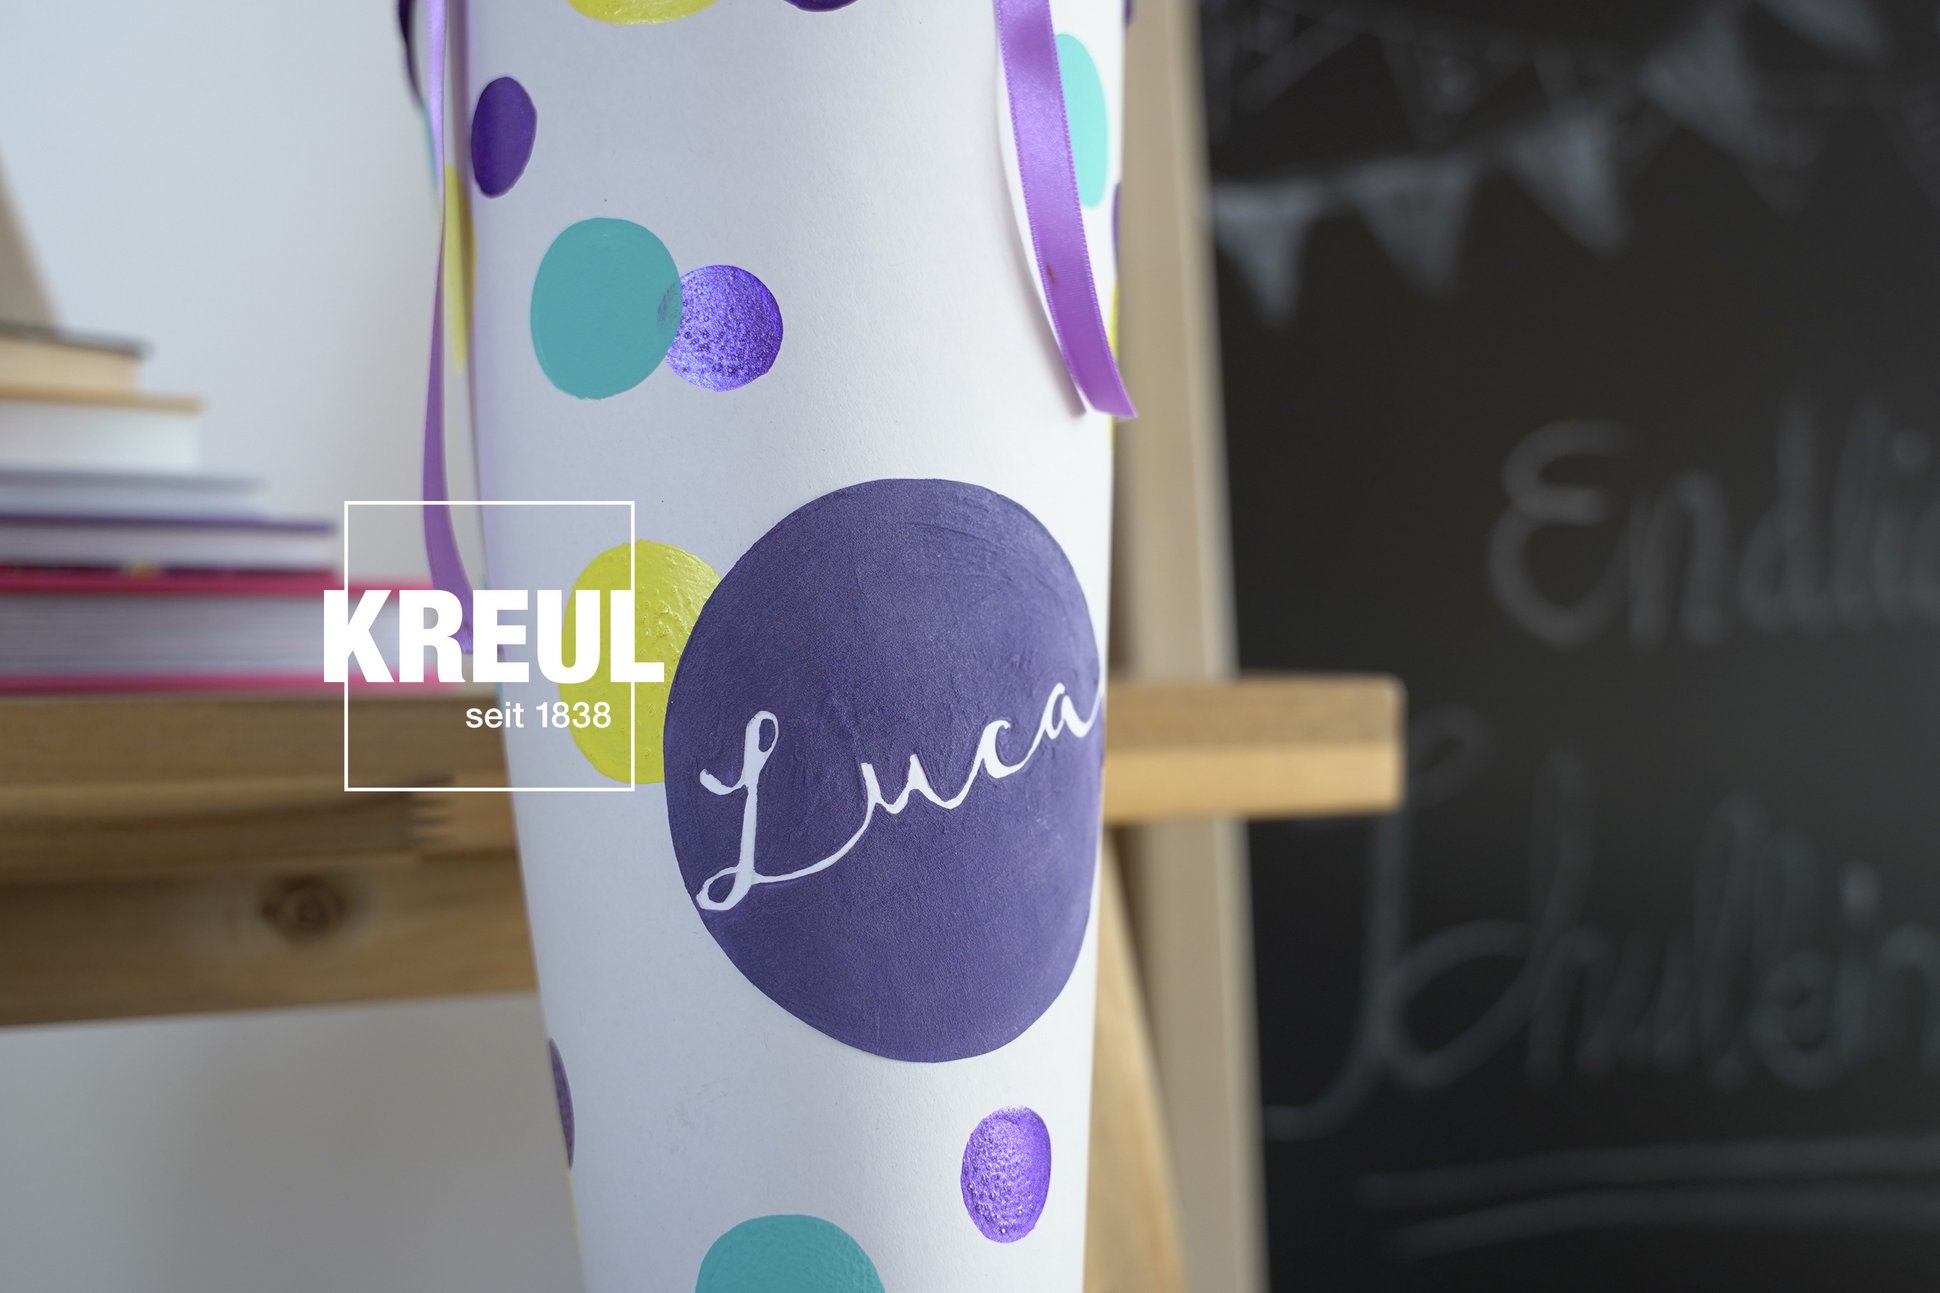
Step 4: A bit of sticking and then attach the fabric
Finally, you will need to do a bit of sticking on our school cone. But just the name plate and no other bits that could fall off when the newbie schoolchild carries it to school. For this, we use KREUL Handicraft Glue. The water-based universal glue reliably holds everything together that you want to stick together. Nearly done! Now you only need the no-see-through topping to keep the content of the cone as a surprise. Staple the violet cotton fabric to the edge of the school cone. Doesn’t our school cone look so classy? Now just fill it with gifts and goodies and it's ready for the big day! By the way, we have put some ideas together fort what you can put in the cone here.
