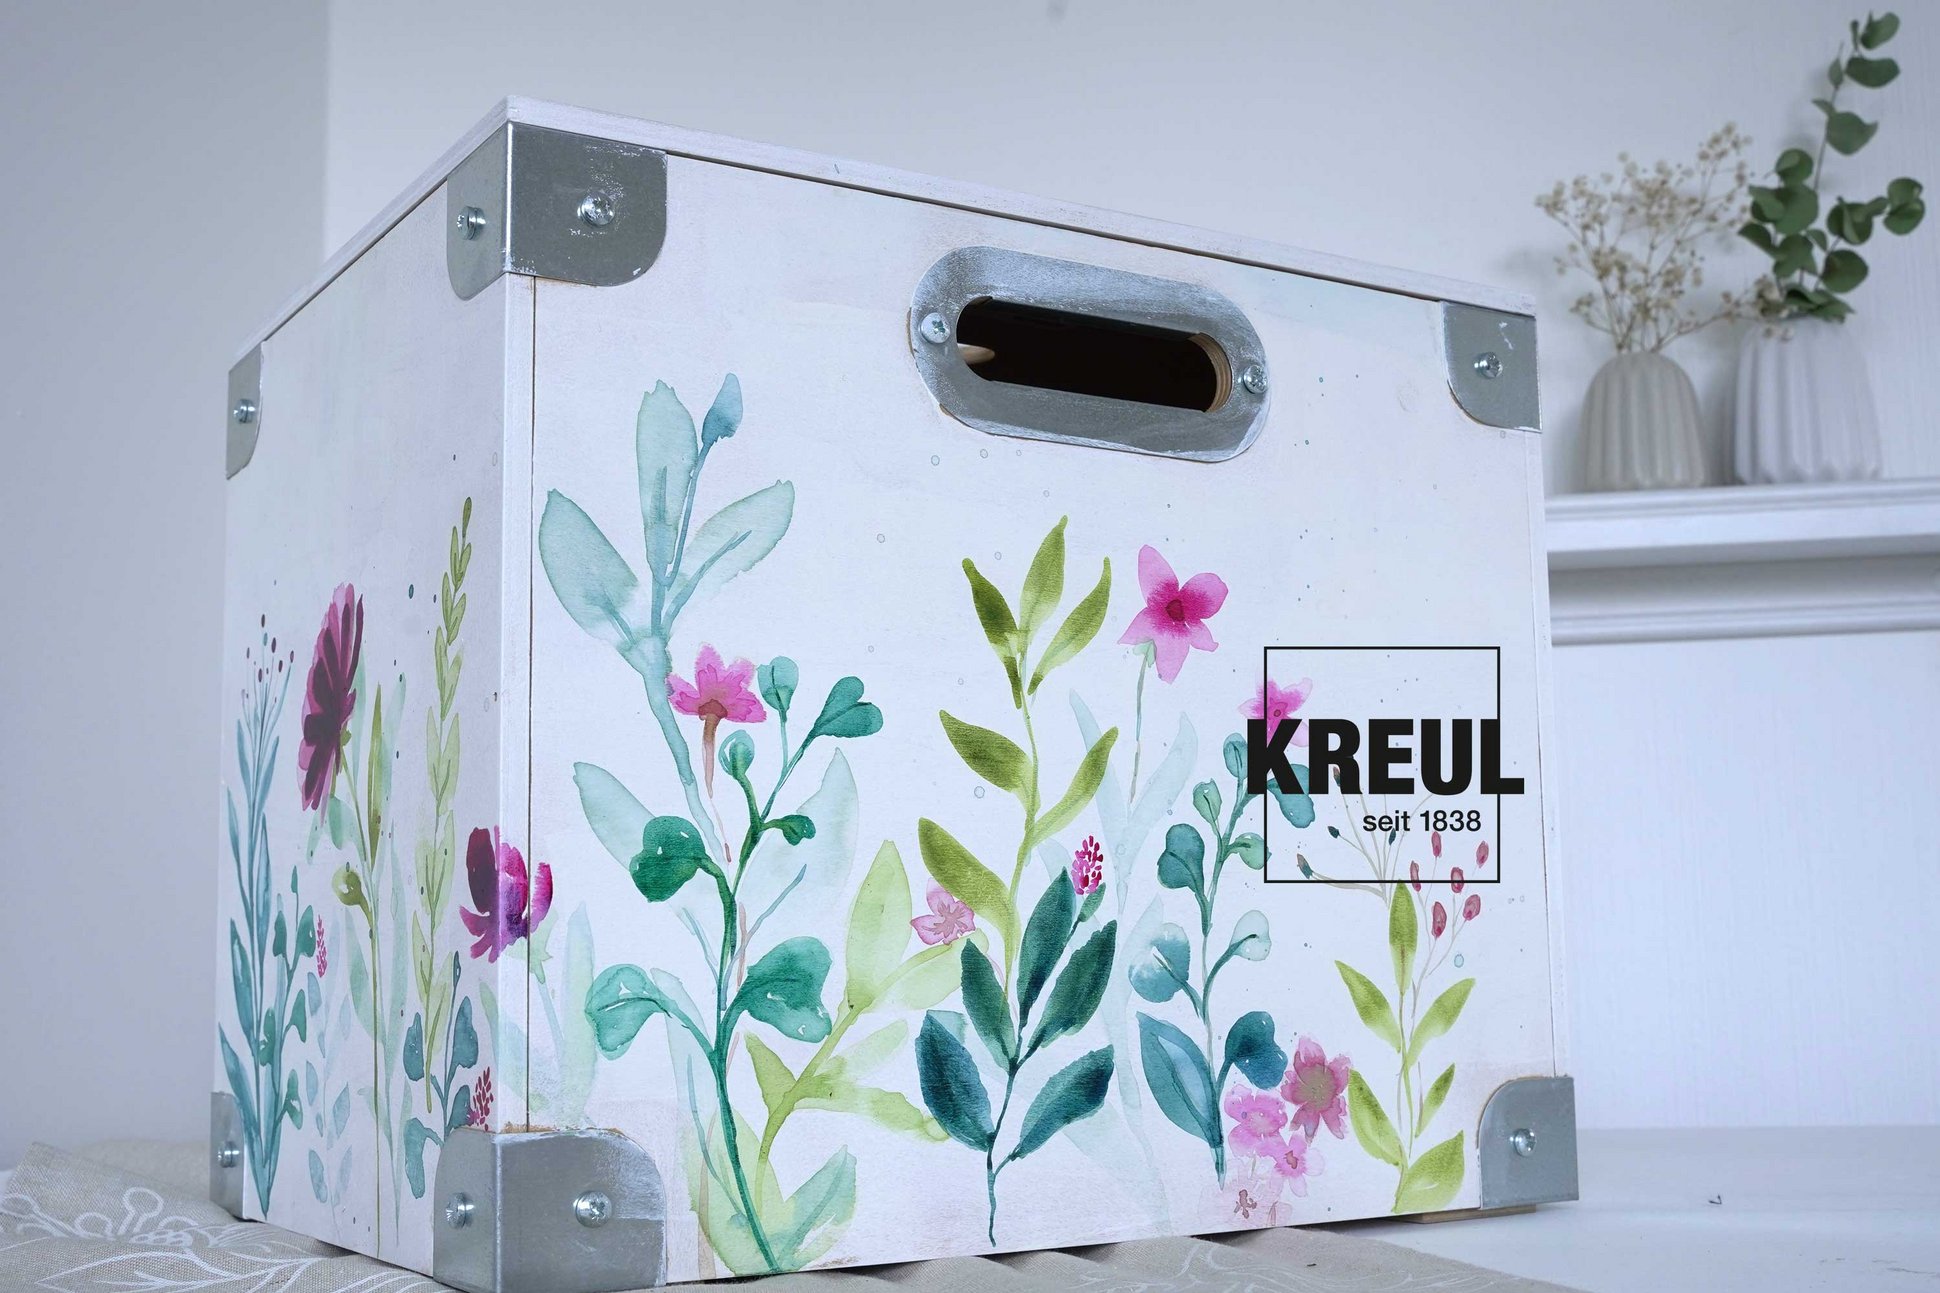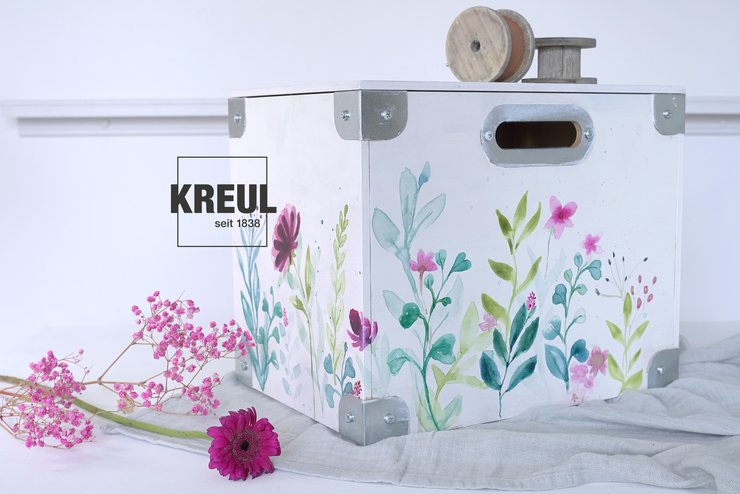
DIY inspiration: wooden box in watercolour style
05/02/2024 |- KREUL Wood stain
- Ideen für Kreative
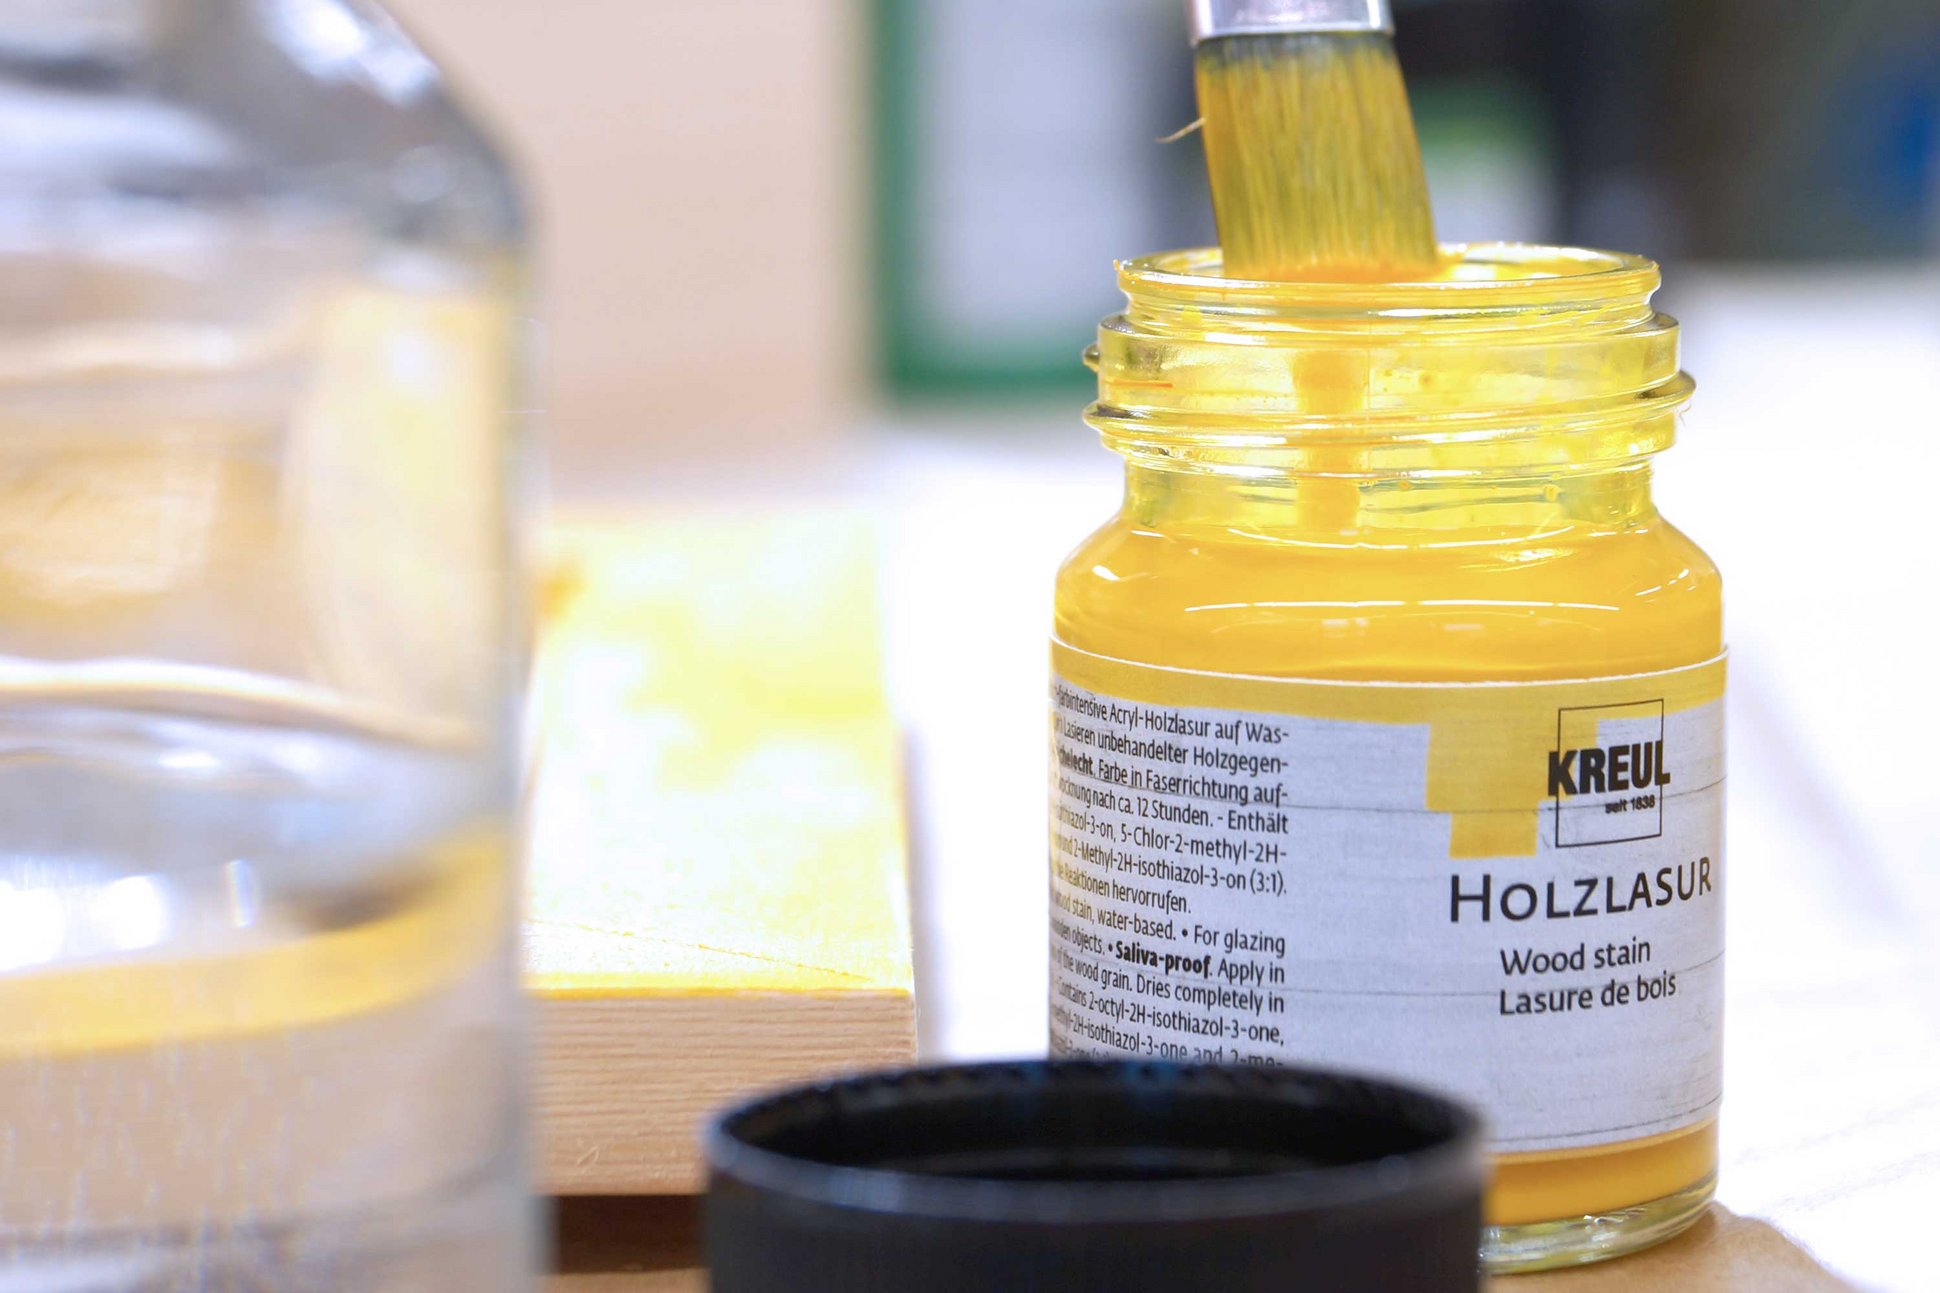
KREUL Wood Stain: fluid, colour-intense and waterproof
For the leaves and flower illustrations on our box, we are using KREUL Wood Stain. This is a very fluid and intense acrylic paint for wood. It soaks deep into the fibres of the wood surface. As it is transparent, the underlying surface remains visible. If the wood is untreated, you can still see the grain. White-primed wood allows the soft colours to really glow. Just like transparent watercolours. But KREUL Wood Stain is waterproof and saliva-resistant. Ideal for using the painted wooden box as decoration in the garden. There was never a more stylish box for gardening tools, twine and seeds. Or what about using the wooden box with its watercolour leaves and blooms as a gift box?
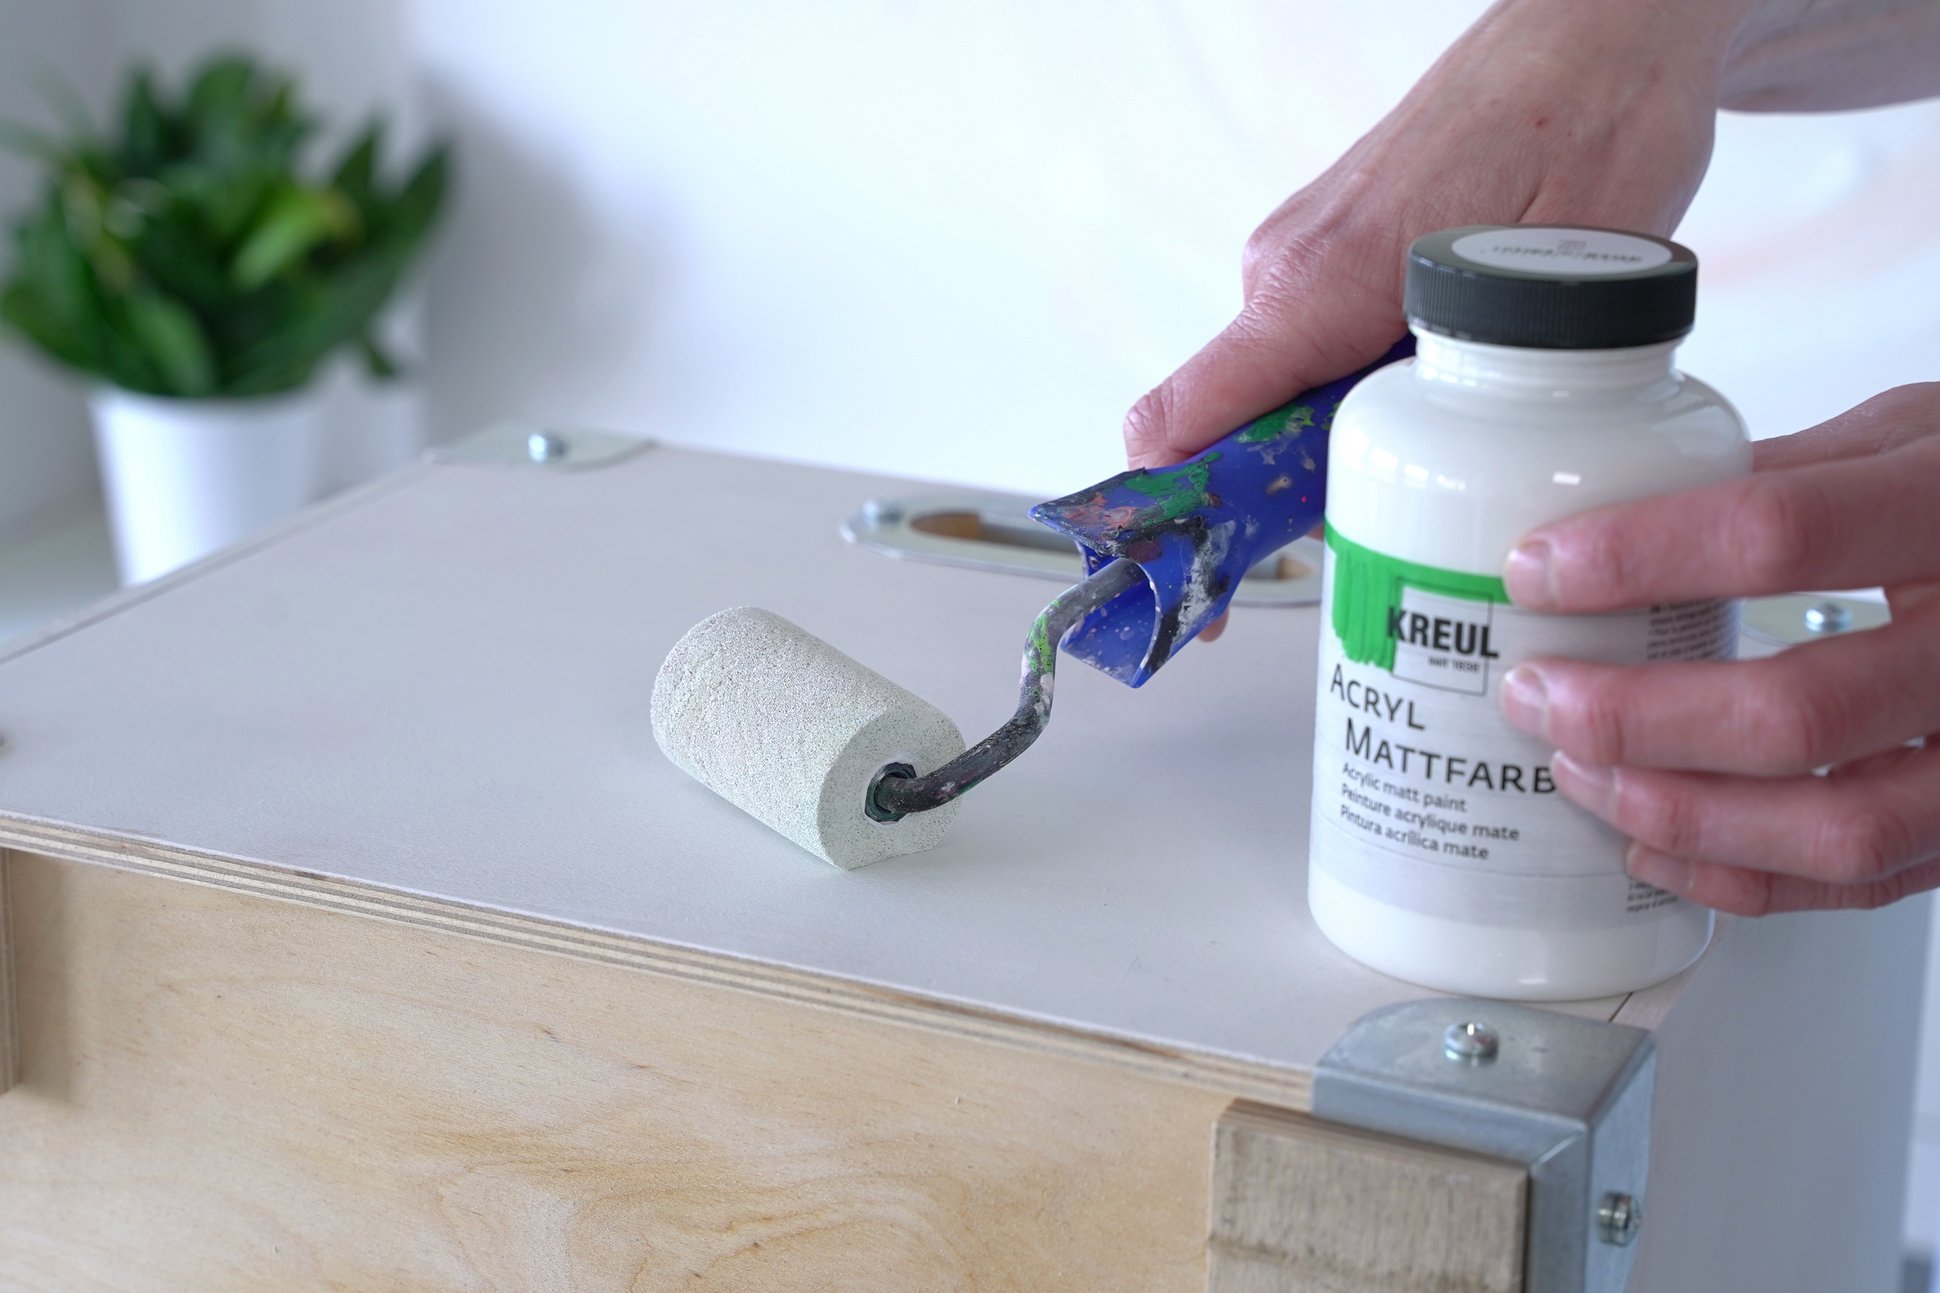
Step 1: Apply a base coat
First, we paint a wooden box with a base coat of KREUL Acryl Matt Paint in white. You can get a nice and even surface if you use a paint roller for this job. The DIY acrylic paint is opaque, weatherproof, saliva-resistant and dries to a matt finish. Before you continue with the next steps, the base coat must have dried completely. But that only takes a few minutes.
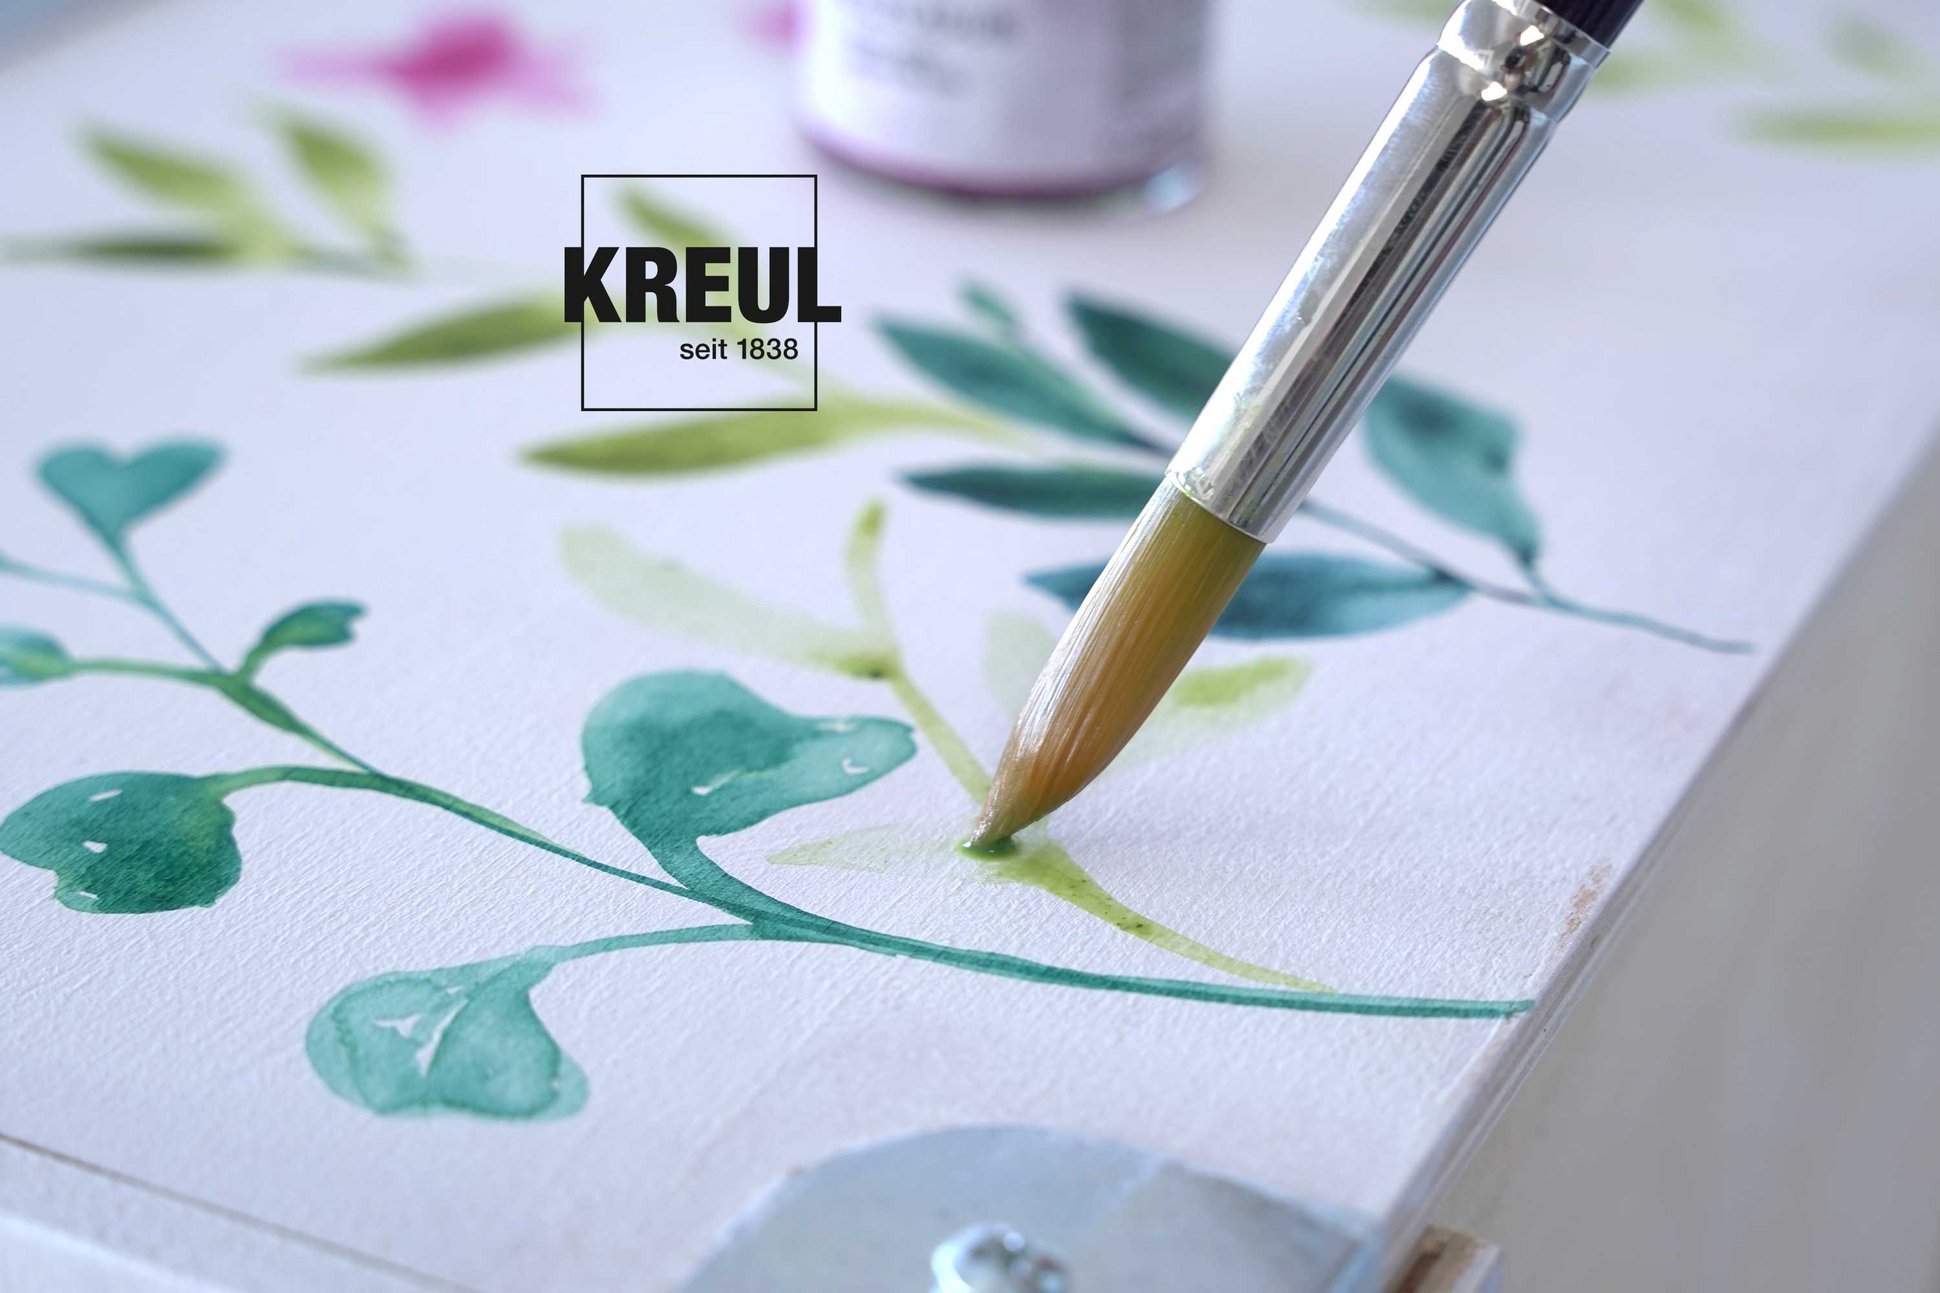
Step 2: Paint the leaves
Then we paint different leaves with KREUL Wood Stain onto the surface of the box. Pistachio is a spring-like, light green shade. The KREUL Wood Stain colours can be mixed with each other. If you want a lighter green, add some Sun Yellow. You can get a darker green by adding some Ultramarine to the Pistachio. For painting the leaf shapes, we use a large round paintbrush. We can use this to optimally shape a broader leaf centre and a filigree leaf tip.
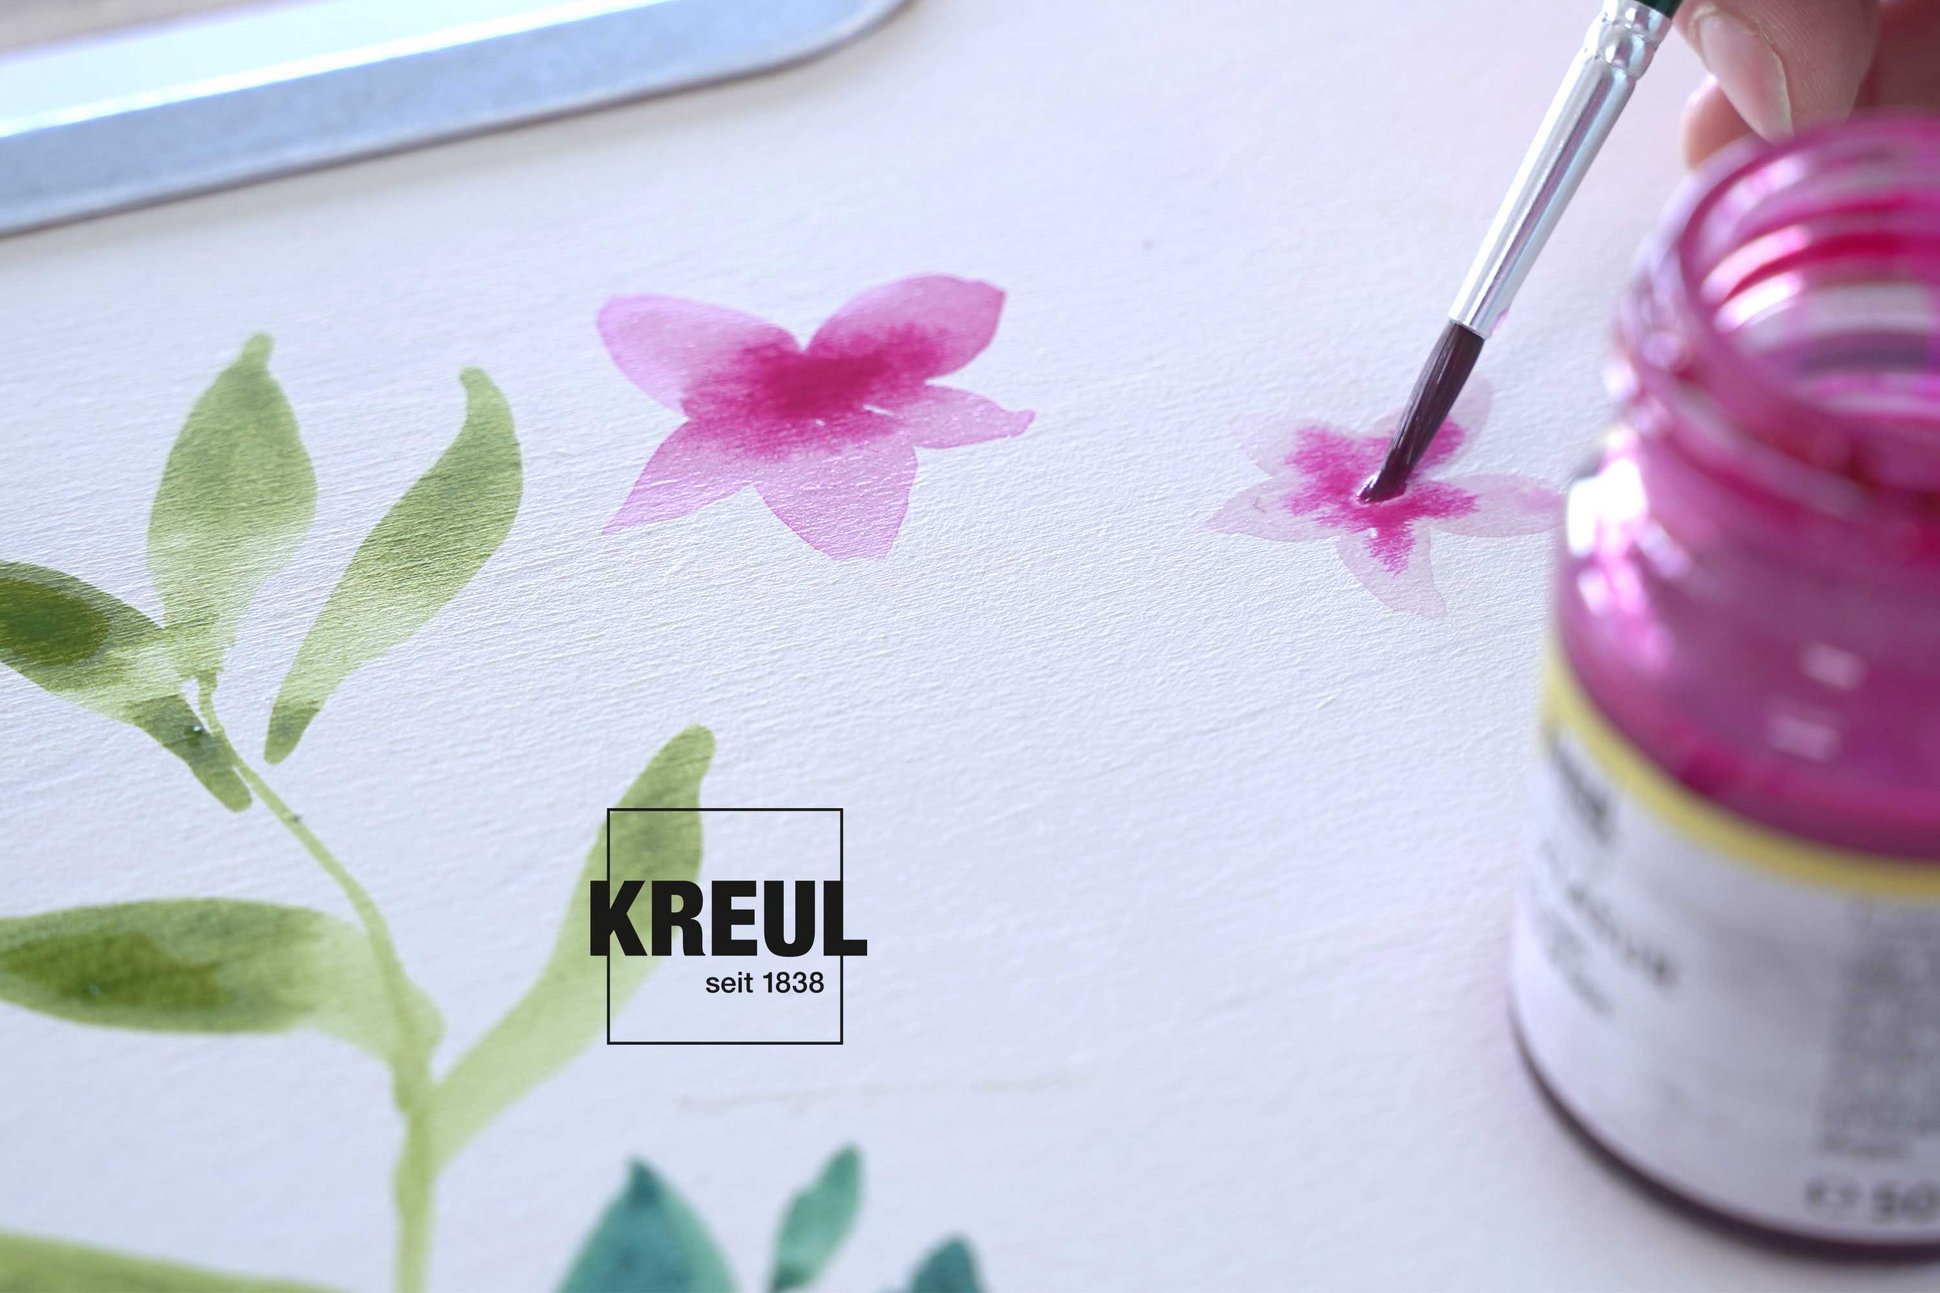
Step 3: Paint in the flower blooms
Next, add the delicate blooms in Magenta. You can form particularly delicate petals if you start by painting the shapes with weakly coloured water. Now a trick from watercolour painting: add a drop of richer, more concentrated colour into the centre of the still wet bloom. The colour immediately begins to flow out into the wet areas. Let the blooms dry and prepared to be wowed by the unique designs! Our wooden box in watercolour style is now all finished. The painted motifs are weather-proof and don’t need any extra sealing varnish. Super for displaying the pretty box outdoors. What about in the garden?
Material
KREUL Wood Stain
KREUL Acrylic Matt Paint
