Easter nests – painted in no time and ready to hide
03/28/2022 |- MUCKI Kids pen
- Playing-ideas for kids
MUCKI Porcelain Pirate: Robust pens in cheerful colours
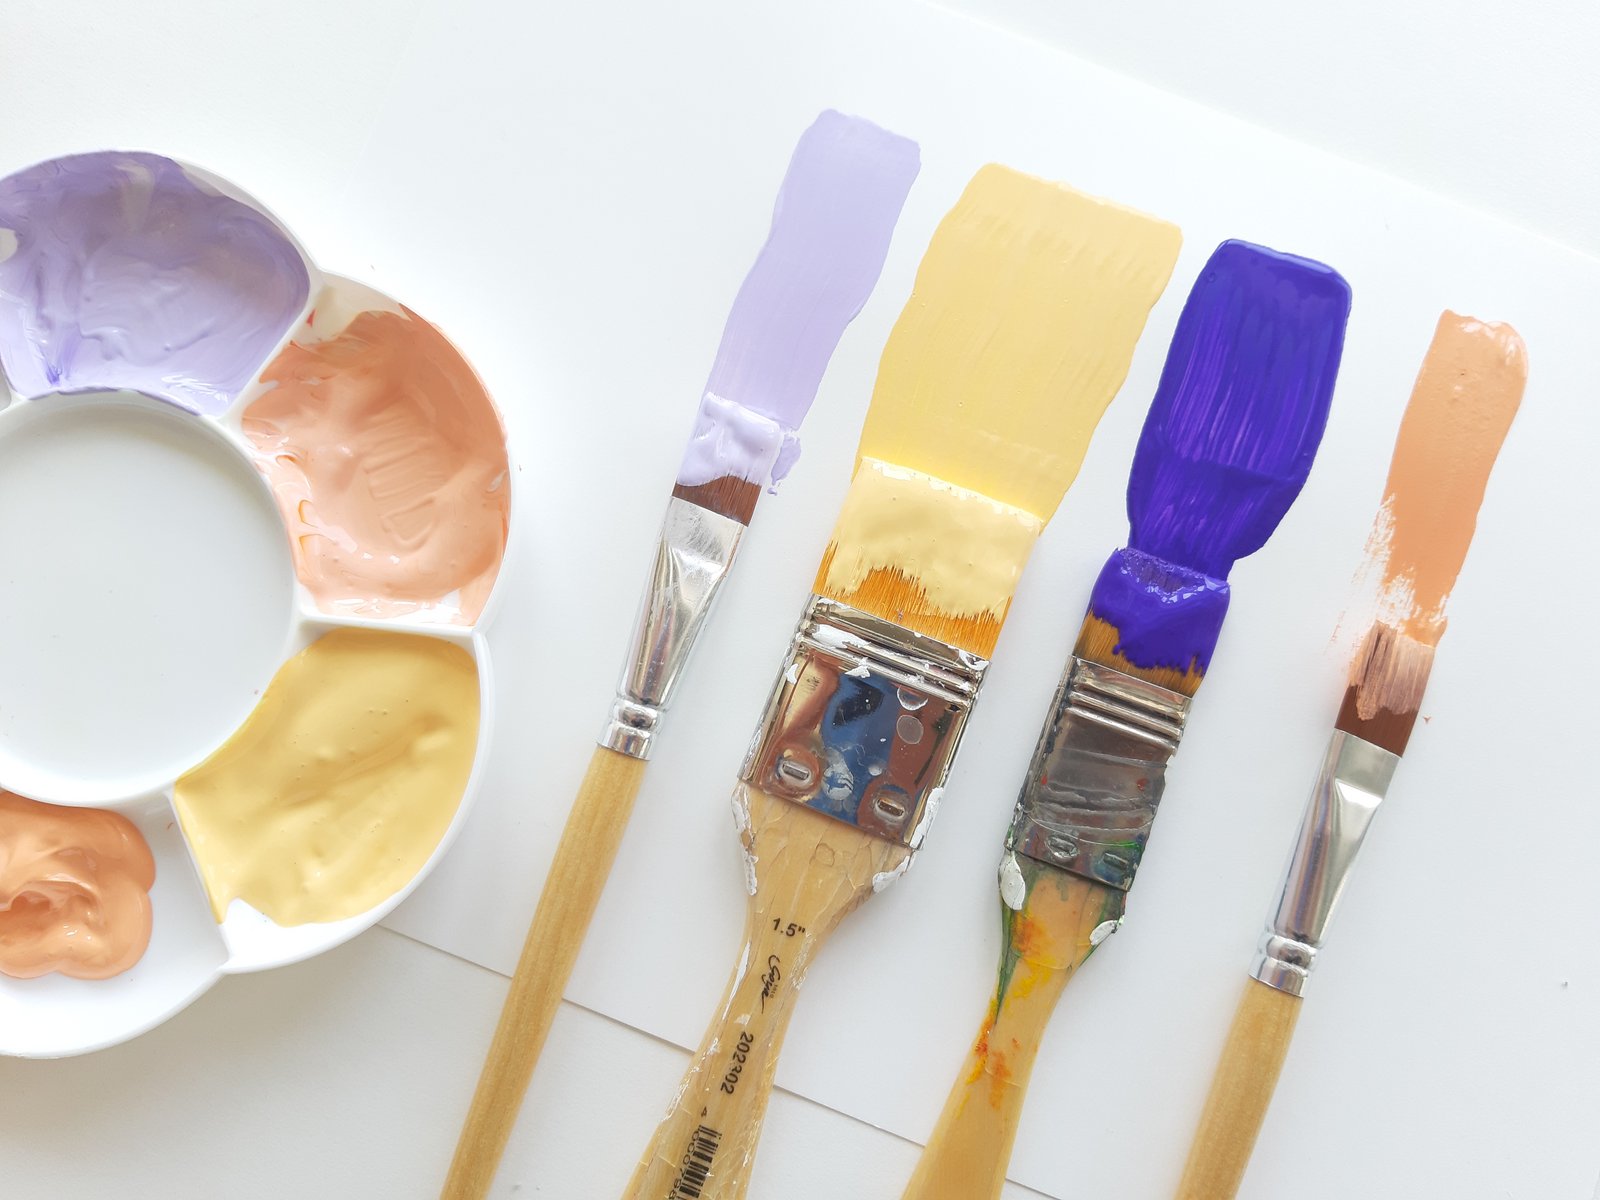
Yellow, red, blue, black and green – Easter eggs are prettiest when they are really colourful. The set of five MUCKI Porcelain Pirate Pens comprises five basic colours for decorating porcelain, glass and ceramics. Little artists can sometimes find it hard to hold pens. That’s why we have designed our porcelain pens for children so that they fit perfectly in their little hands. The tip is very robust – super, the kids can dot, scribble and draw to their heart's content. And that in proven MUCKI quality: Our children’s pens are dermatologically tested, paraben-free, gluten-free, lactose-free and vegan.
From cereal bowl to Easter nest: Here's how
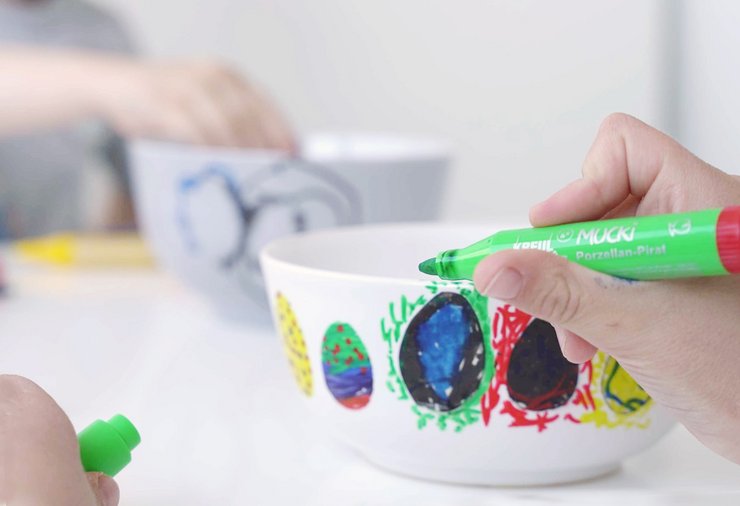
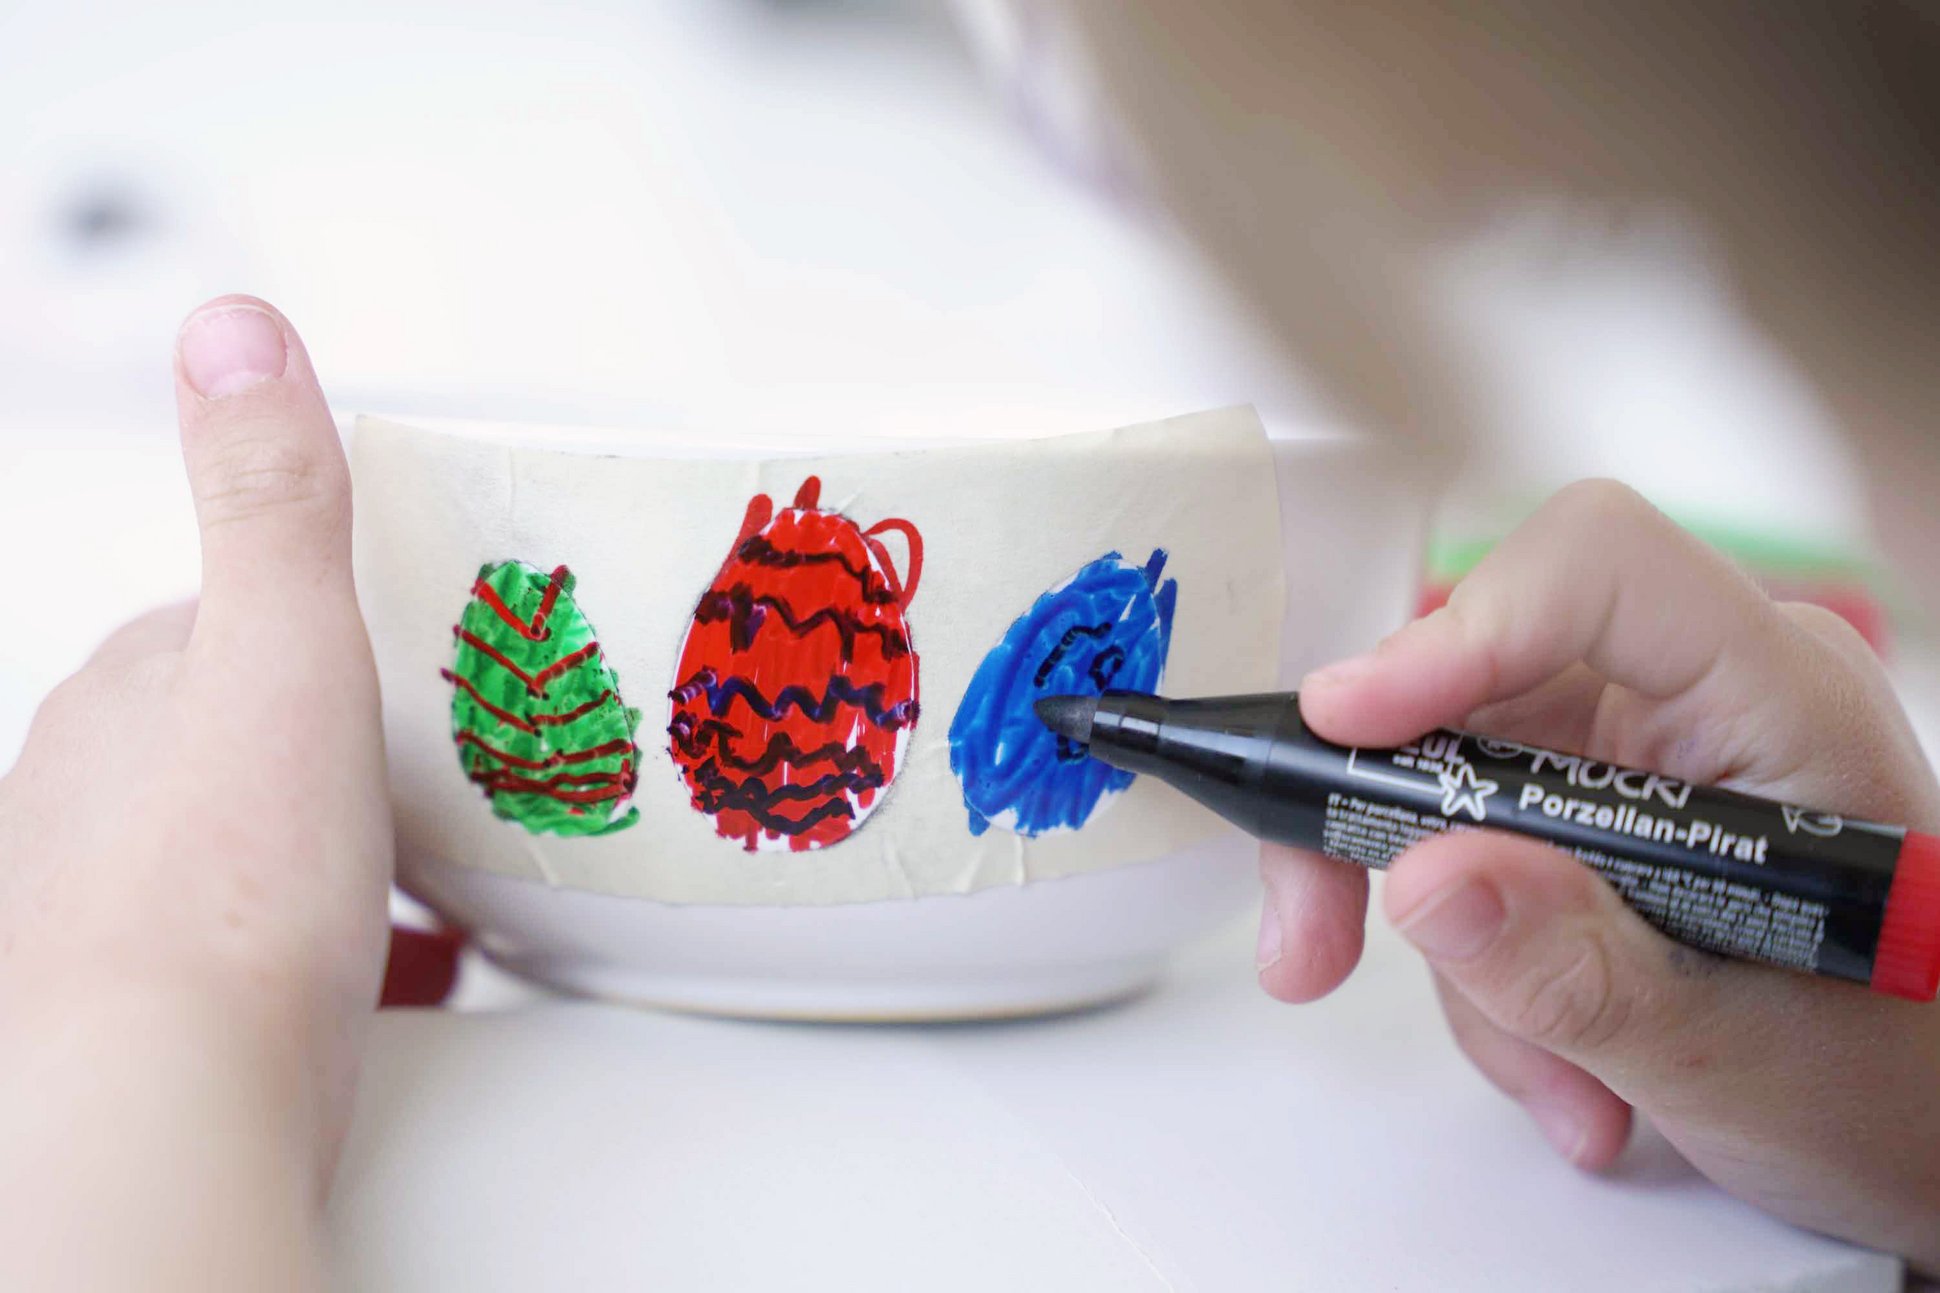
Crafting for Easter is child’s play. For our Easter nests, we have chosen white ceramic cereal bowls. Before the kids start painting, use vinegar or a vinegar-based cleaner to remove any dust and dirt. So that the kids can draw freely with the pens, Mum or Dad can quickly make stick-on stencils. For this, place two layers of wide masking type on a cutting mat, draw some eggs and cut them out. Stick the stencil to cereal bowl, pressing it down firmly. Now, let the little paint experts loose with the pens. The kids use the MUCKI Porcelain Pirate Pens to dot colour and paint the Easter eggs on the cereal bowl. Even if the kids get over-enthusiastic, it's fine. The stencil will keep the eggs in shape as the areas under the masking tape will stay white.

Peel off the stencil: Child's play
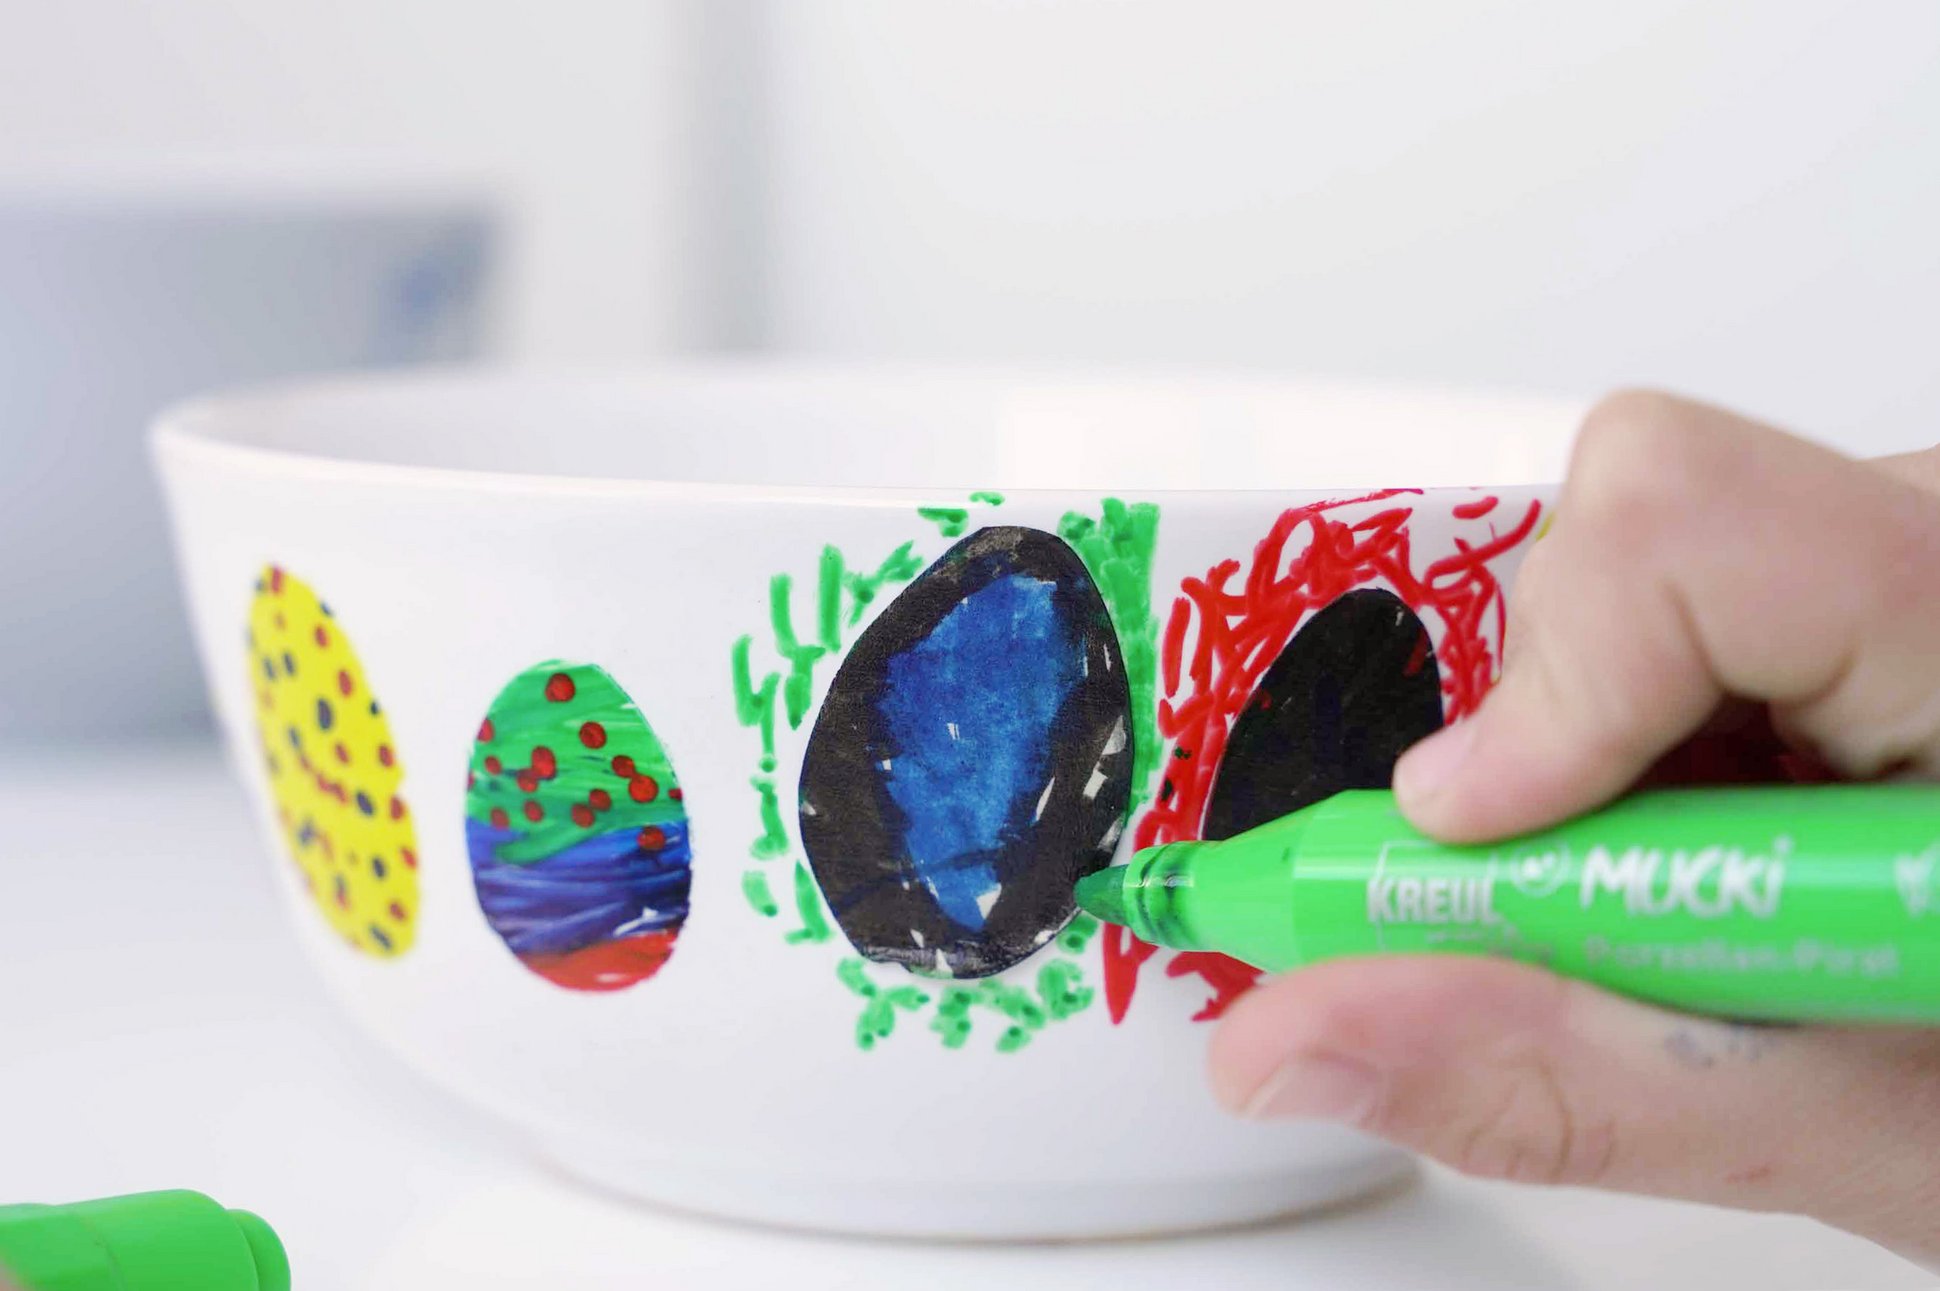
Once they have decorated all the egg shapes with colourful patterns, the little Easter enthusiasts can peel off the stick-on stencils and admire their handiwork. Such pretty Easter eggs on the bowls! If the stencils are still intact, they can be used to paint more bowls. And the egg shapes cut out of the masking tape are super to use as stencils, too. Just stick them on the ceramics and let the kids dab or scribble around them and then peel them off again. Voilà, white eggs on a dotty background. What fun. Let’s make Easter nests for the whole family!

Fix the paint, let the bowls cool and the nests are ready to fill
Aren’t the bowls just beautiful? If any paint has seeped under the stencils, just use a cotton bud to remove it. Let the decorated Easter bowls dry for four hours and then pop them in a cold household oven and fix the paints in place by curing them for 90 minutes at 160 °C with top and bottom heat setting. Then switch the oven off and leave the bowls in there to cool down. Then, at last, the decorated Easter nests are ready to fill with Easter eggs, chocolate bunnies & co. Happy Easter!